# HiFive Premier P550

**URL:** https://collective.flashbots.net/t/hifive-premier-p550/5707
**Category:** References
**Tags:** hardware
**Created:** [May 11, 2026, 9:10pm UTC](https://collective.flashbots.net/t/hifive-premier-p550/5707 "2026-05-11T21:10:57Z")
**Posts on this page:** 3
**Page:** 1

<div class="post-metadata">

### Author: ![guayabyte](https://collective.flashbots.net/user_avatar/collective.flashbots.net/guayabyte/32/4_2.png) [@guayabyte](https://collective.flashbots.net/u/guayabyte)
#### Post date: [May 11, 2026, 9:10pm UTC](https://collective.flashbots.net/t/hifive-premier-p550/5707/1 "2026-05-11T21:10:57Z")

</div>

> **[HiFive™ Premier P550 - SiFive Boards](https://www.sifive.com/boards/hifive-premier-p550)**
>
> RISC-V is inevitable, and the HiFive Premier P550 development system exemplifies that. The soul of the RISC-V development board is a SiFive Performance™ P550 Core Complex, fabricated in a 12nm process technology.

---

<div class="post-metadata">

### Author: ![guayabyte](https://collective.flashbots.net/user_avatar/collective.flashbots.net/guayabyte/32/4_2.png) [@guayabyte](https://collective.flashbots.net/u/guayabyte)
#### Post date: [May 11, 2026, 9:18pm UTC](https://collective.flashbots.net/t/hifive-premier-p550/5707/2 "2026-05-11T21:18:10Z")

</div>

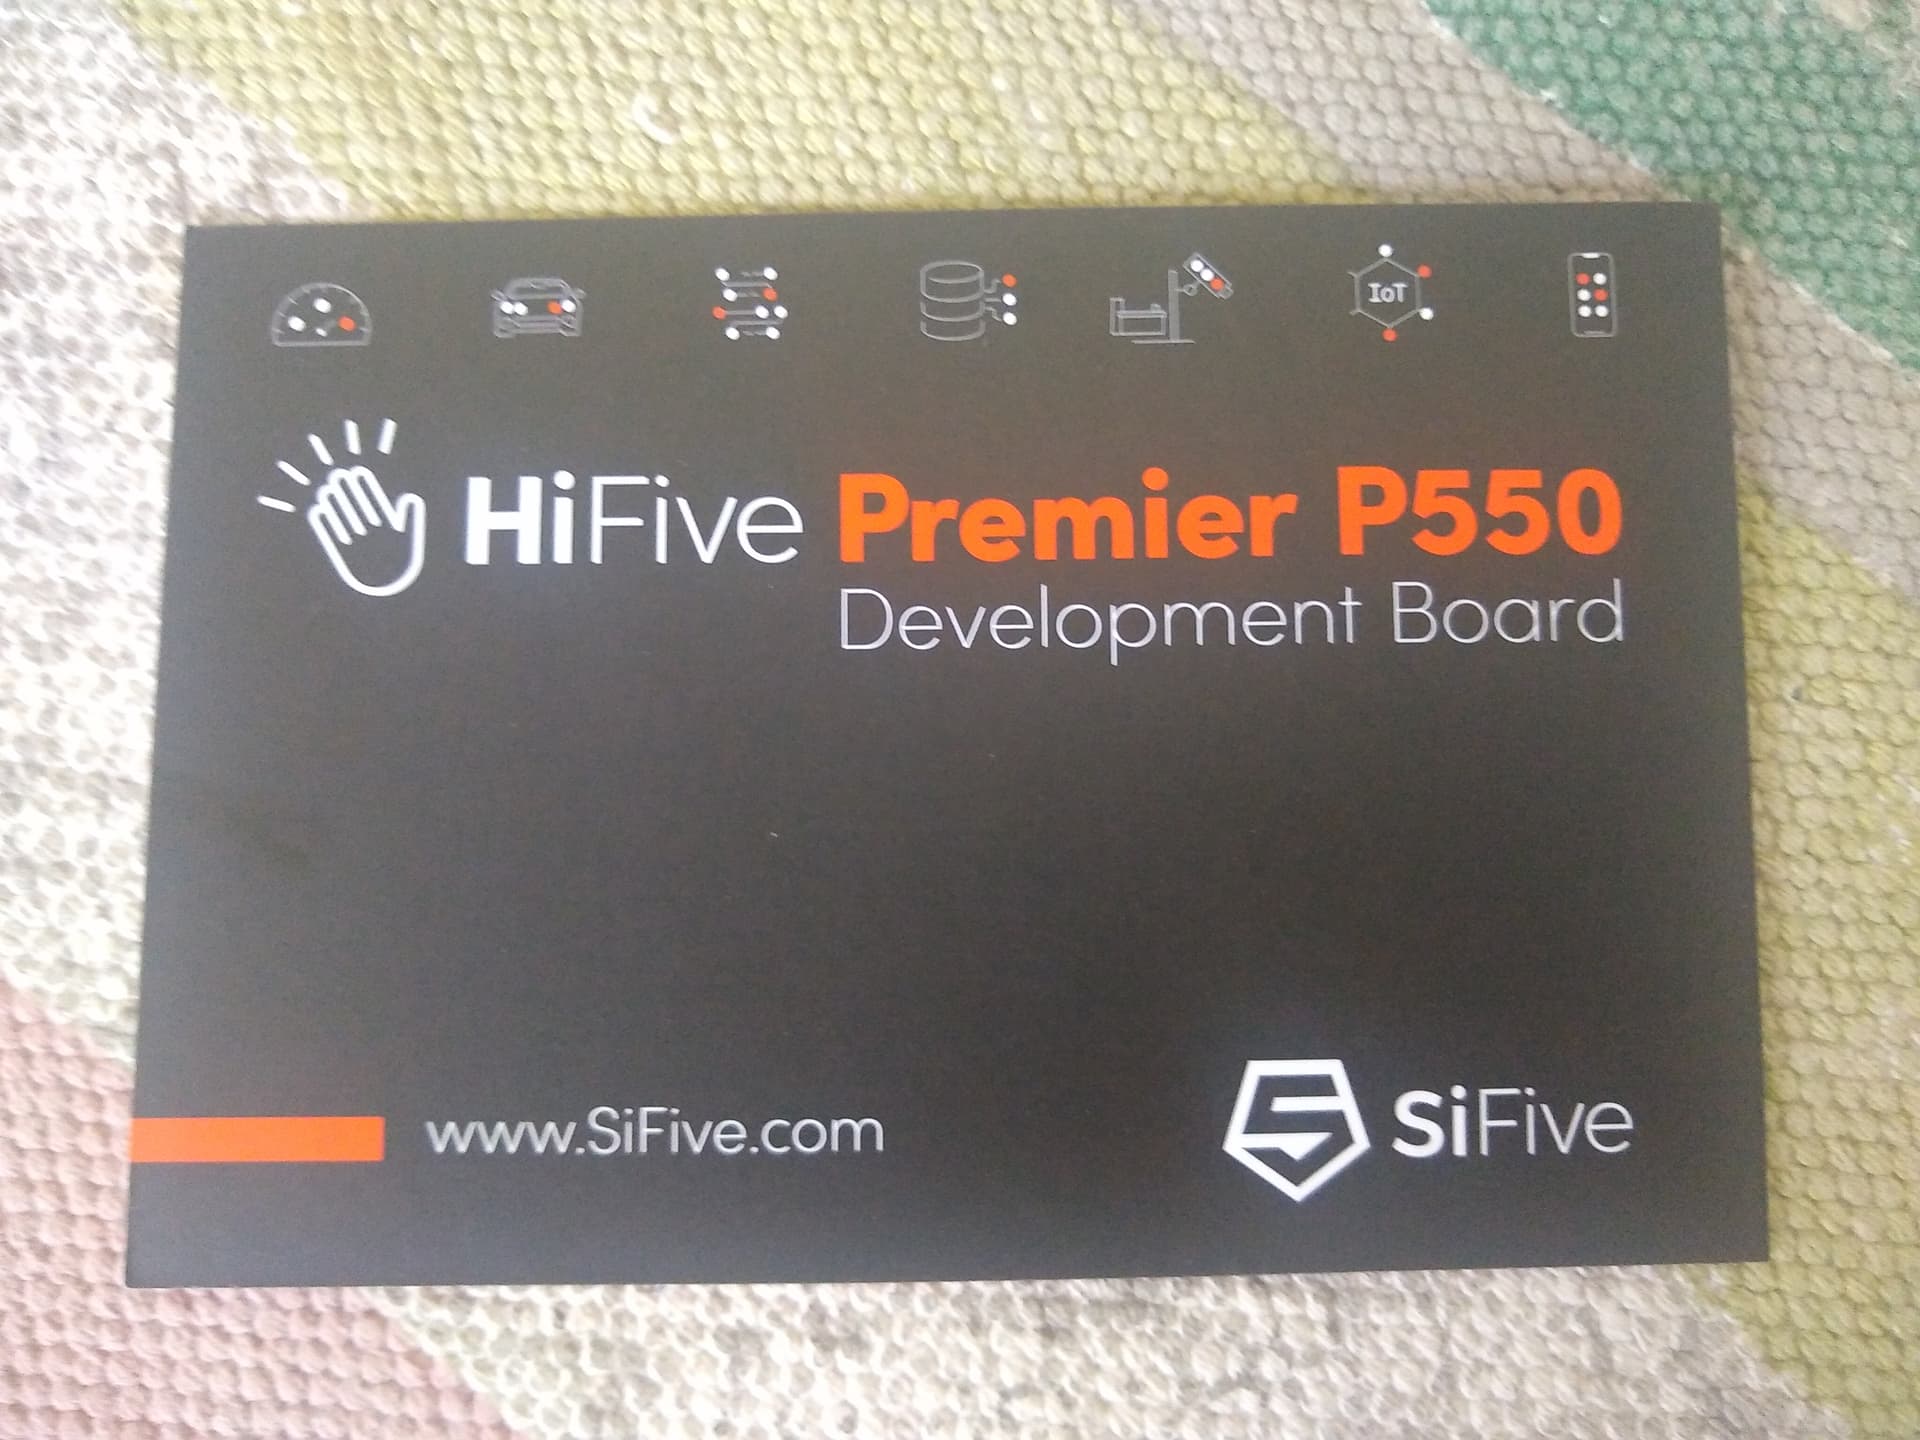
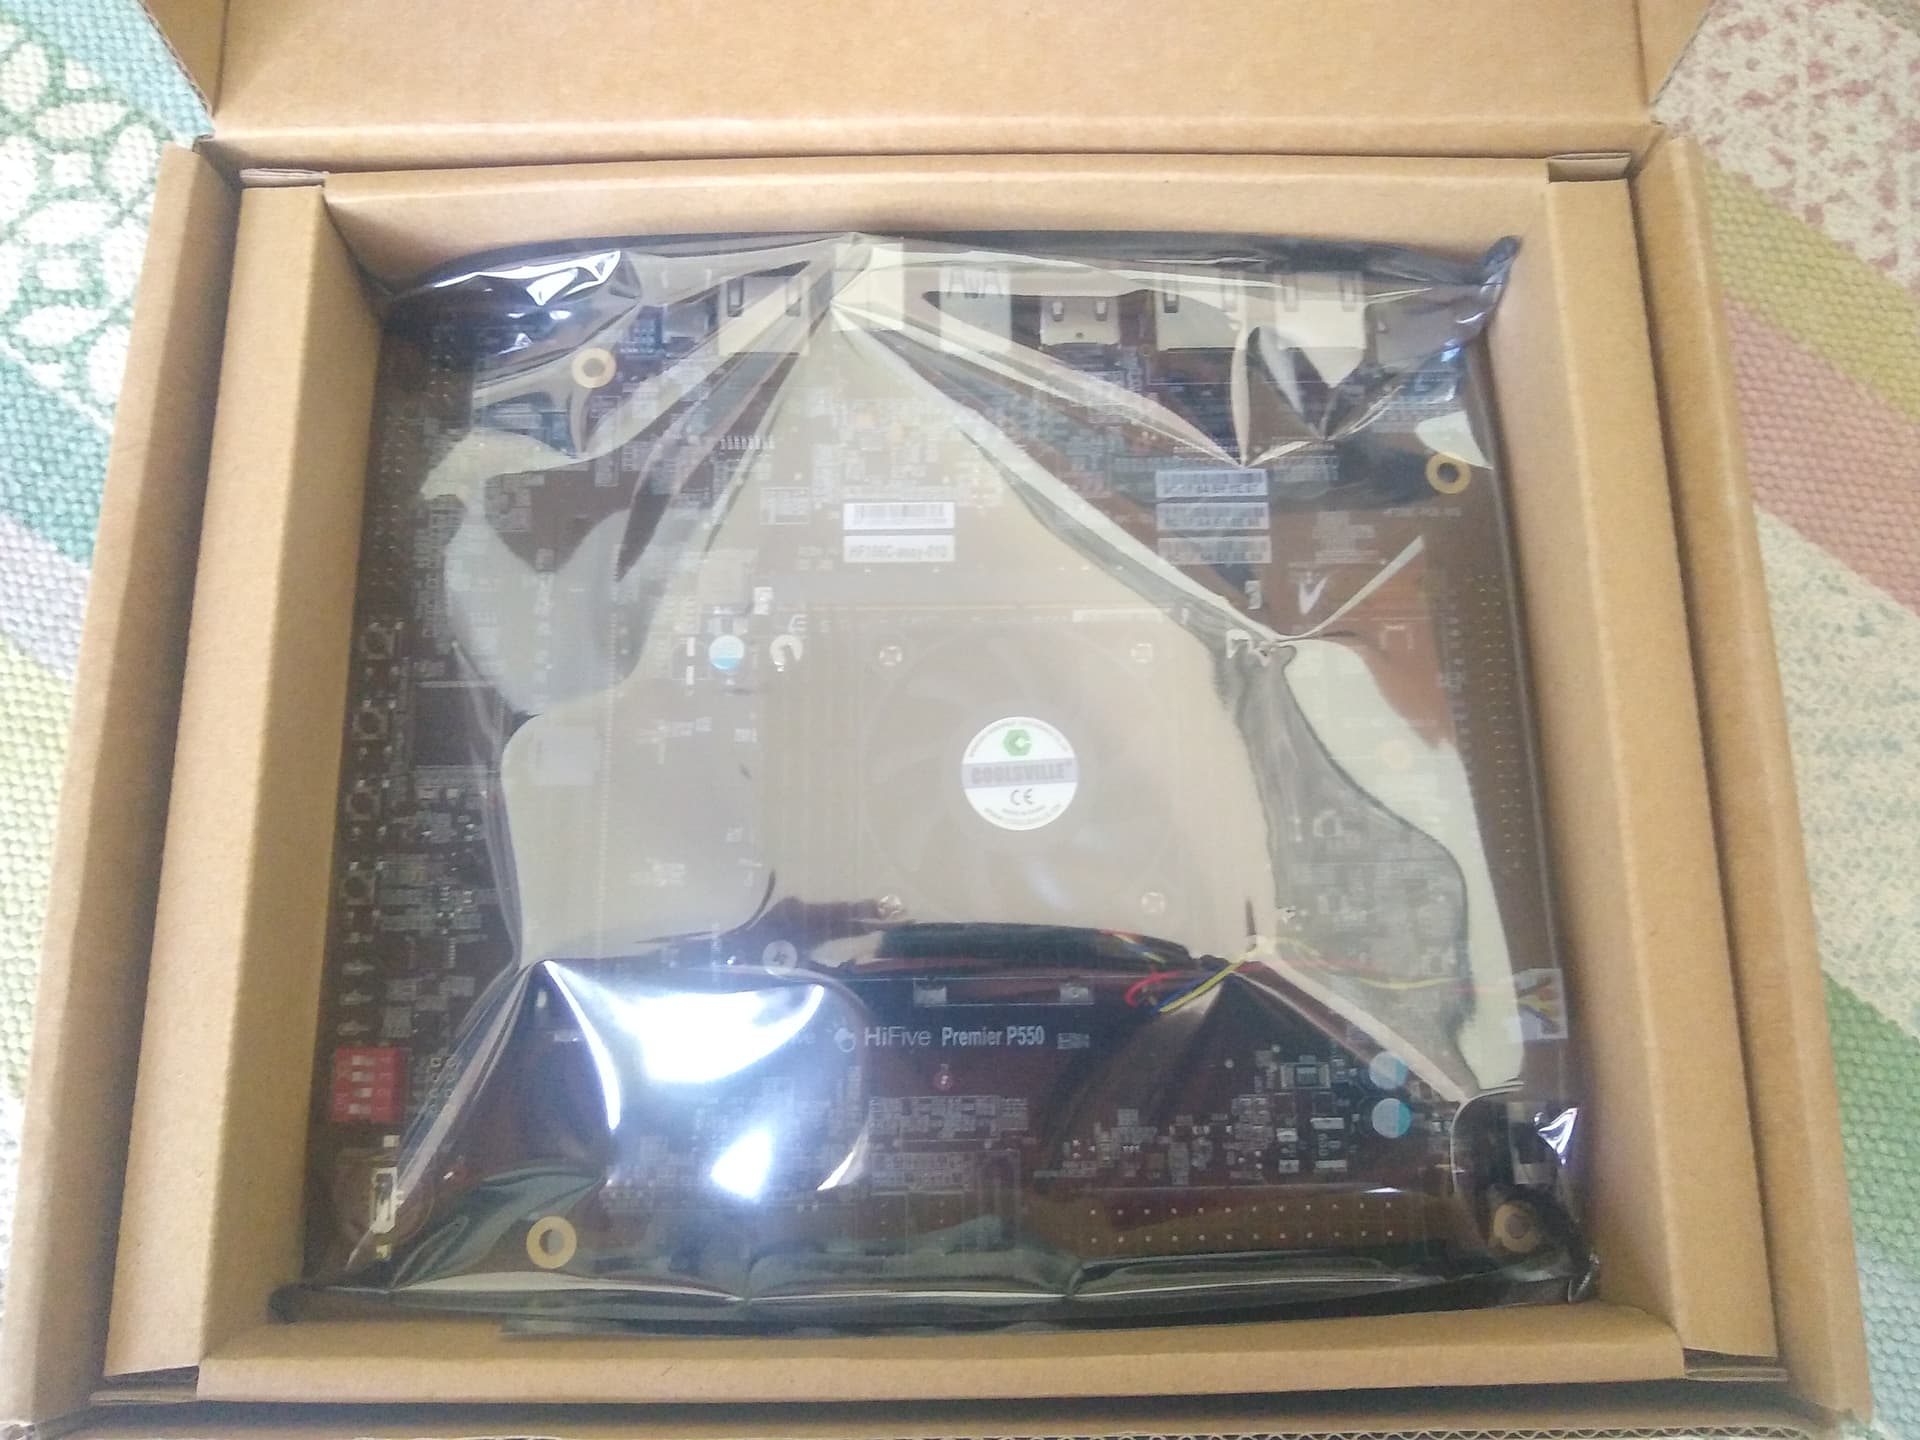
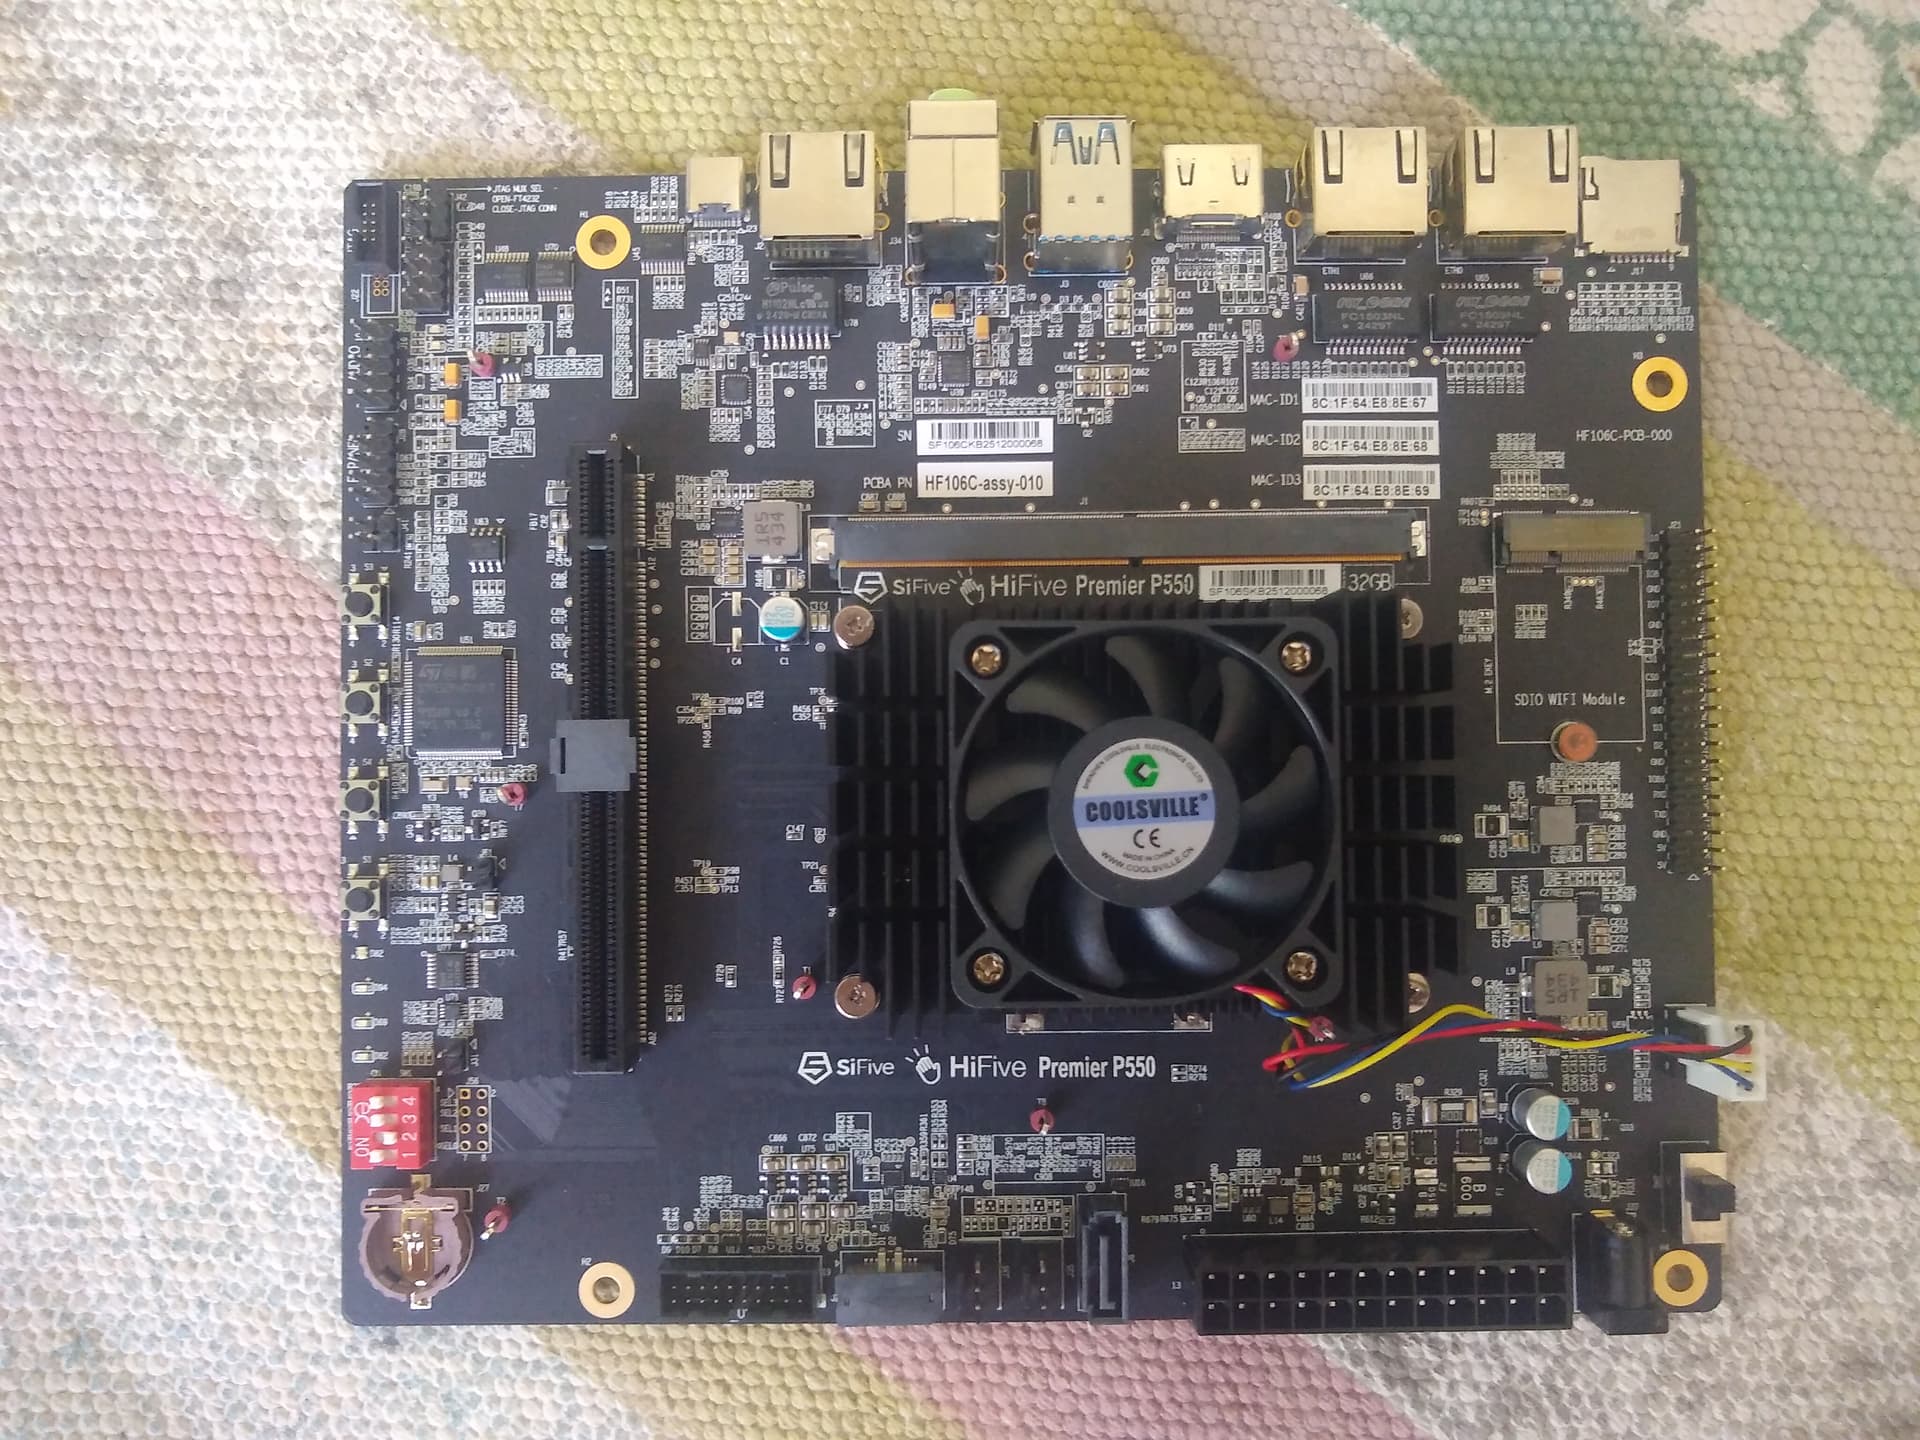
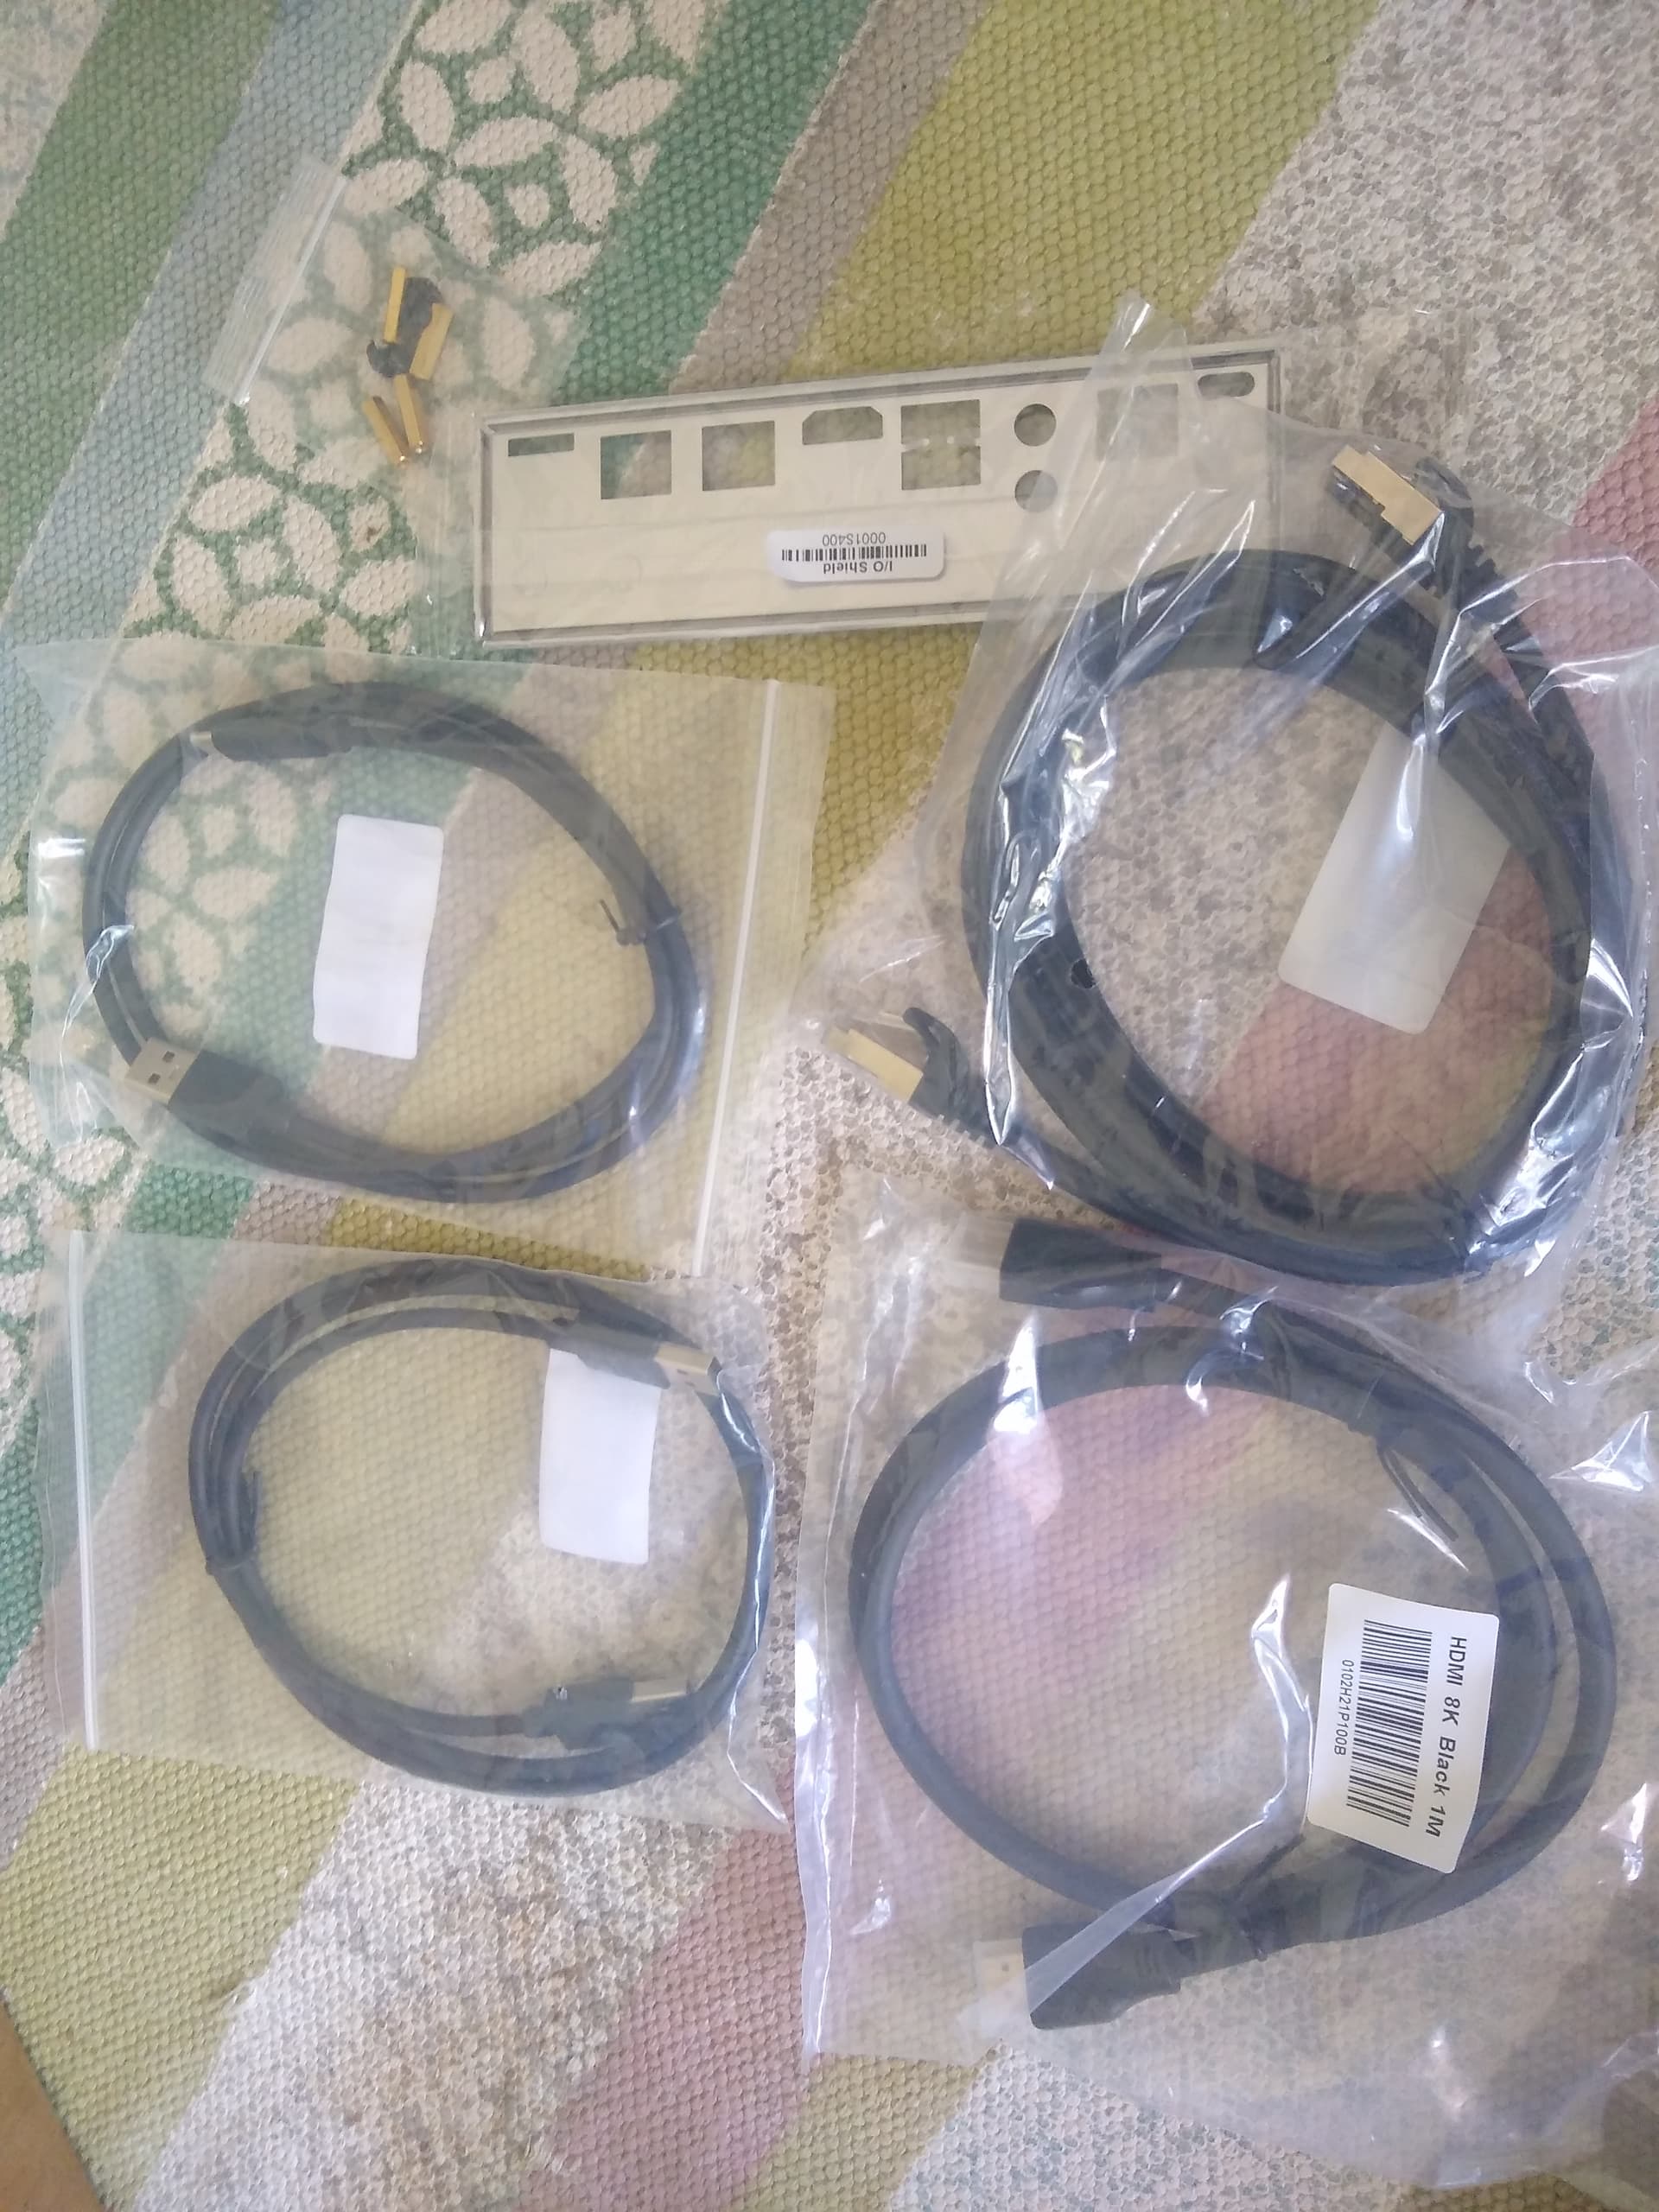
# Unboxing

 ![IMG_20260509_125702](https://collective.flashbots.net/uploads/default/original/2X/e/e323889dd01f12a03f06840f1071cd4a4aa73643.jpeg)  
 ![IMG_20260509_125649](https://collective.flashbots.net/uploads/default/original/2X/e/e5c661729e7fa83293a61e6362d32214cb23a1ce.jpeg)  
 ![IMG_20260509_125708](https://collective.flashbots.net/uploads/default/original/2X/9/9ba31f2d268a82e4c814c9de416a082b9f517afe.jpeg)  
 ![IMG_20260509_125738](https://collective.flashbots.net/uploads/default/original/2X/e/e6288ff381197d958d96b20c29ecb4b2fa48ea8c.jpeg)  
 ![IMG_20260509_125826](https://collective.flashbots.net/uploads/default/original/2X/2/2184397a6e1674ede3056bddab56cfeb15dd9d7b.jpeg)

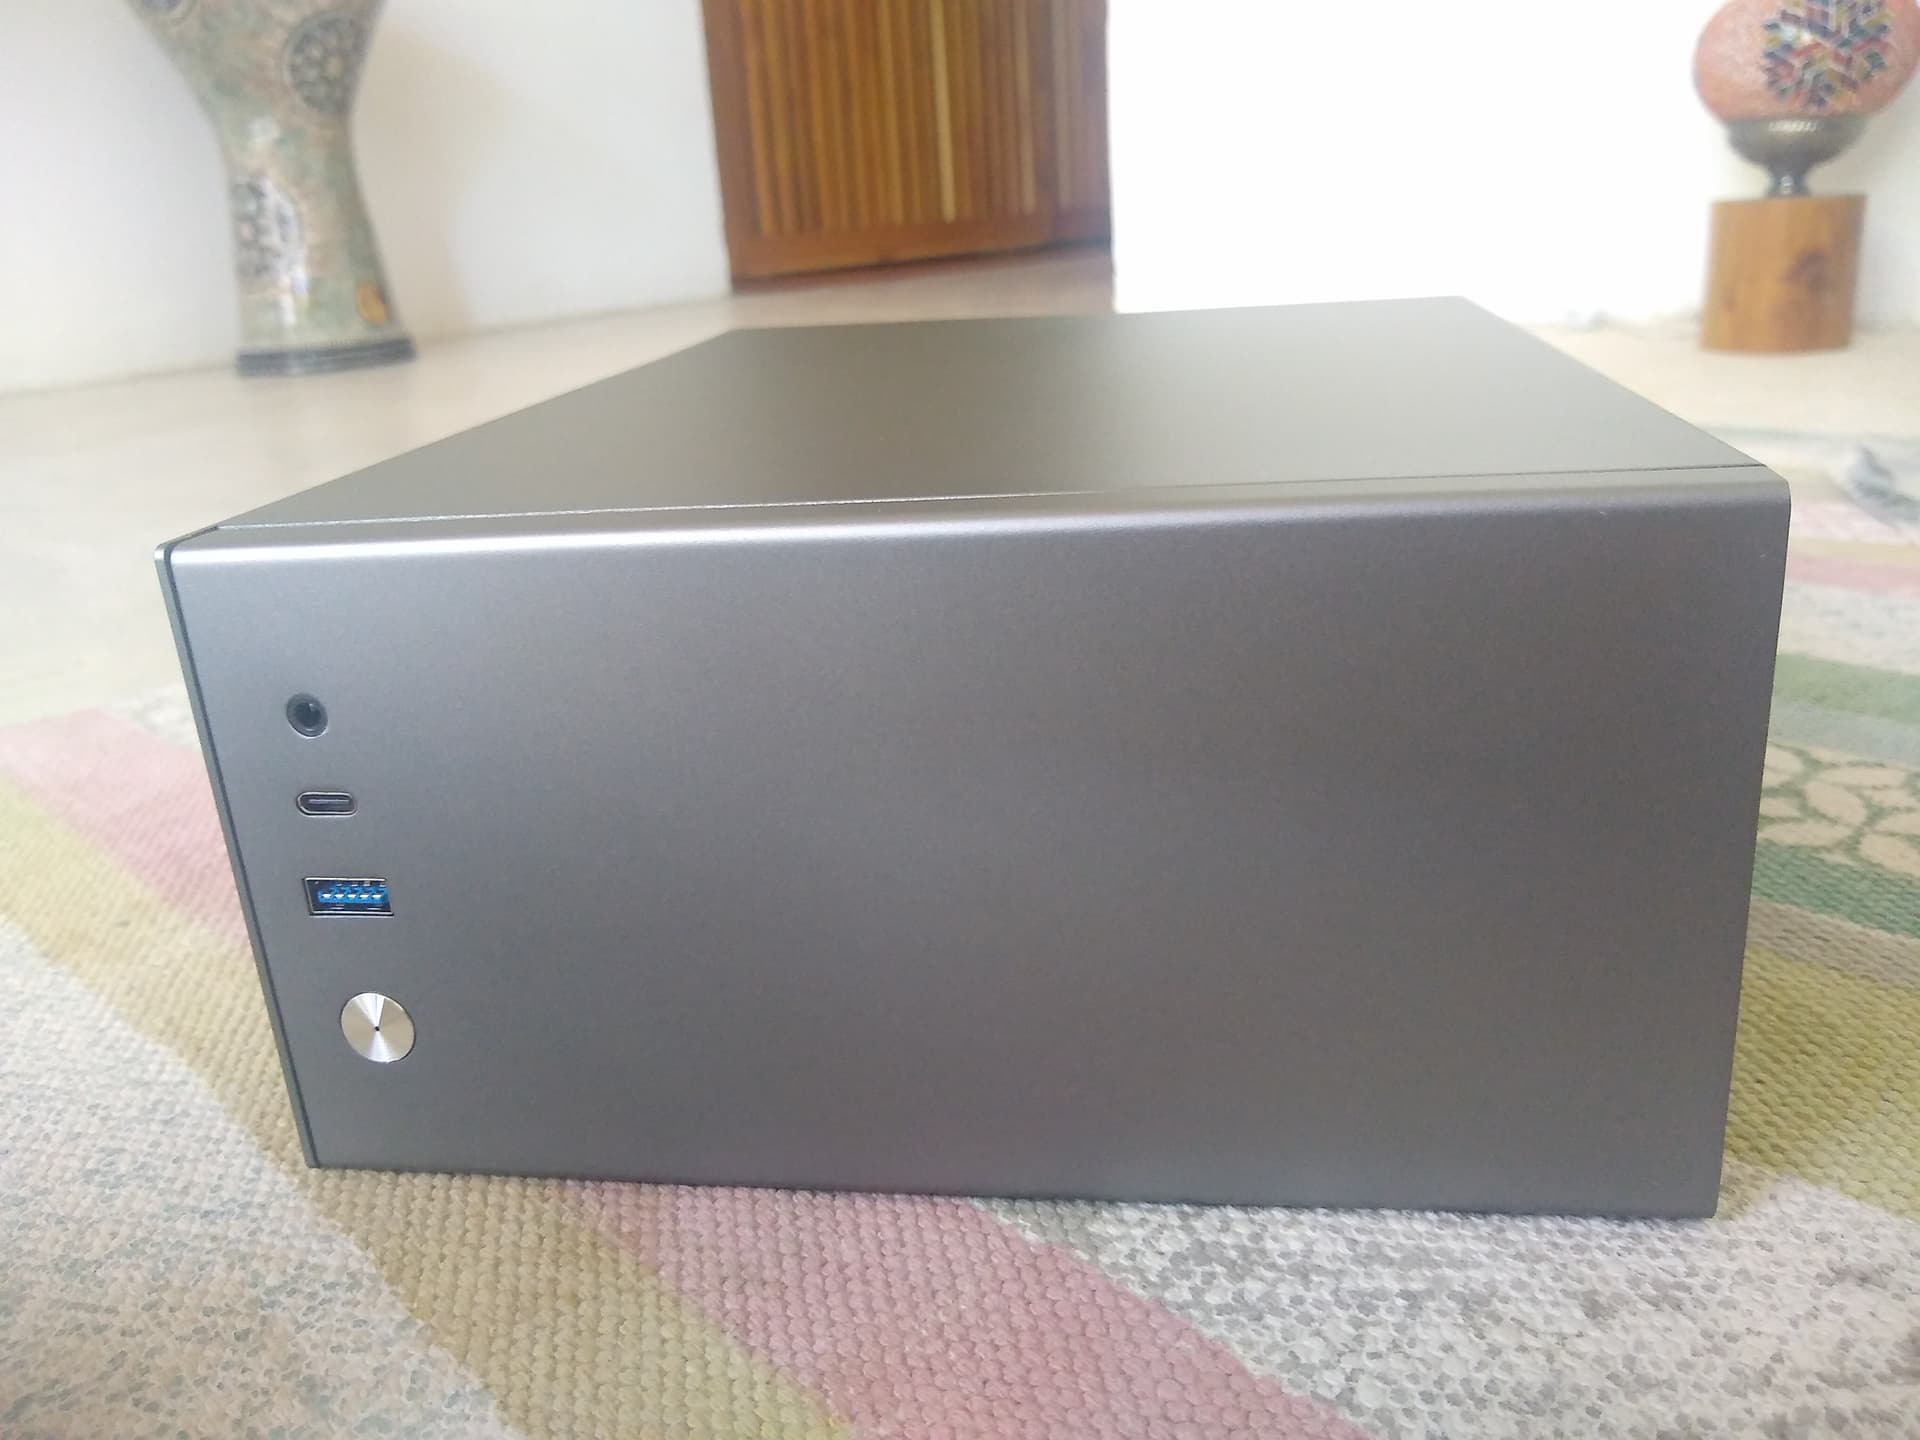
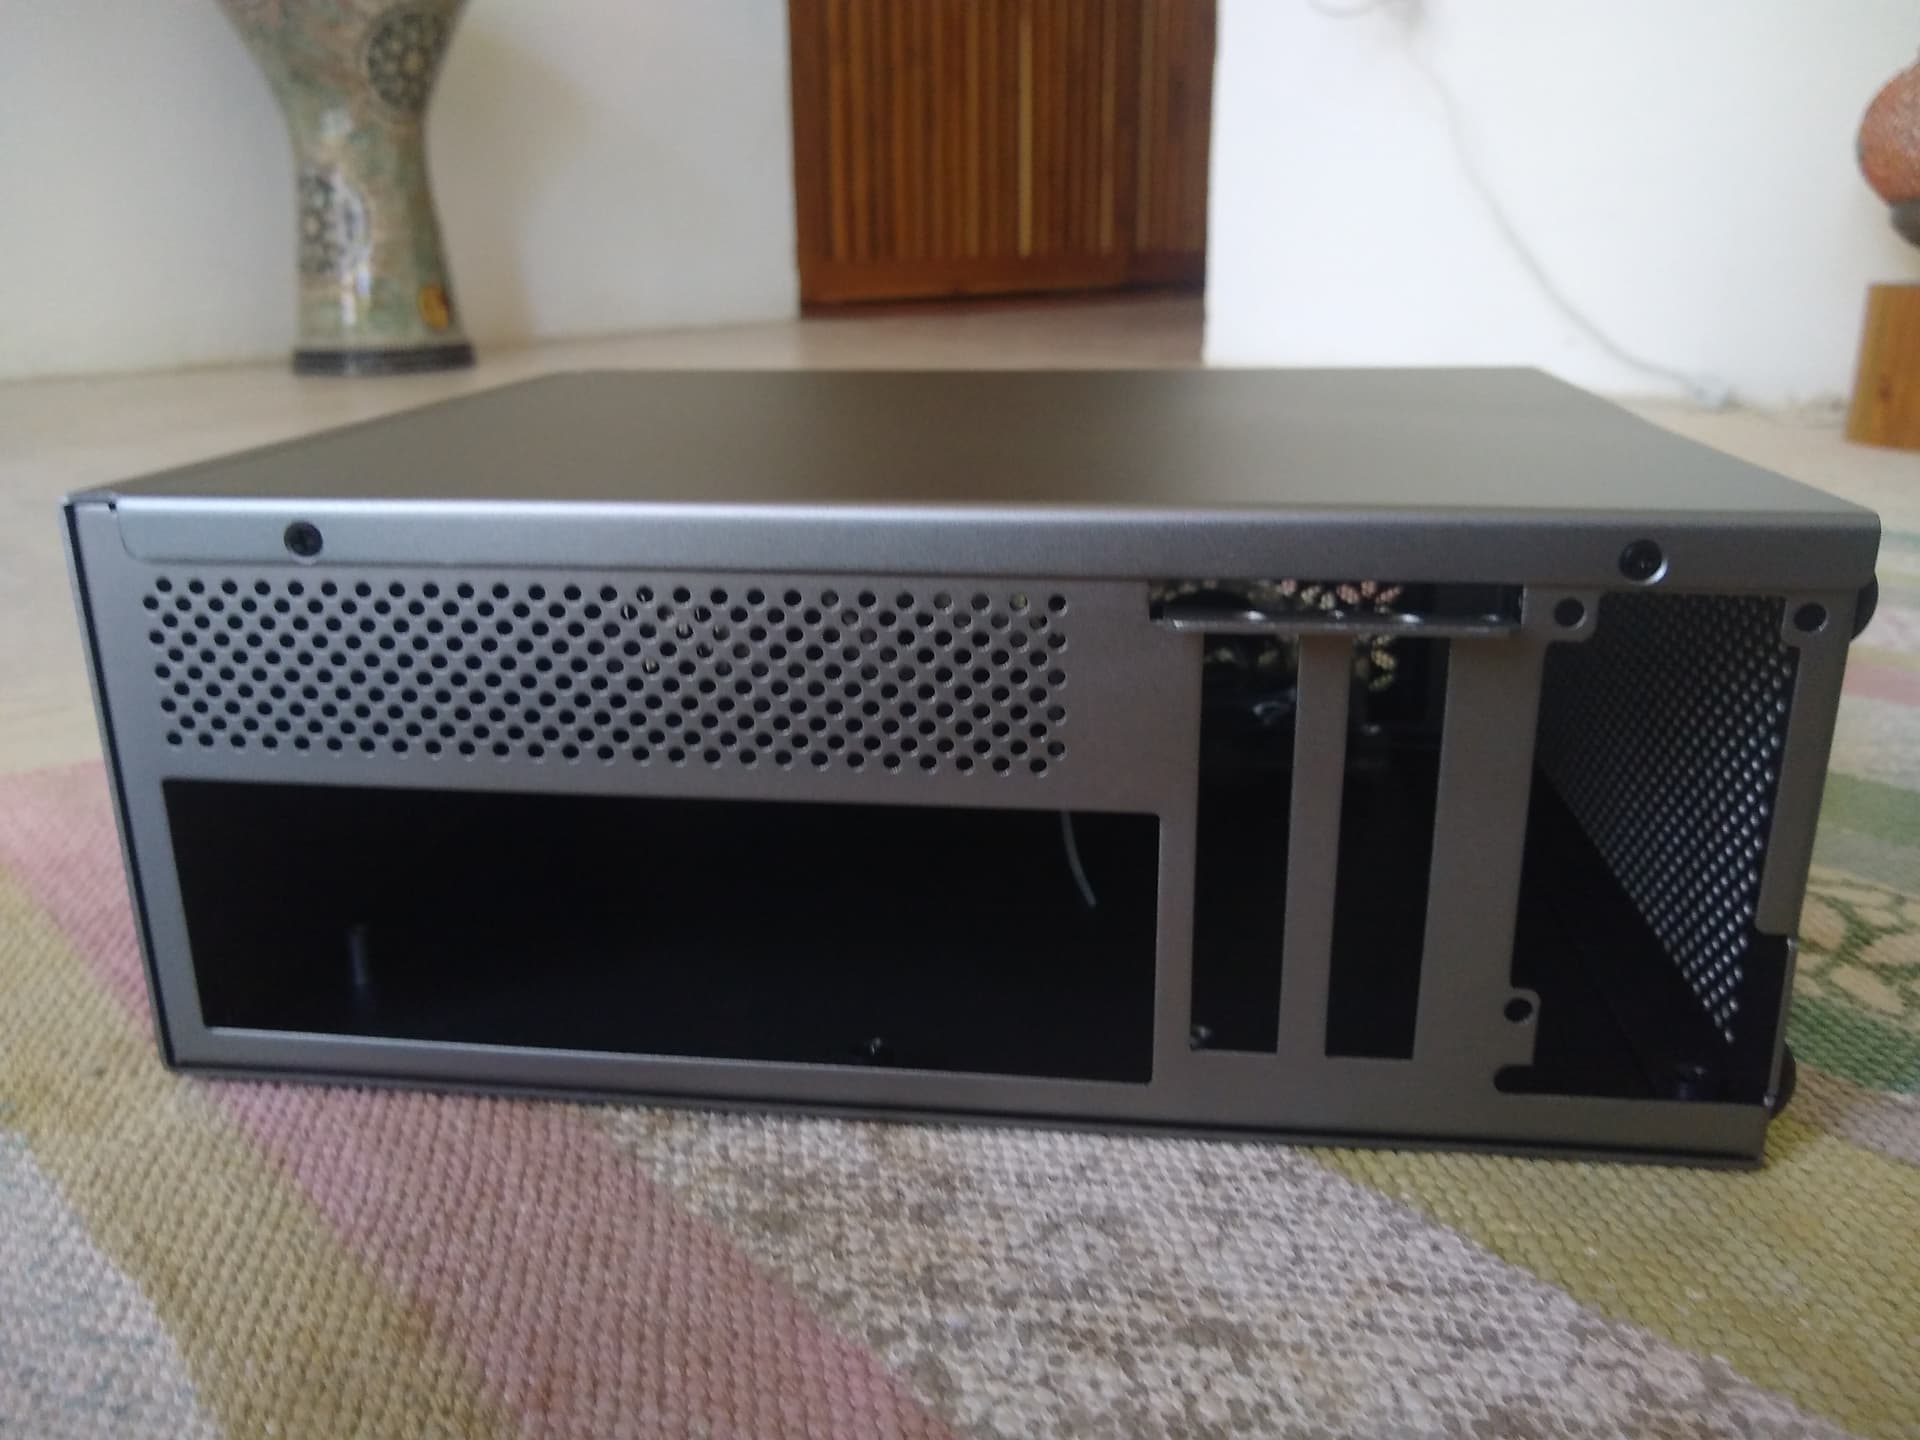
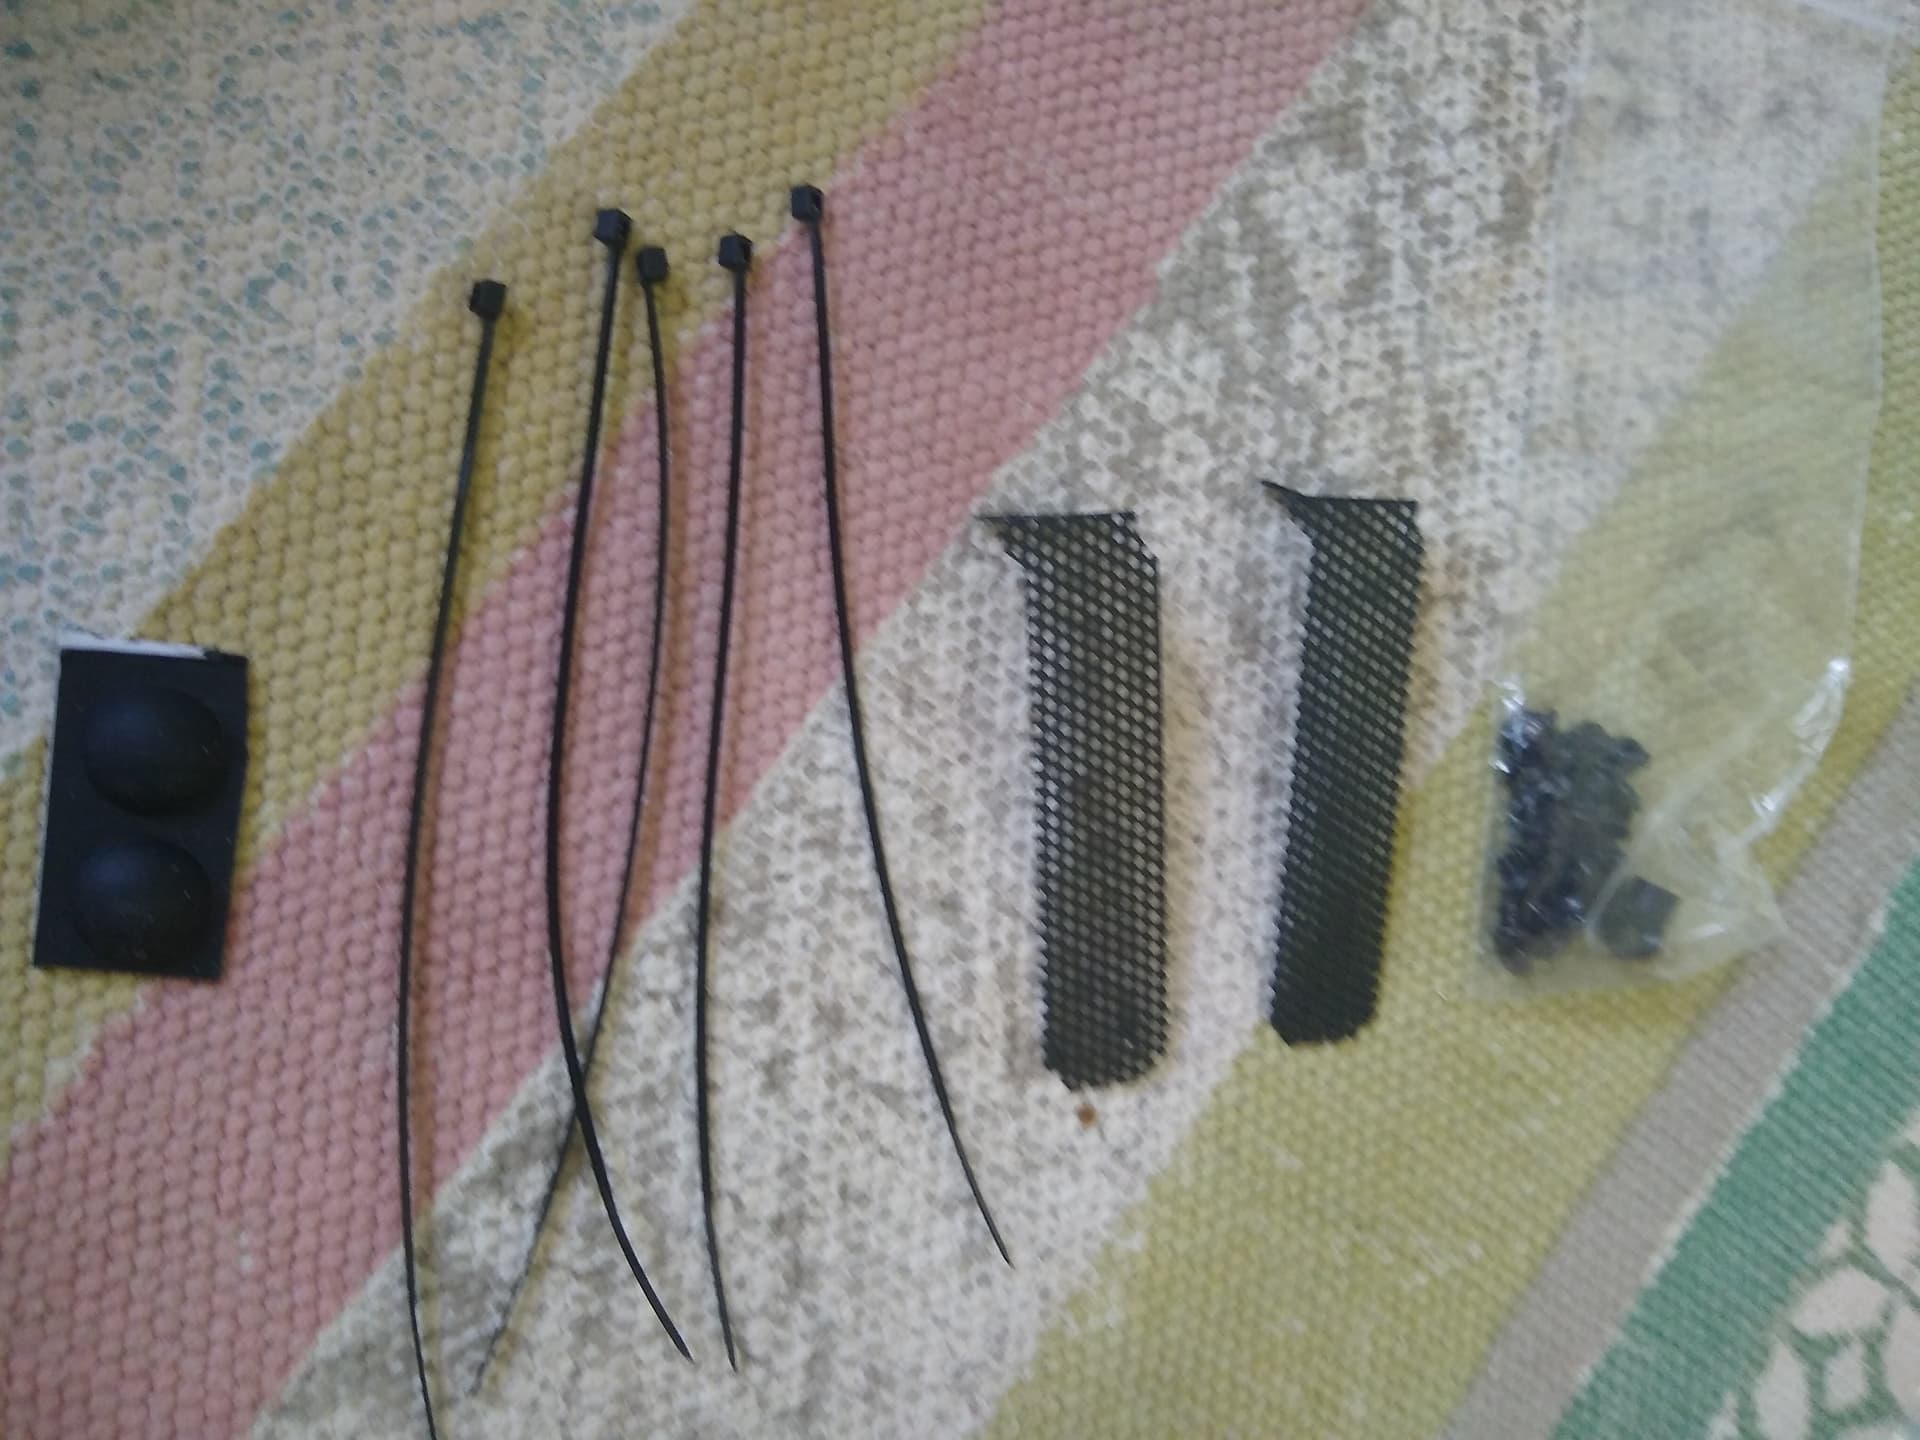
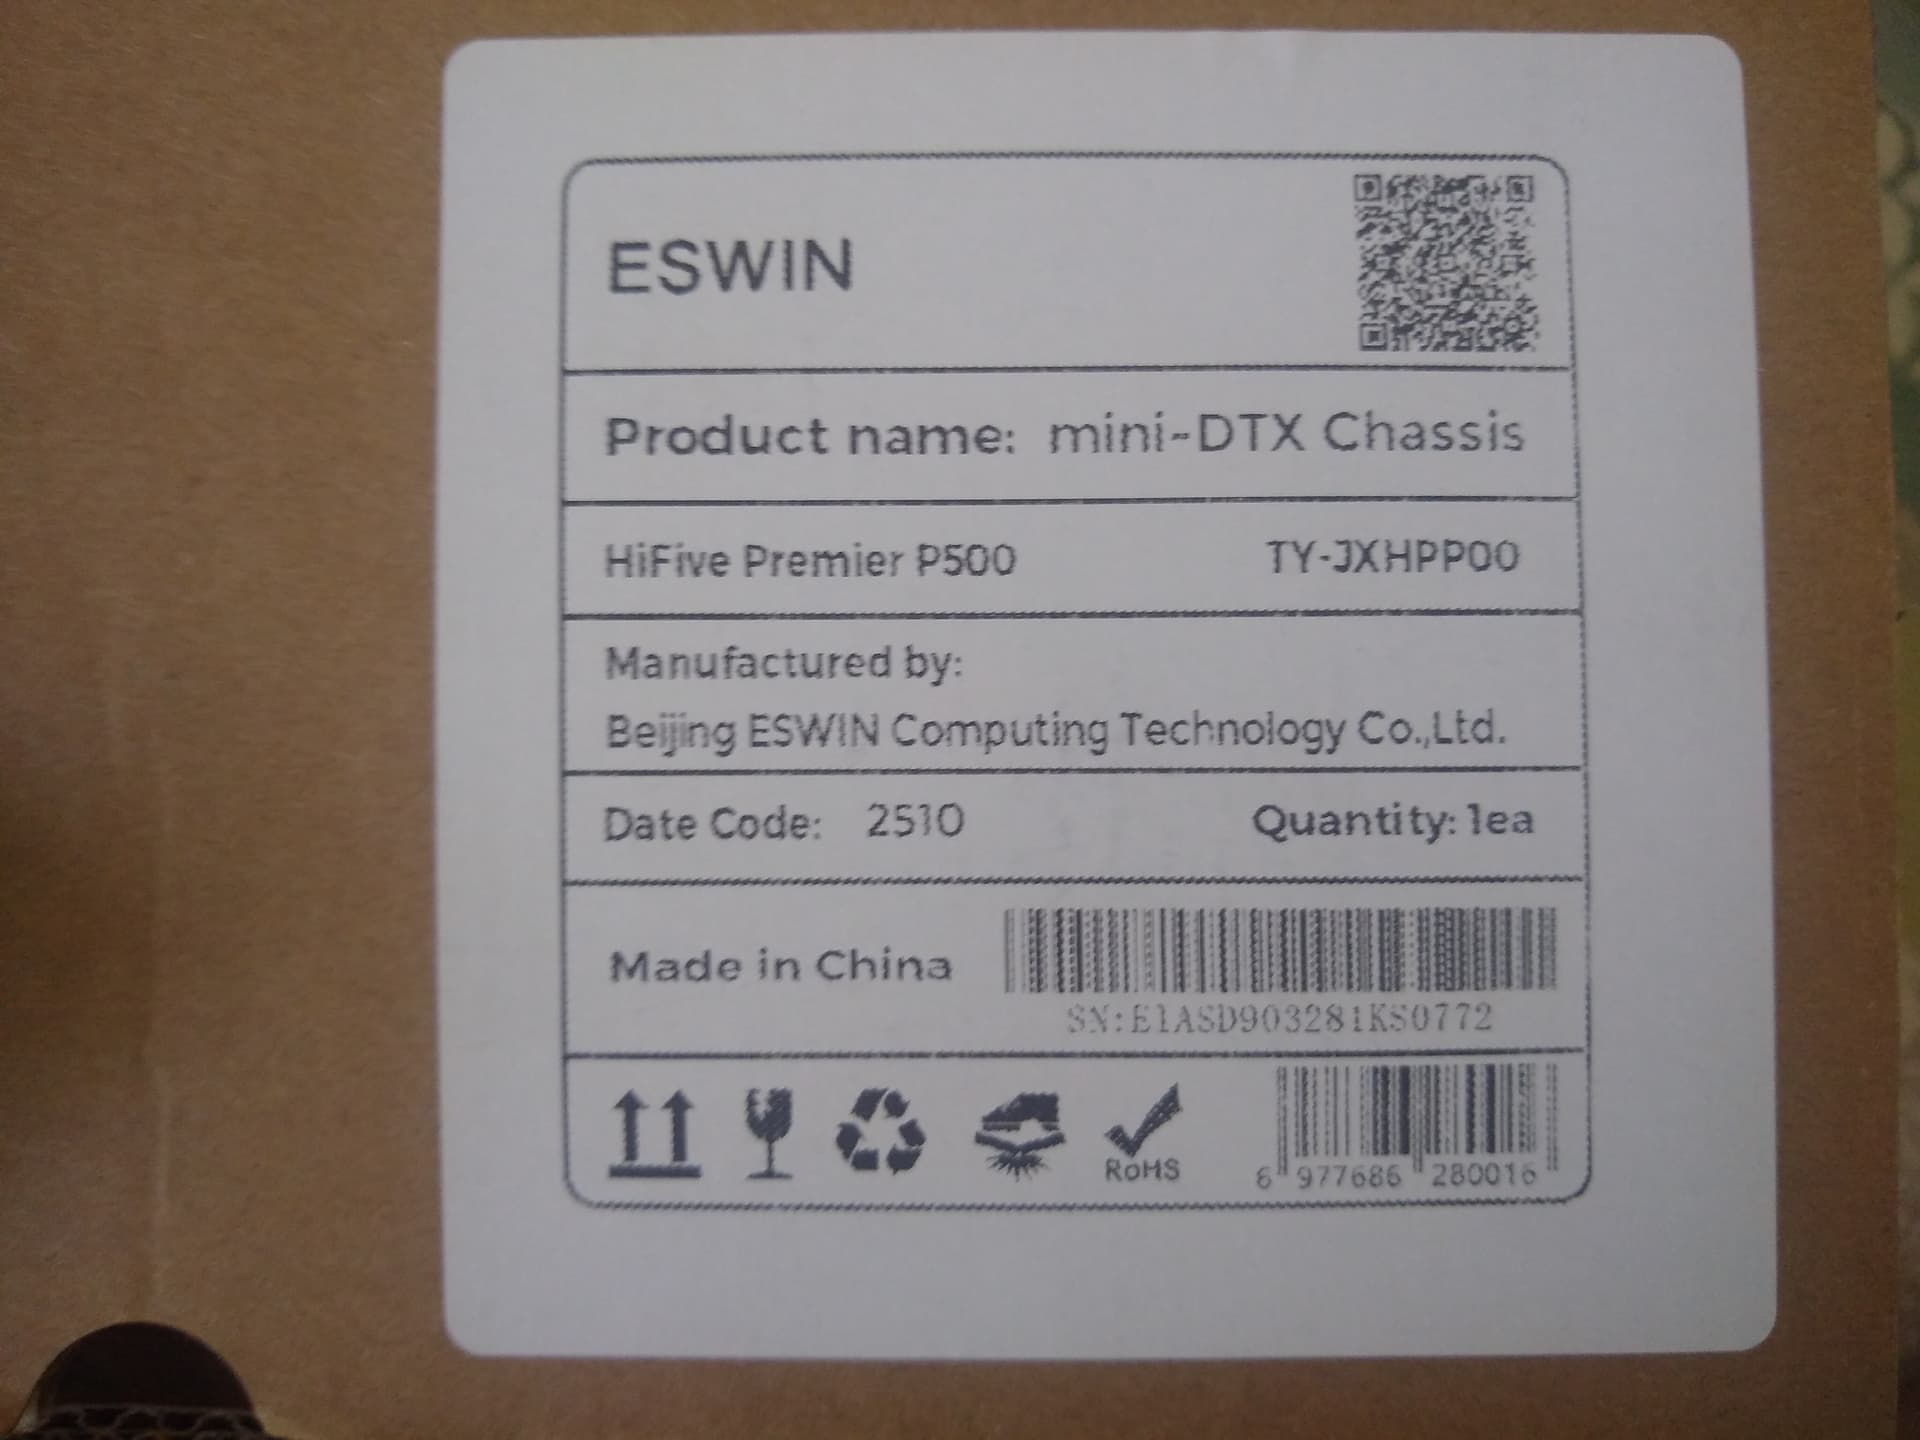
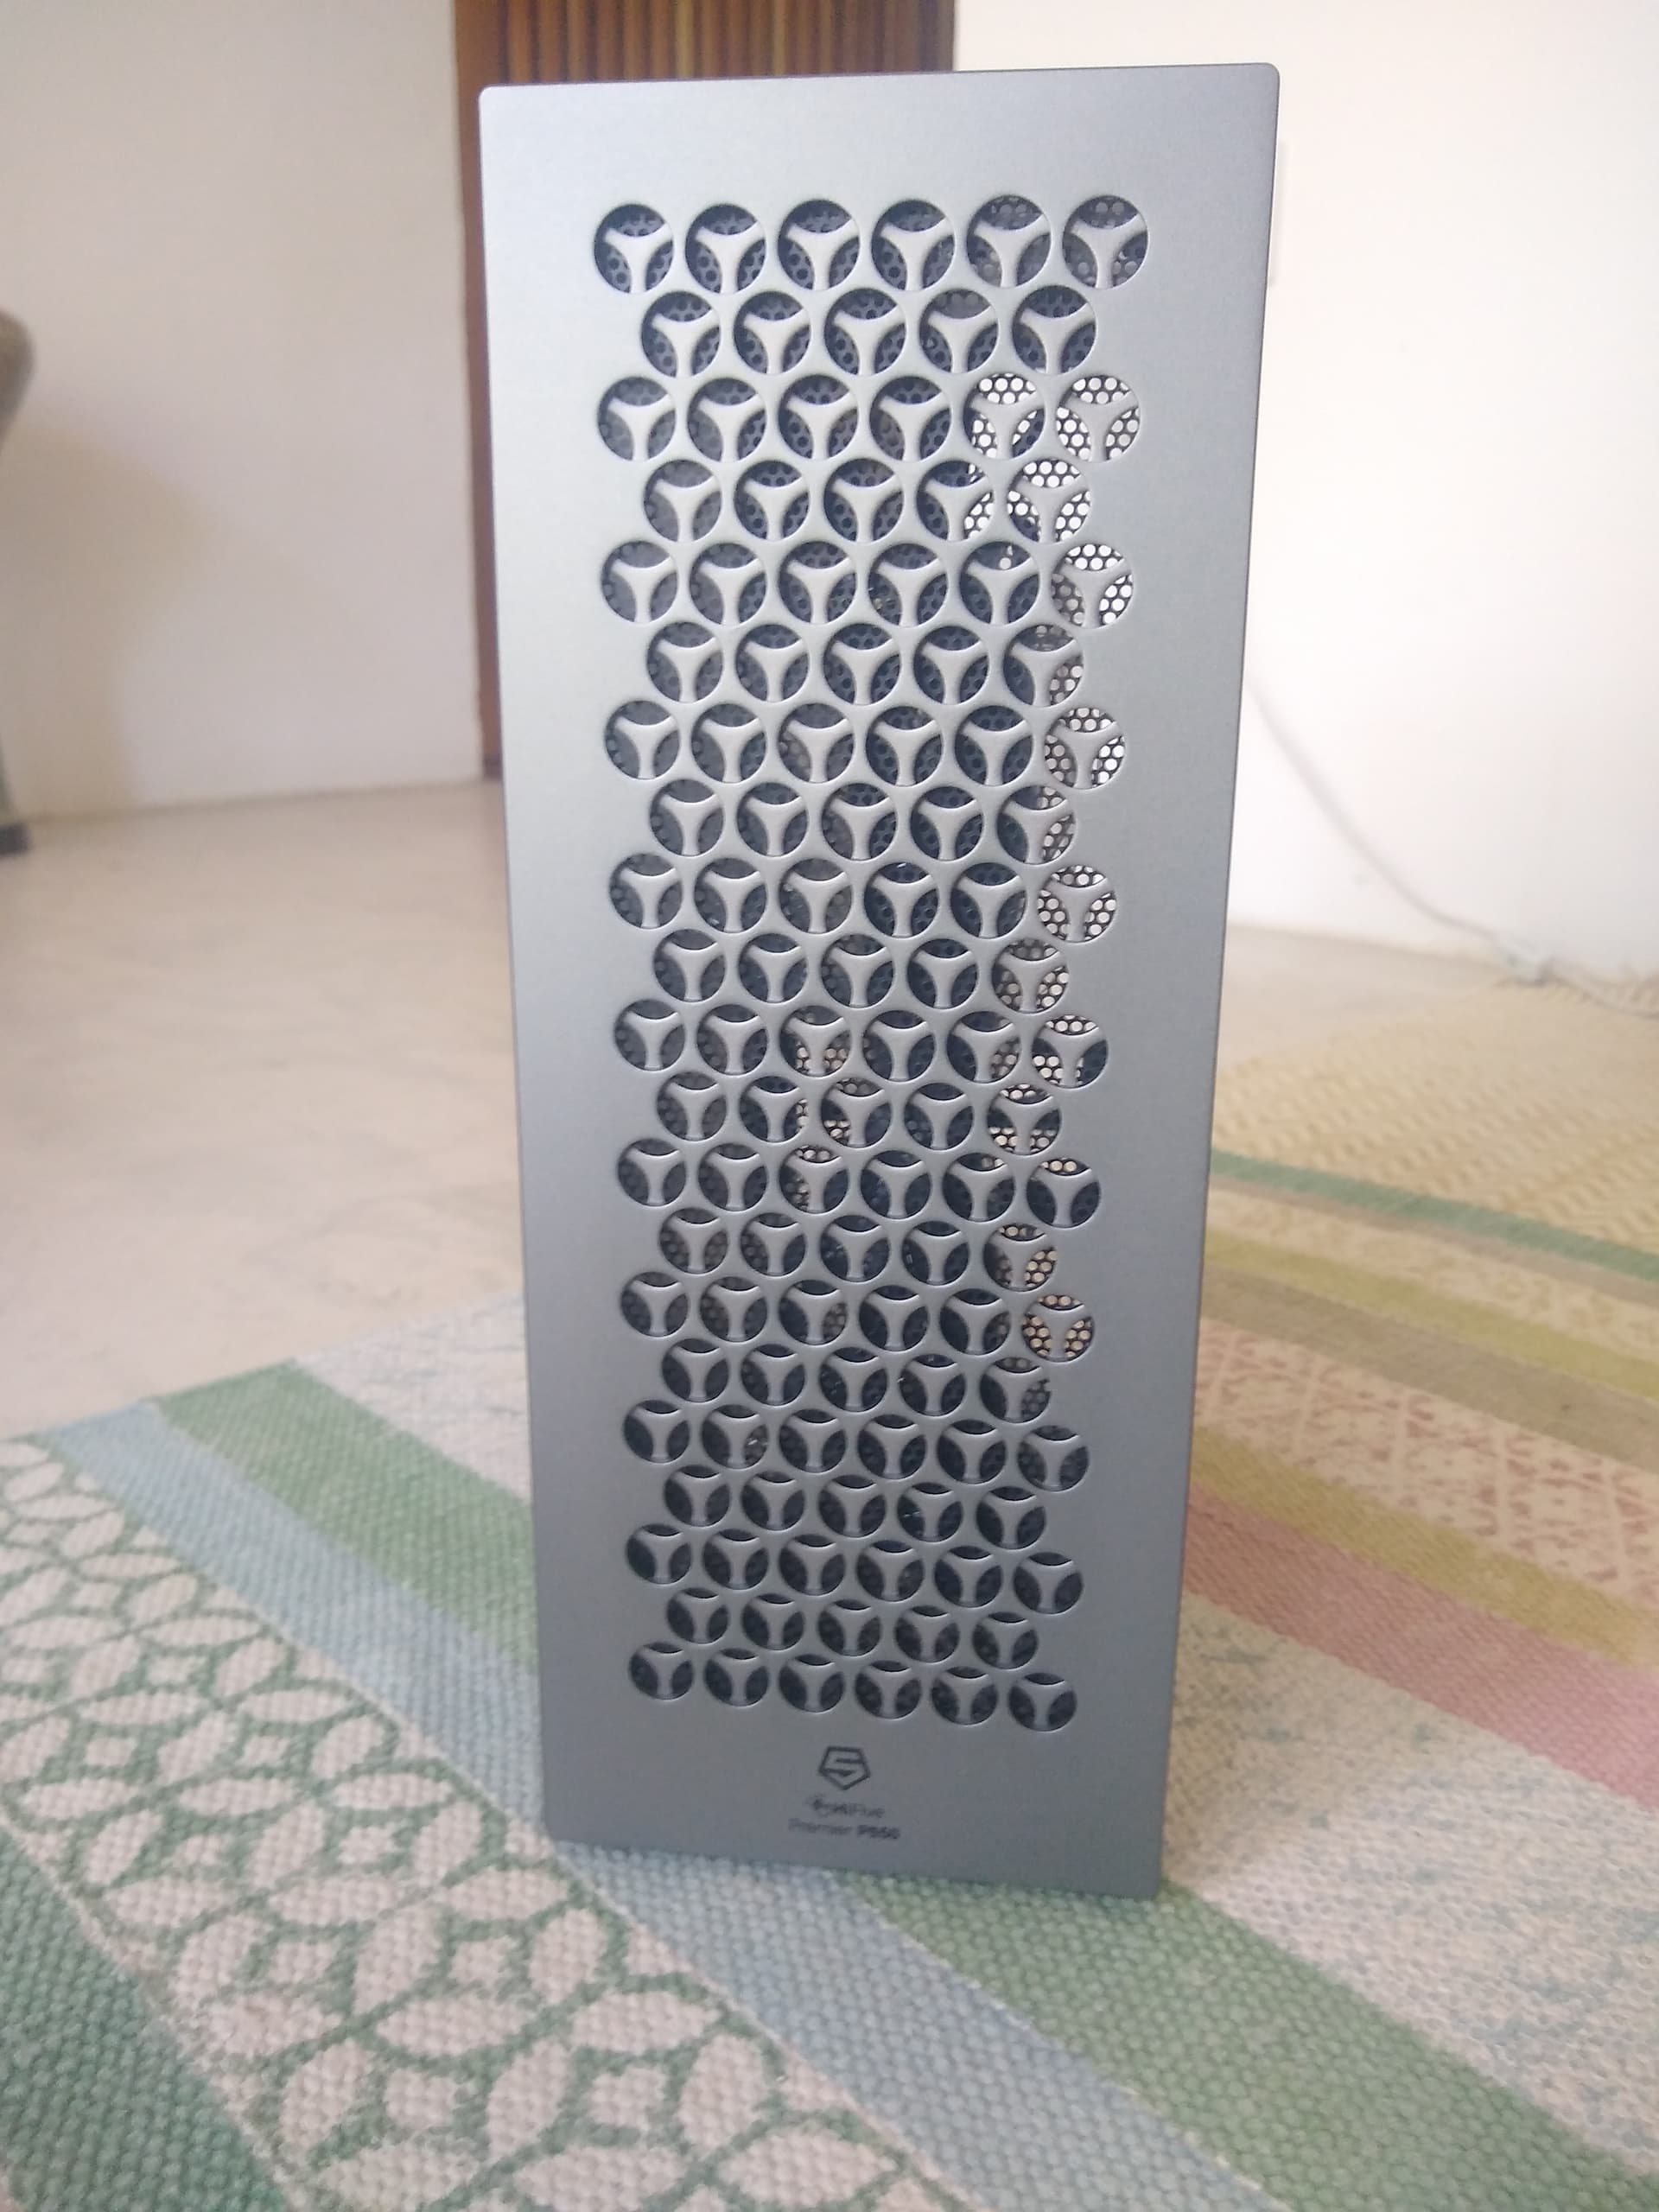
## Case

> **[Amazon.com: Mini-ITX/DTX Case for HiFive P550 – Aluminum-Magnesium Alloy,...](https://www.amazon.com/Mini-ITX-DTX-Case-HiFive-P550/dp/B0FFBLLWCP)**
>
> "HiFive Premier P550 Developmeng board The heart of ElC7700X SoC is the SiFive P550Quad-Core Complex, which delivers 64-bit RlSC-Vperformance with a 4MB L3 cache, and the ESWIN self-developed high-efficient Al processer(NPU),the Al computation...
 ![IMG_20260509_125956](https://collective.flashbots.net/uploads/default/original/2X/d/d58fe541cfd0cced76aa945b6860ebccf58c70af.jpeg)

 ![IMG_20260509_130058](https://collective.flashbots.net/uploads/default/original/2X/8/84a9cfec4950dc0f2362a8d85e5566b0952cb705.jpeg)  
 ![IMG_20260509_130125](https://collective.flashbots.net/uploads/default/original/2X/e/ea7be45f298387778bca80c0bb515a486e3d2767.jpeg)  
 ![IMG_20260509_130136](https://collective.flashbots.net/uploads/default/original/2X/d/d5219be966465530b186c3205b109a26183a51c6.jpeg)  
 ![IMG_20260509_130237](https://collective.flashbots.net/uploads/default/original/2X/3/393a85fd2d7210dc823a6ab925954575ff2f9c12.jpeg)

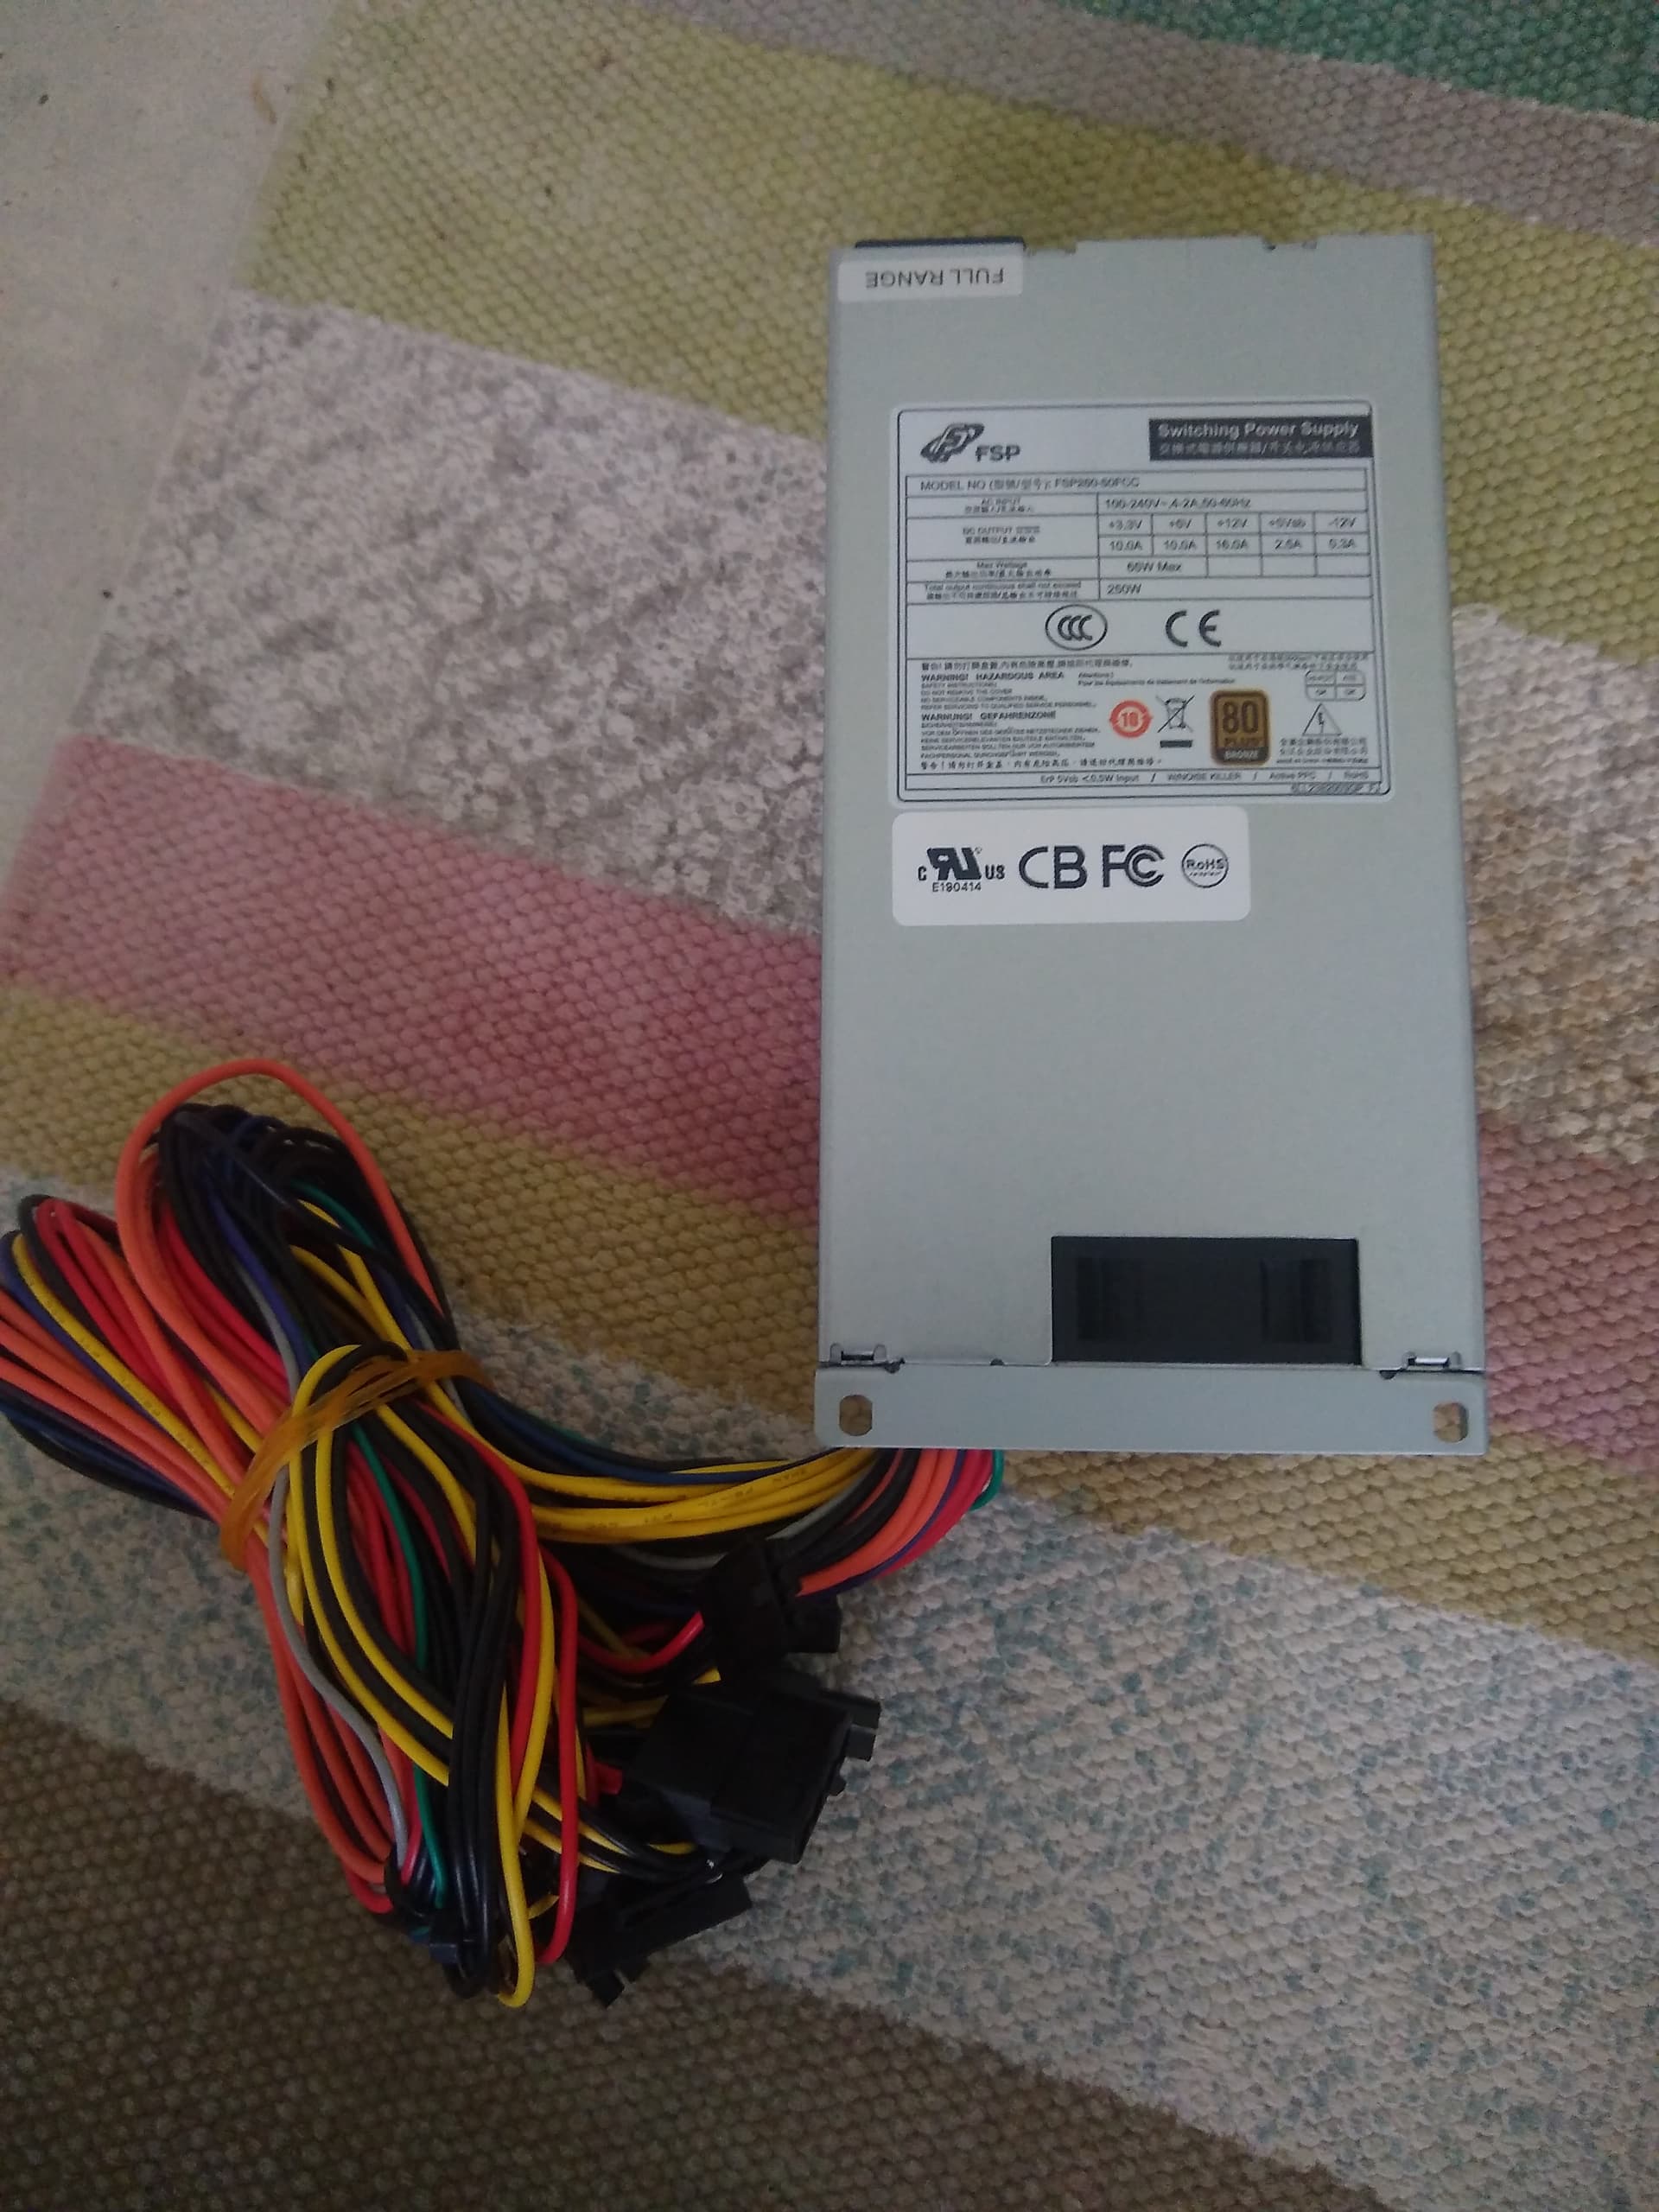
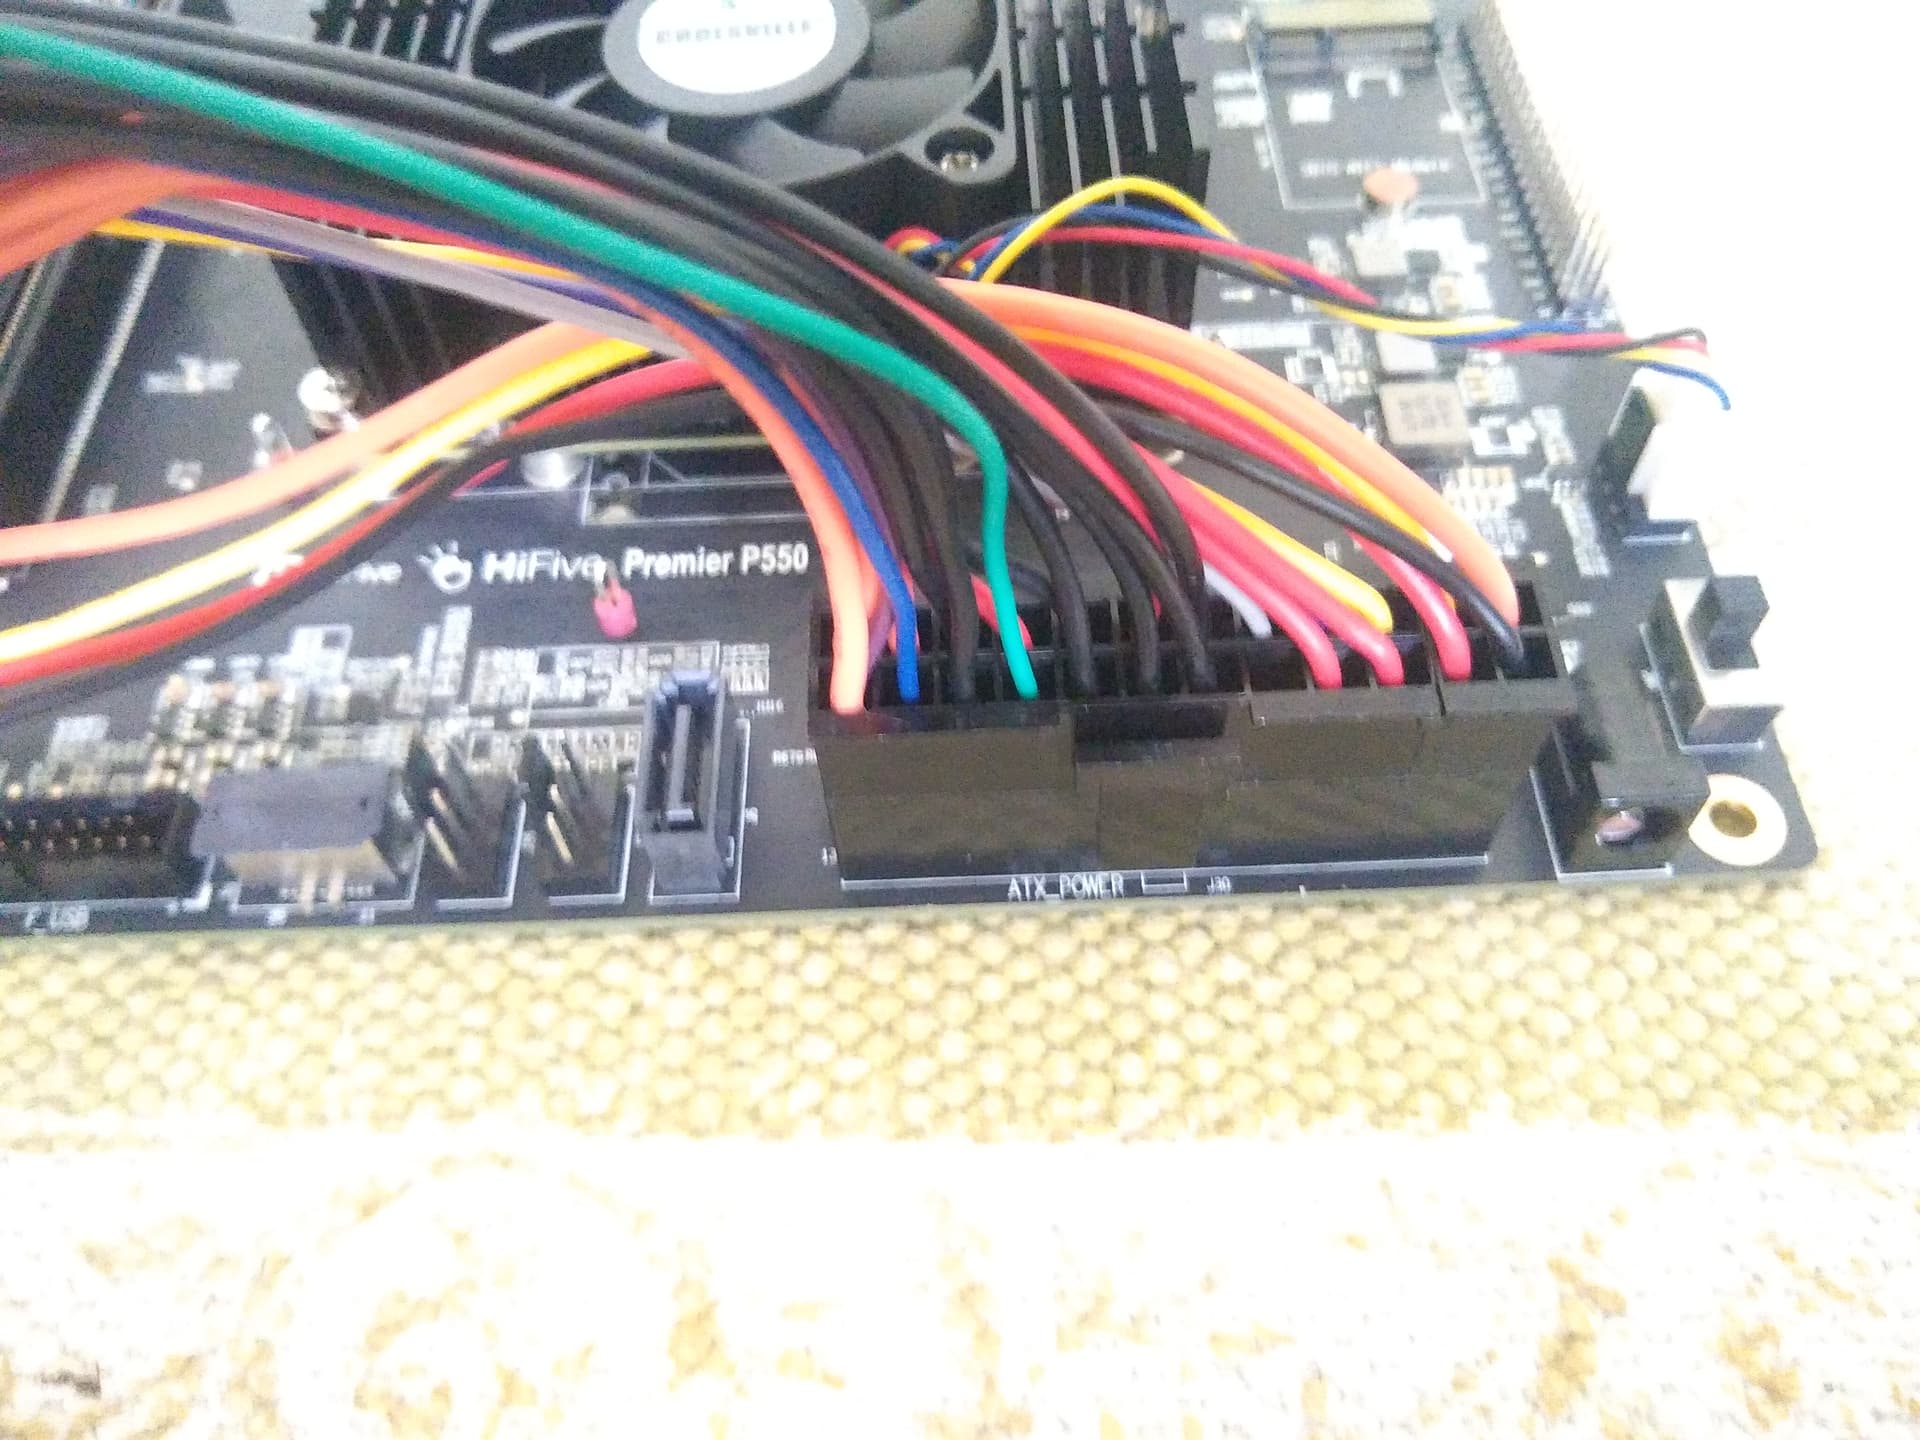
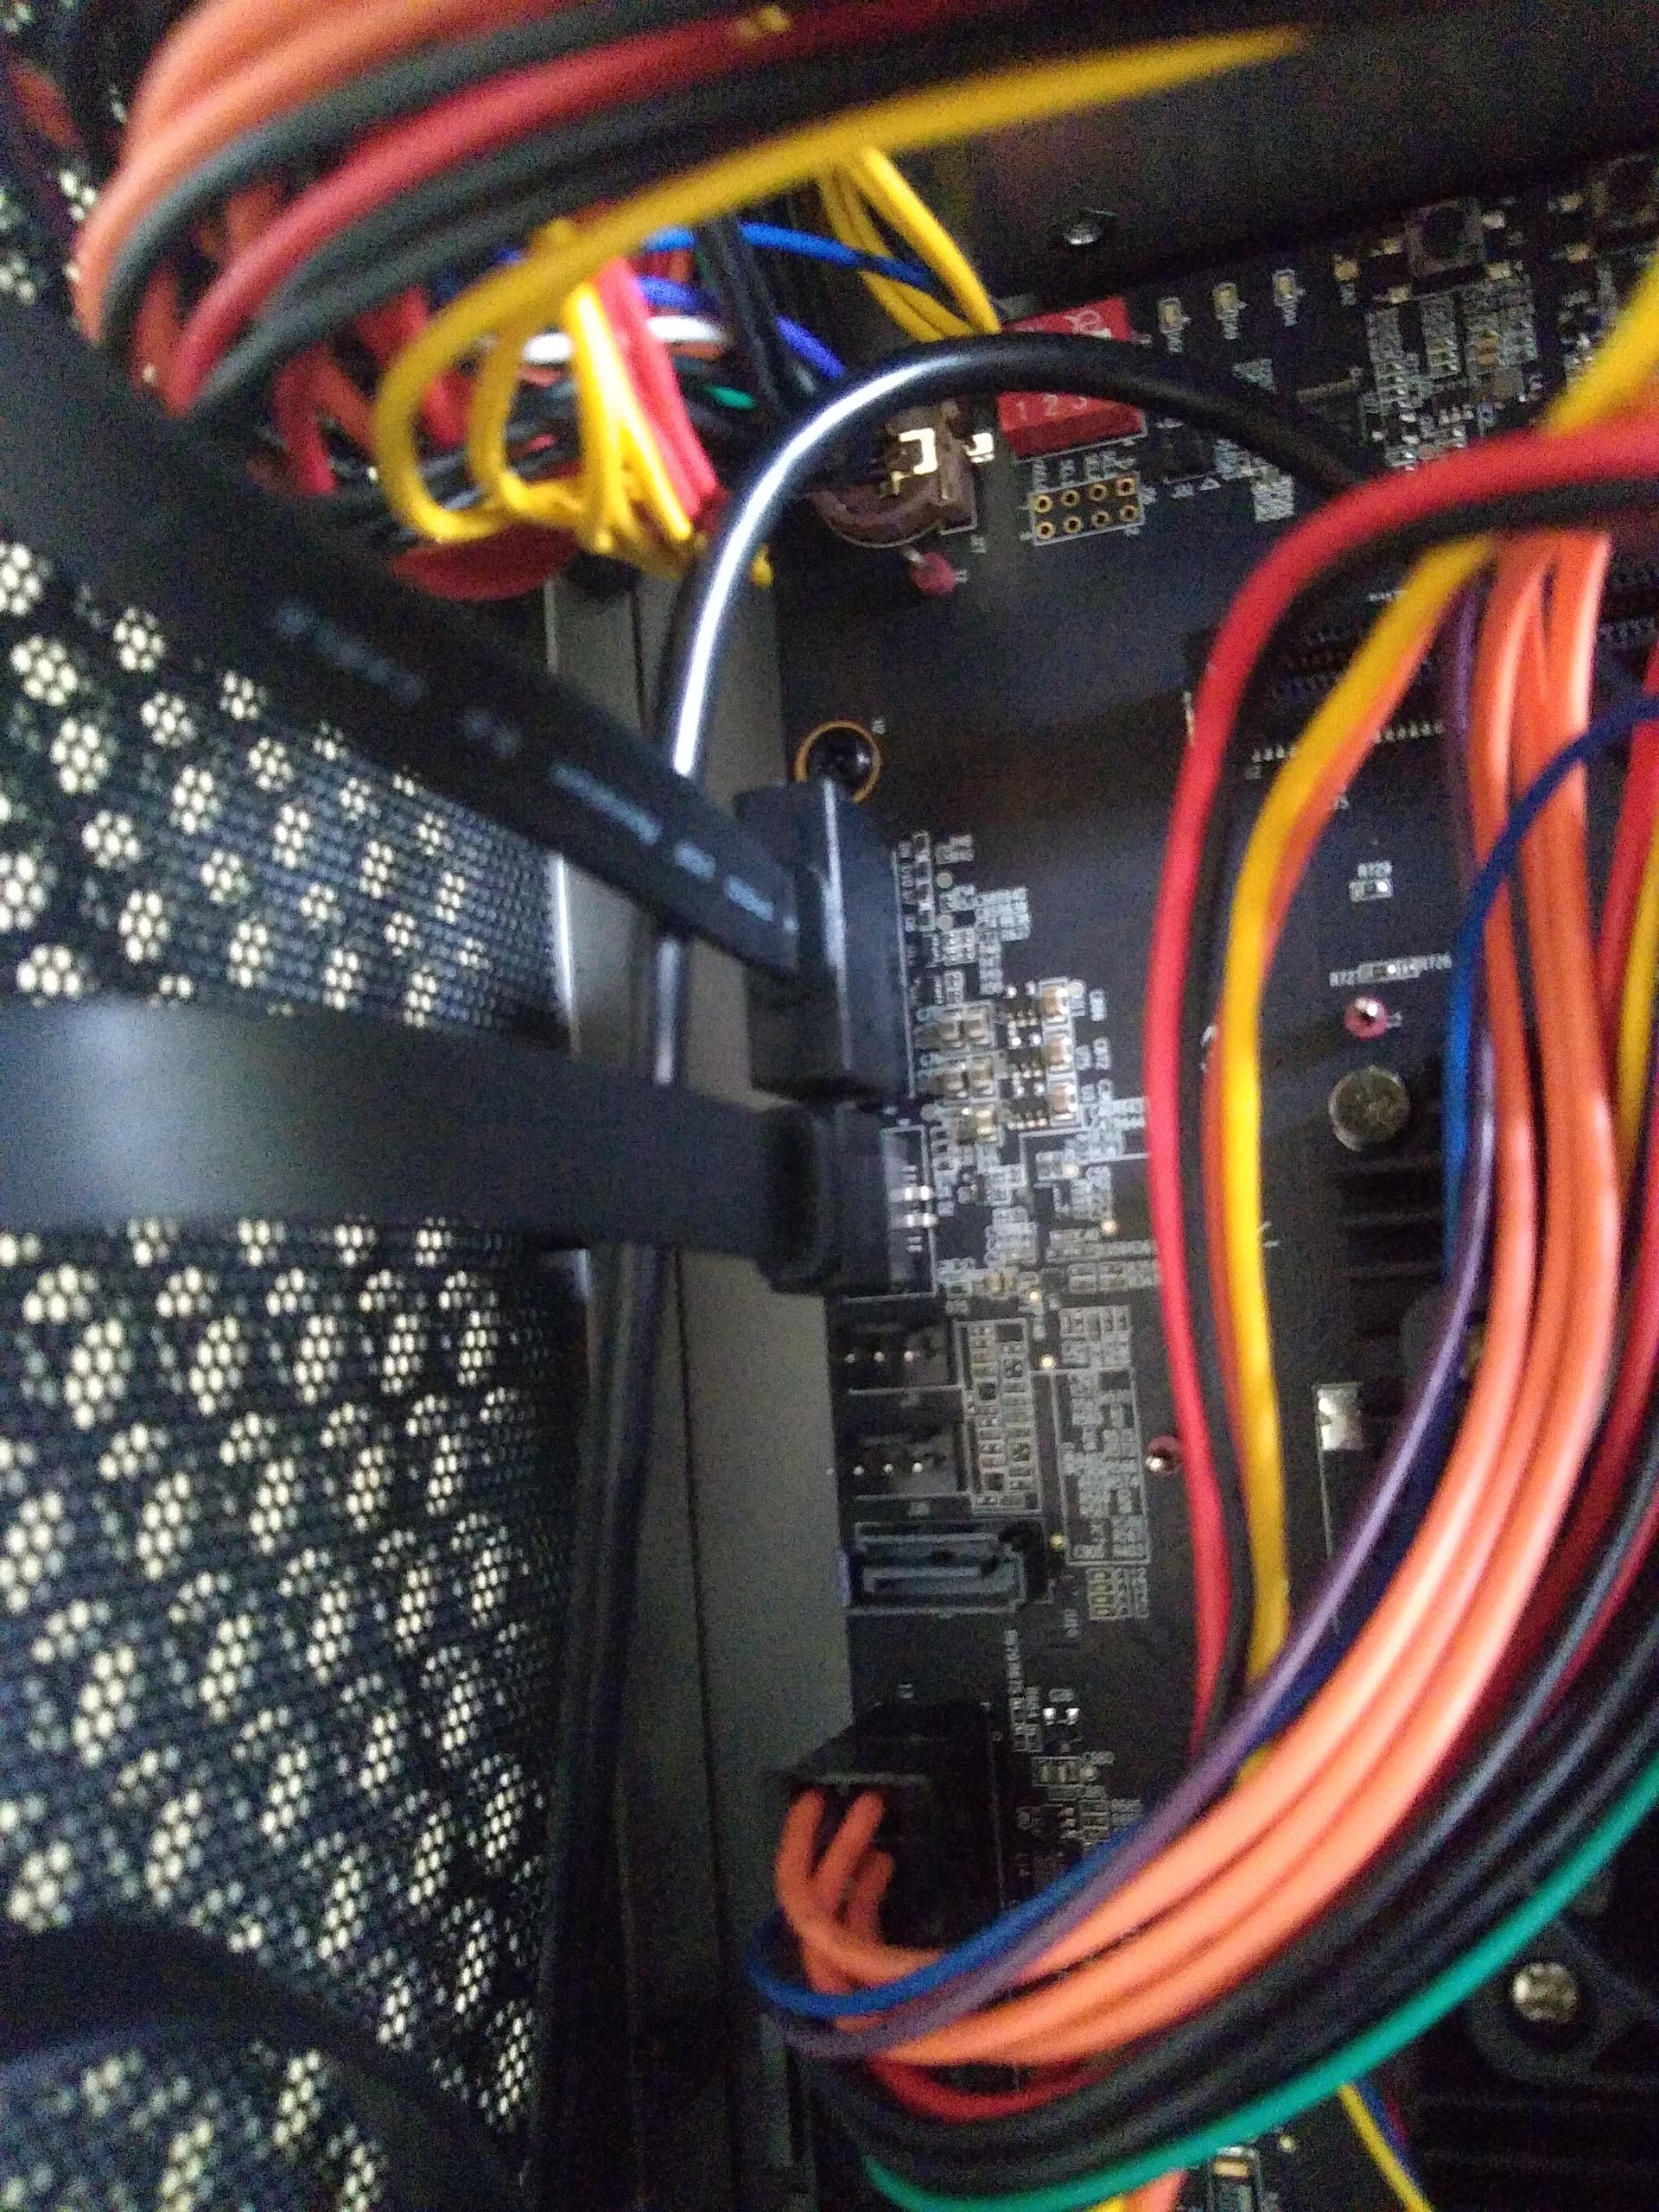
## ATX power supply

 ![IMG_20260511_154113](https://collective.flashbots.net/uploads/default/original/2X/9/9c8fa15b9f772a3eed6a8be465ce8974da1496af.jpeg)  
 ![IMG_20260511_154131](https://collective.flashbots.net/uploads/default/original/2X/f/fcee6795da822dc674abc63064032679b3b91ee2.jpeg)

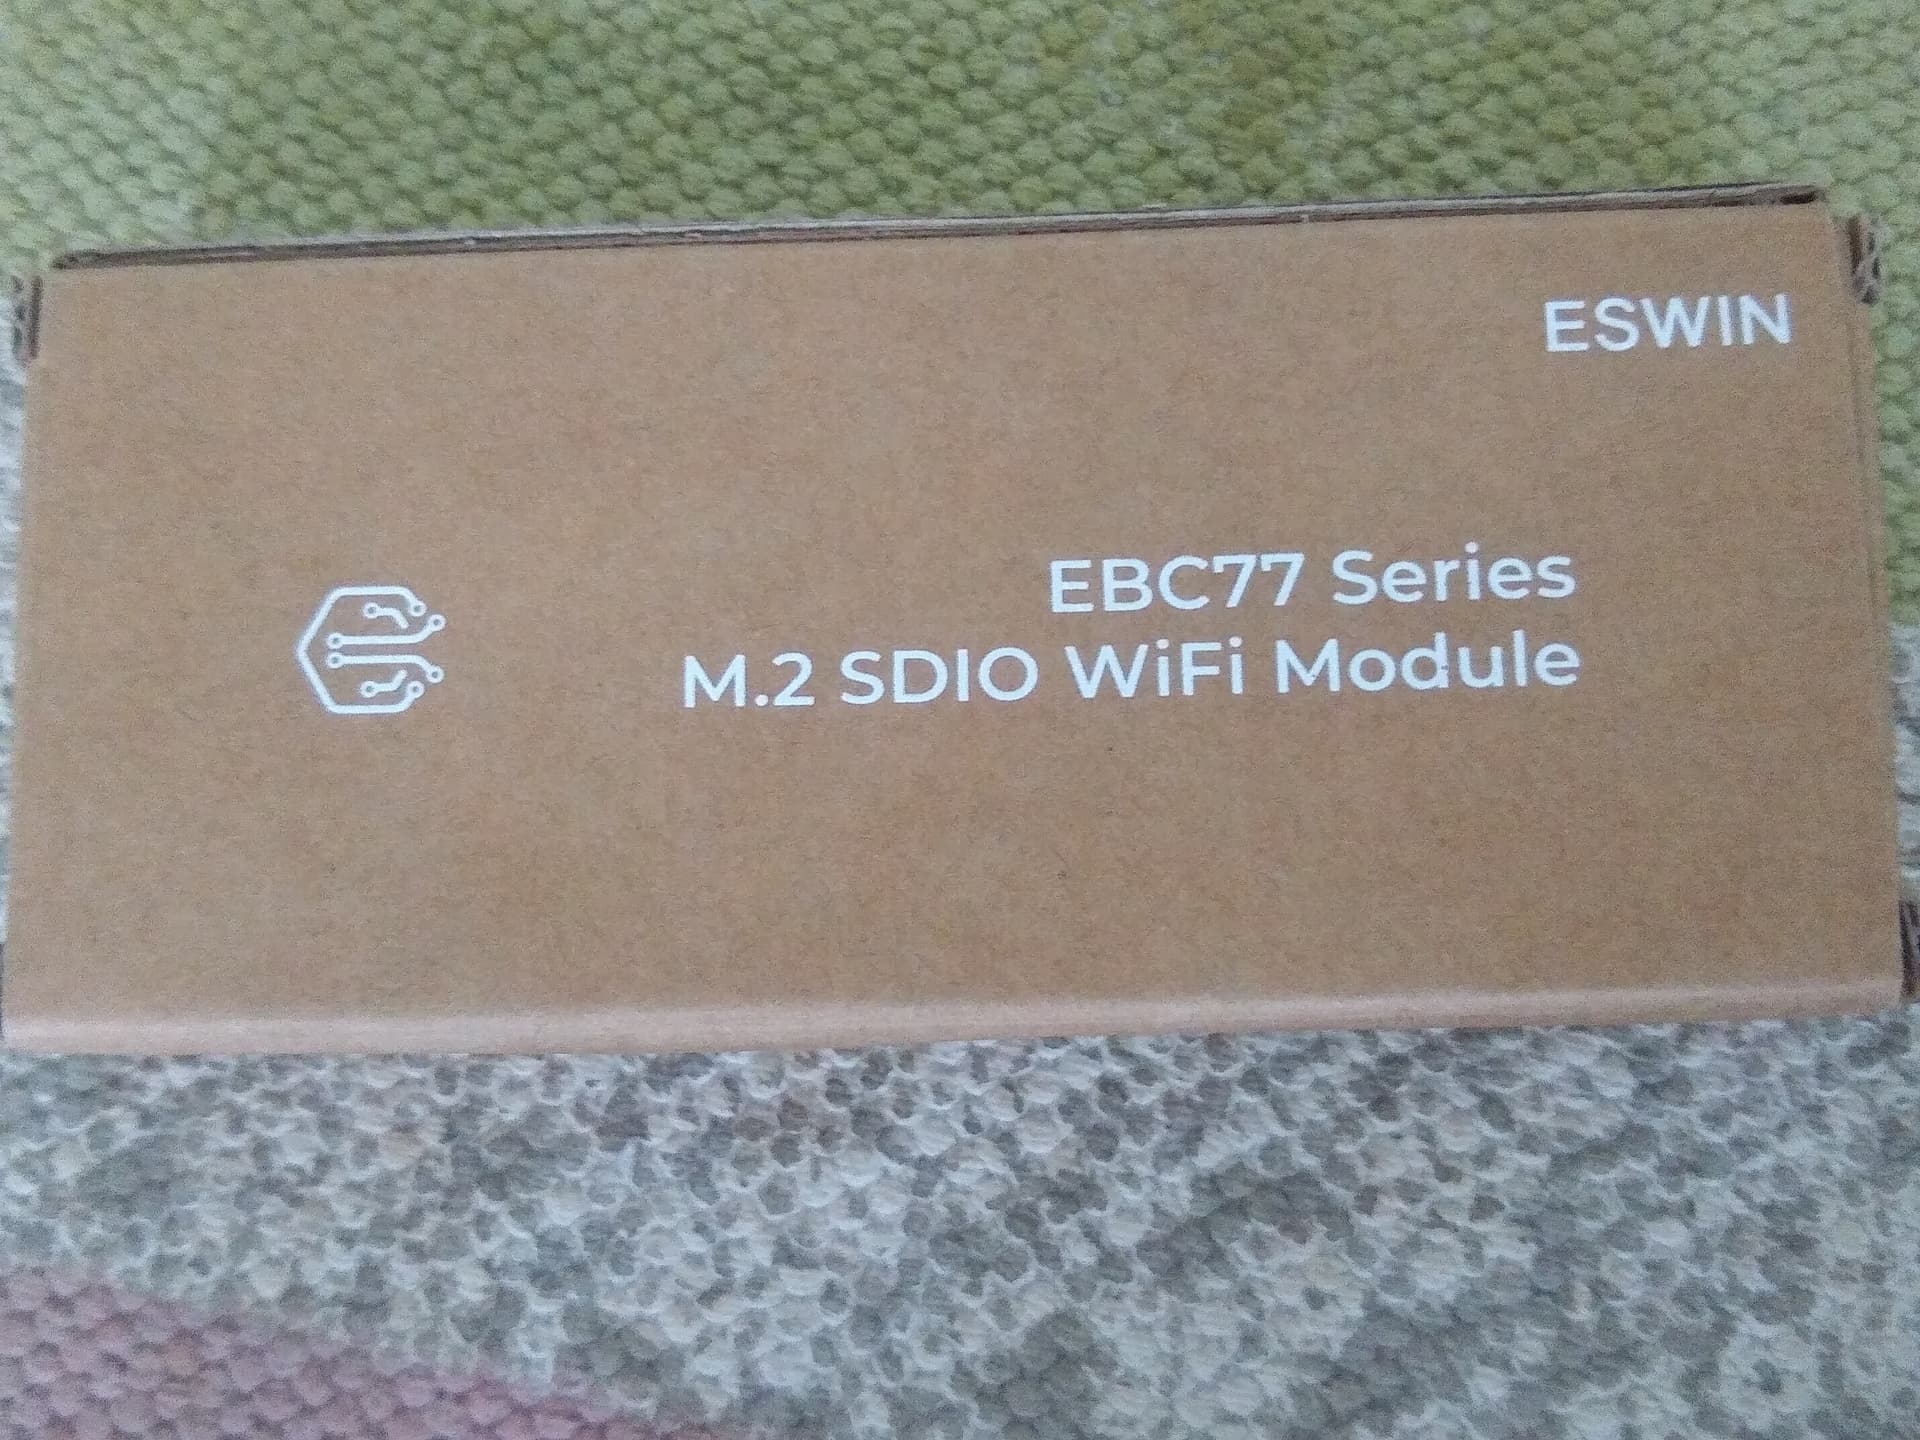
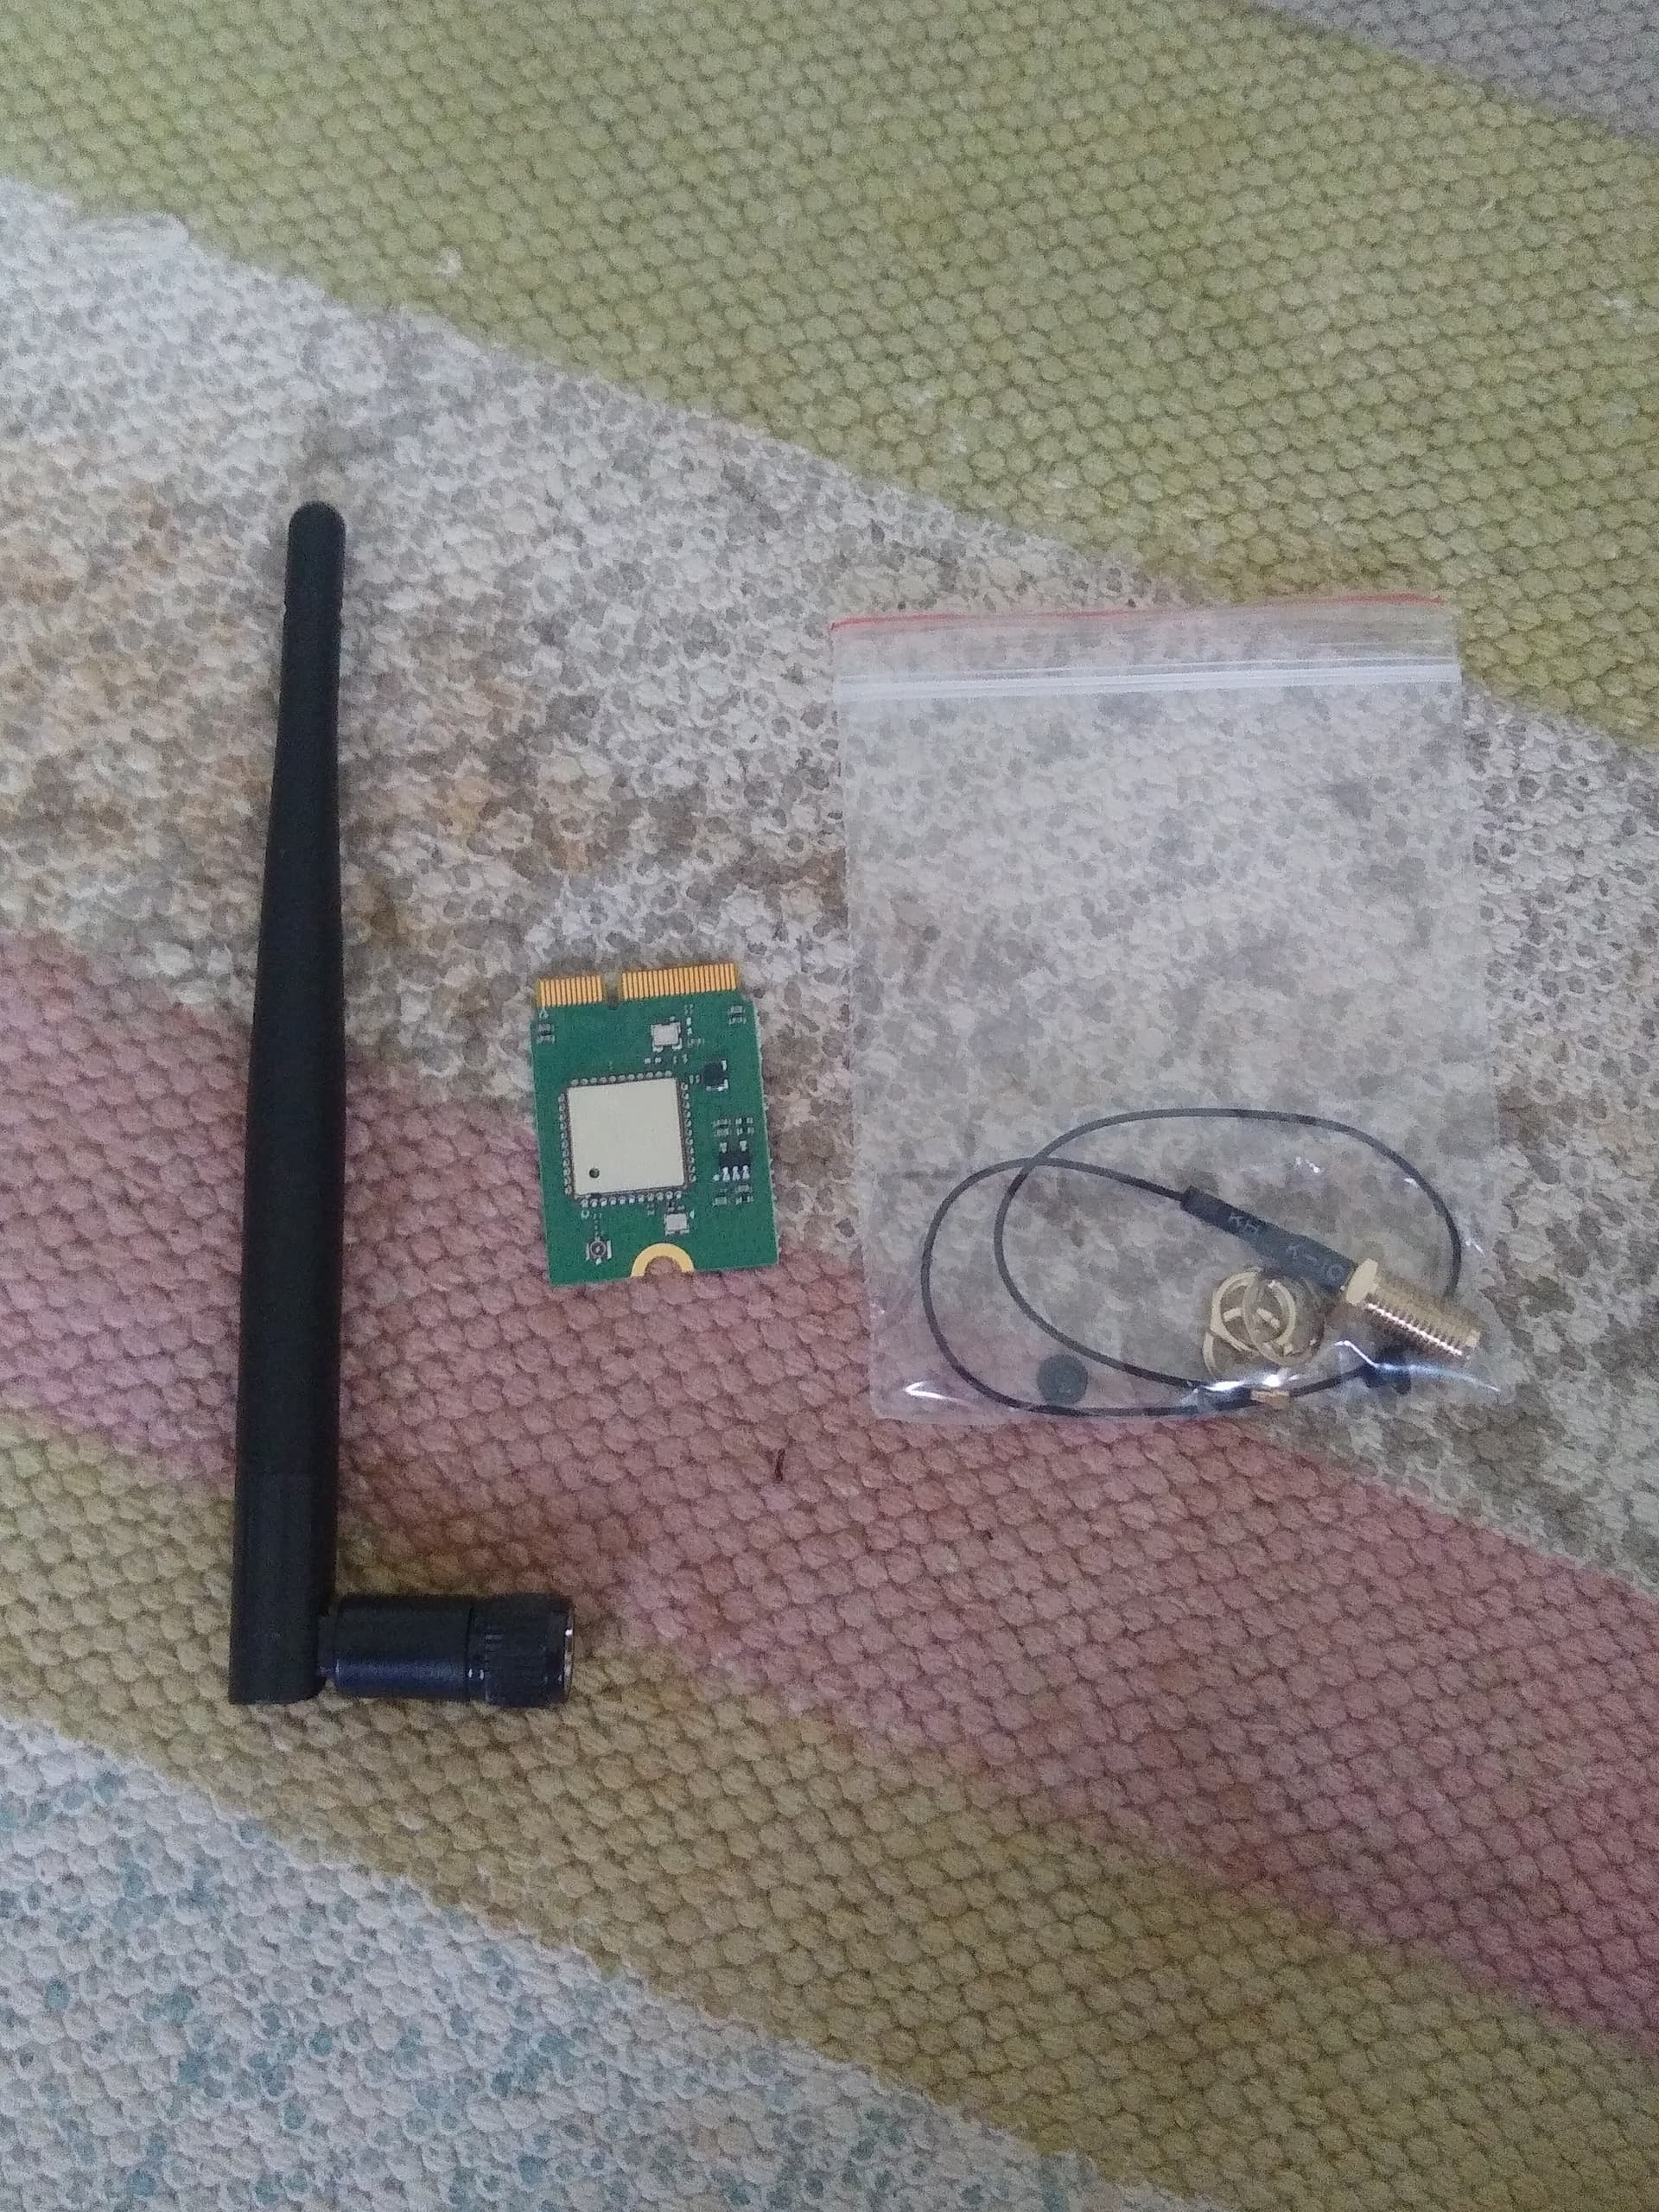
# Wi-Fi Module

 ![IMG_20260511_154146](https://collective.flashbots.net/uploads/default/original/2X/b/b498f864b3df121e5939fe9adf8656b68884b061.jpeg)  
 ![IMG_20260511_154220](https://collective.flashbots.net/uploads/default/original/2X/e/e8a316f54aa821246c1cae88ddeb898999fd1a18.jpeg)

---

<div class="post-metadata">

### Author: ![guayabyte](https://collective.flashbots.net/user_avatar/collective.flashbots.net/guayabyte/32/4_2.png) [@guayabyte](https://collective.flashbots.net/u/guayabyte)
#### Post date: [May 11, 2026, 9:20pm UTC](https://collective.flashbots.net/t/hifive-premier-p550/5707/3 "2026-05-11T21:20:31Z")

</div>

[Getting started guide](https://www.sifive.com/document-file/hifive-premier-p550-getting-started-guide)

# Hardware

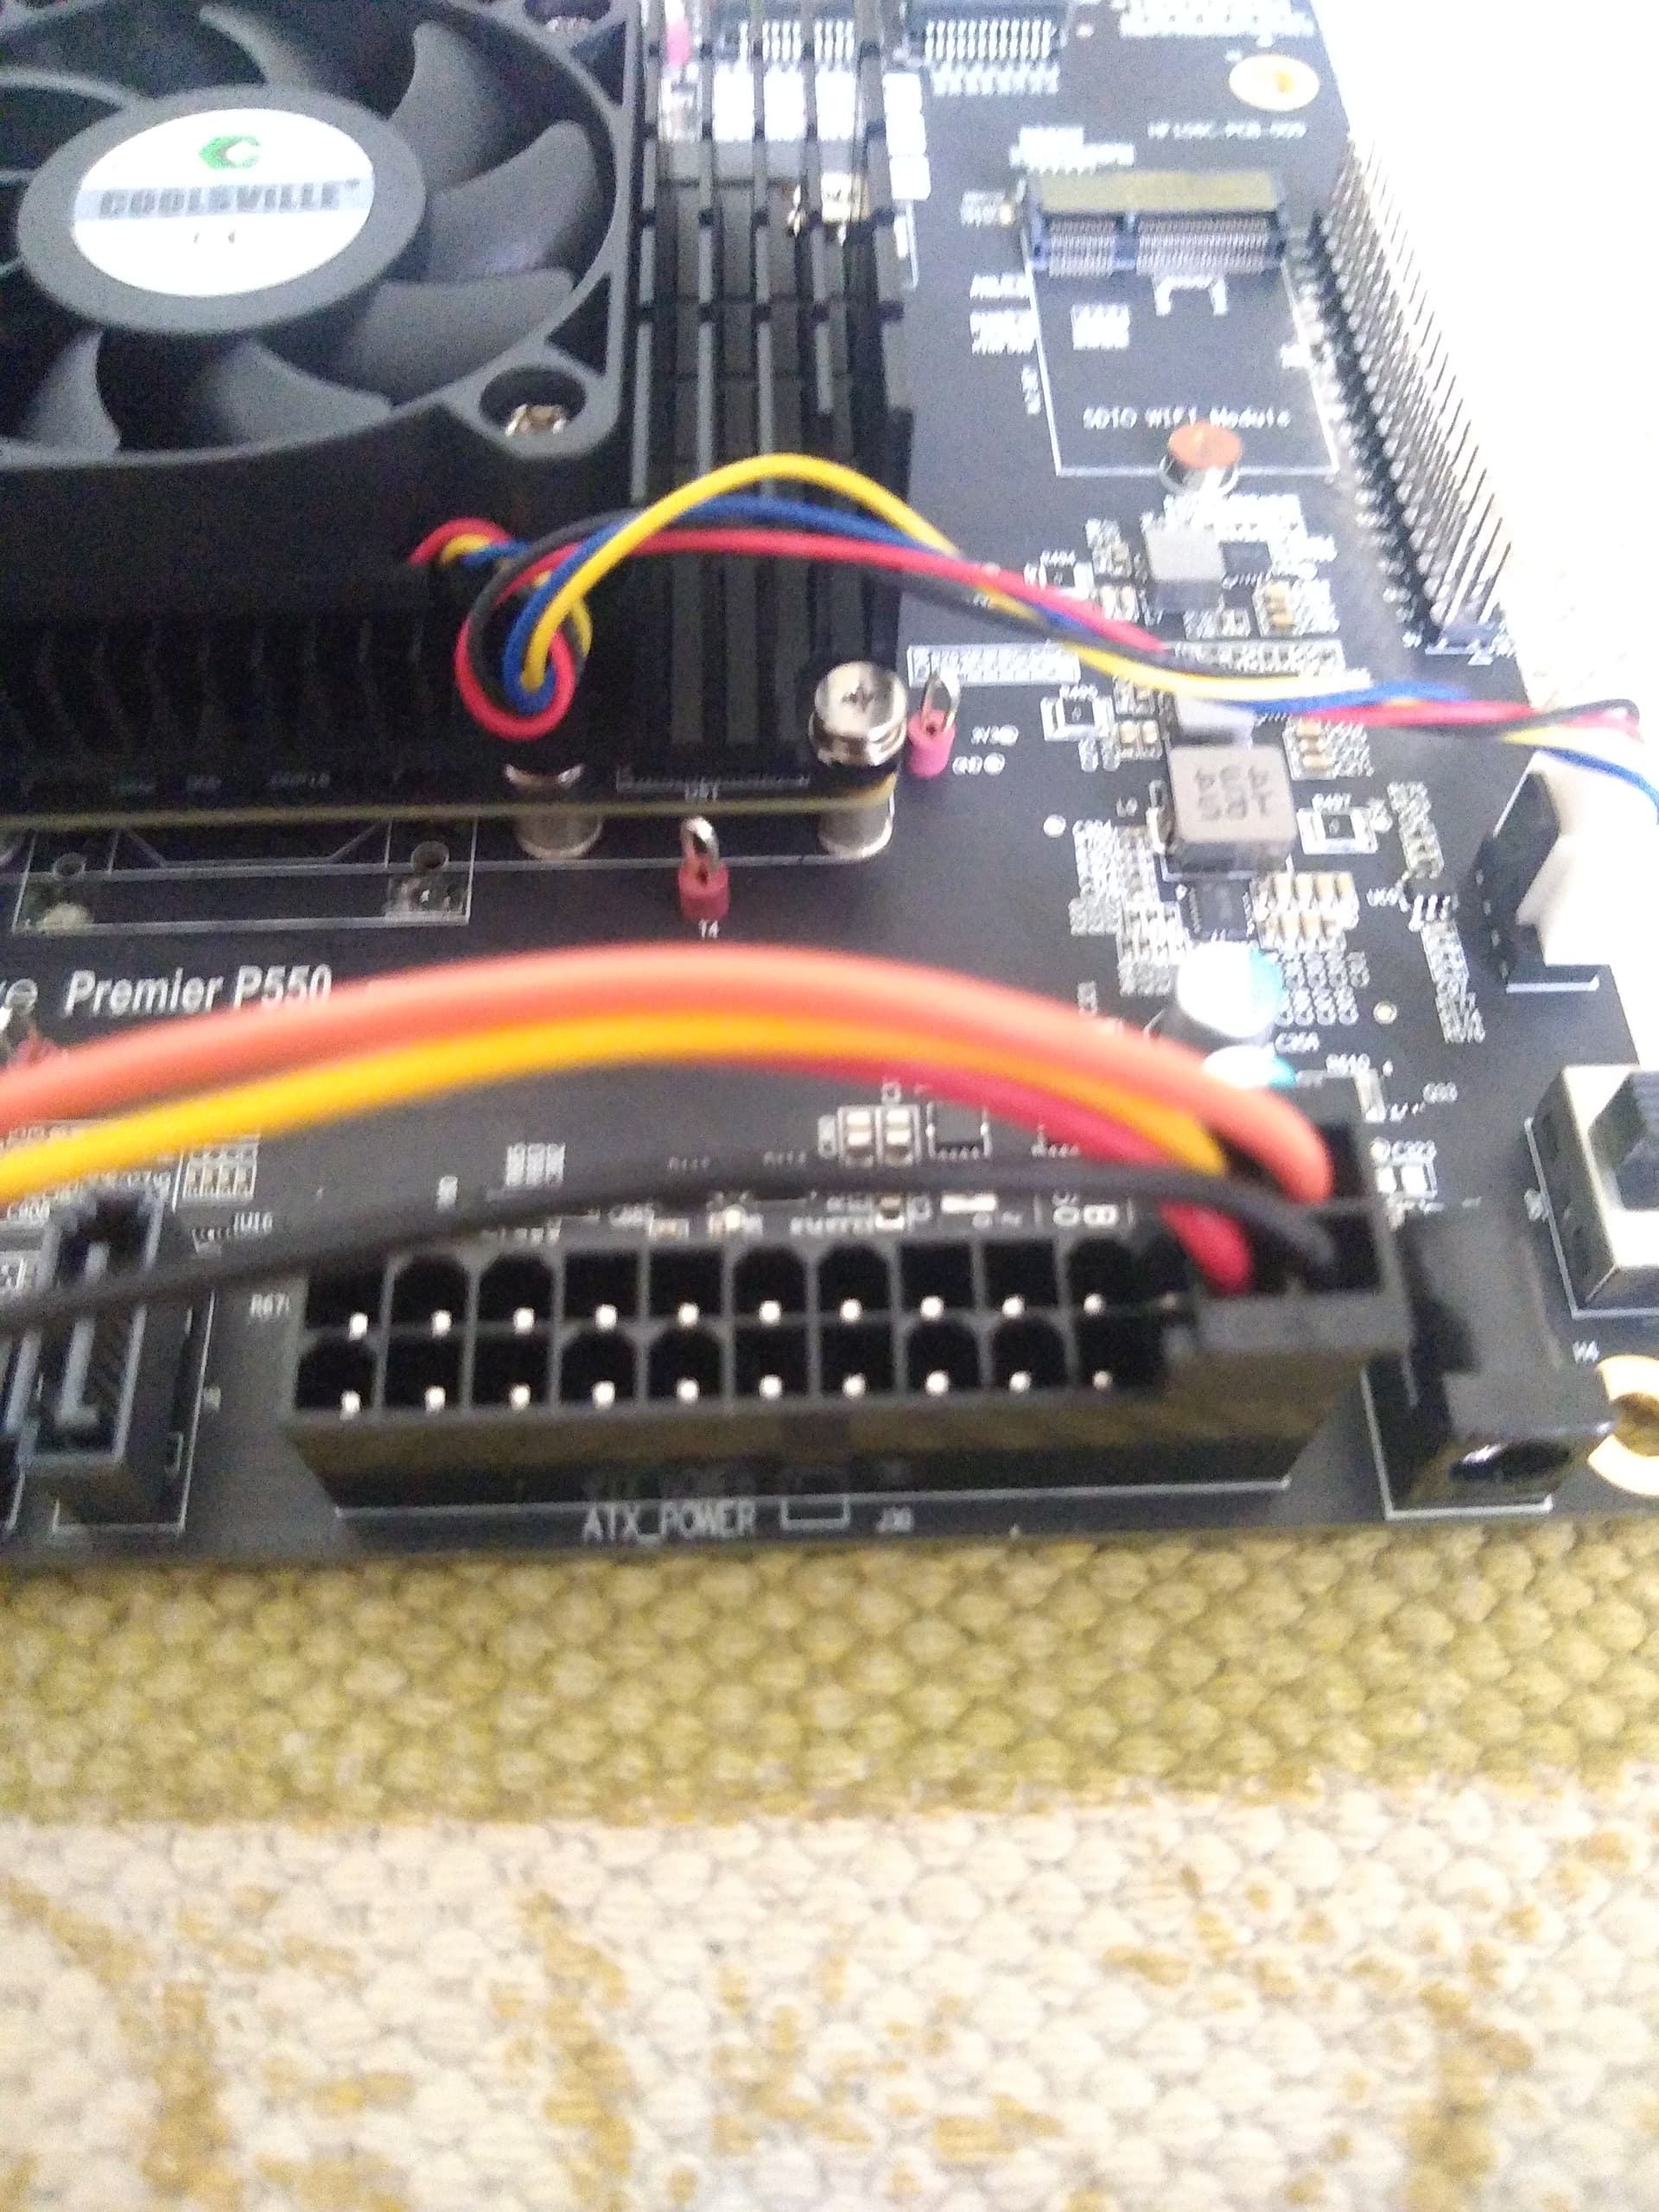
Connect to the ATX power supply. First connect the 4 pins and then the 20 pins.
 ![IMG_20260511_155610](https://collective.flashbots.net/uploads/default/original/2X/9/9556aff9239c82811e9376675eeb8413a96f4953.jpeg)  
 ![IMG_20260511_155630](https://collective.flashbots.net/uploads/default/original/2X/6/6733bc4f1f7e1b23589ba7f4901fac3100593a30.jpeg)

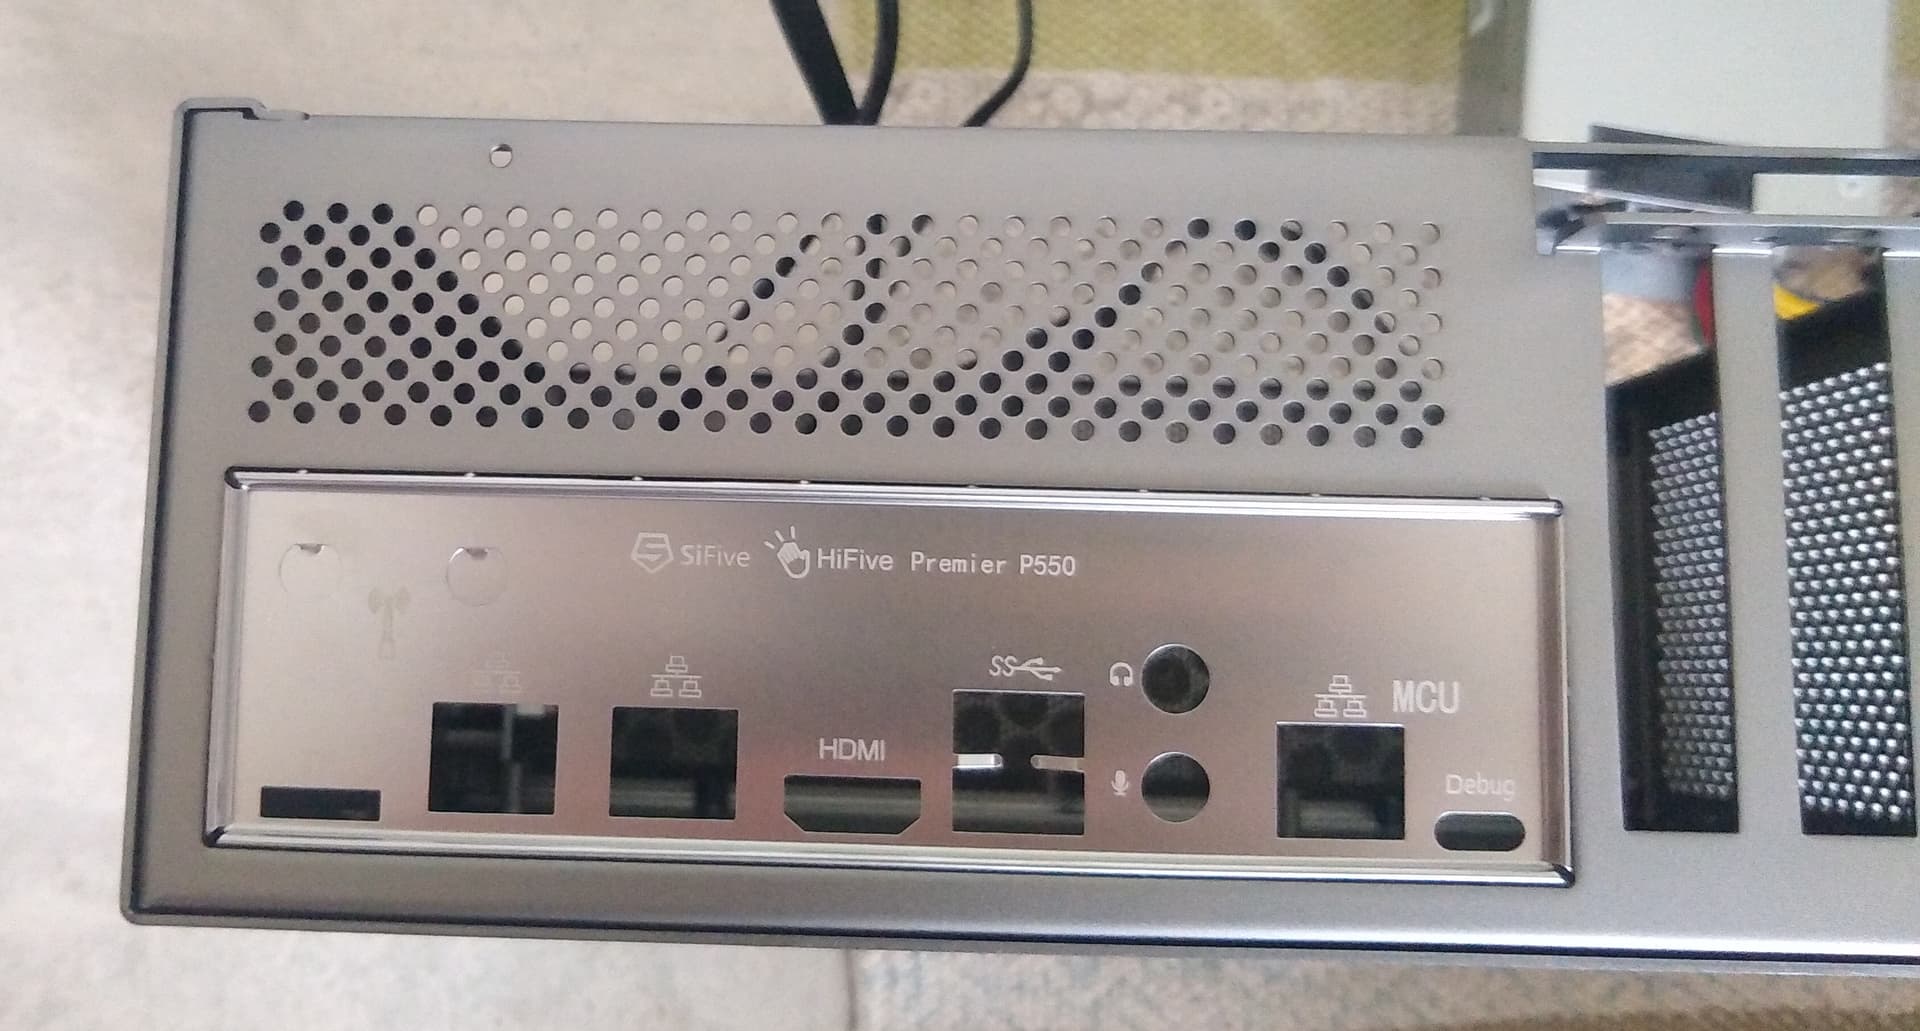
Now put the cover for the ports in the back.
 ![IMG_20260511_161318](https://collective.flashbots.net/uploads/default/original/2X/c/cc2c9b729ee596ee18078face84fa2e1c4dd5df5.jpeg)

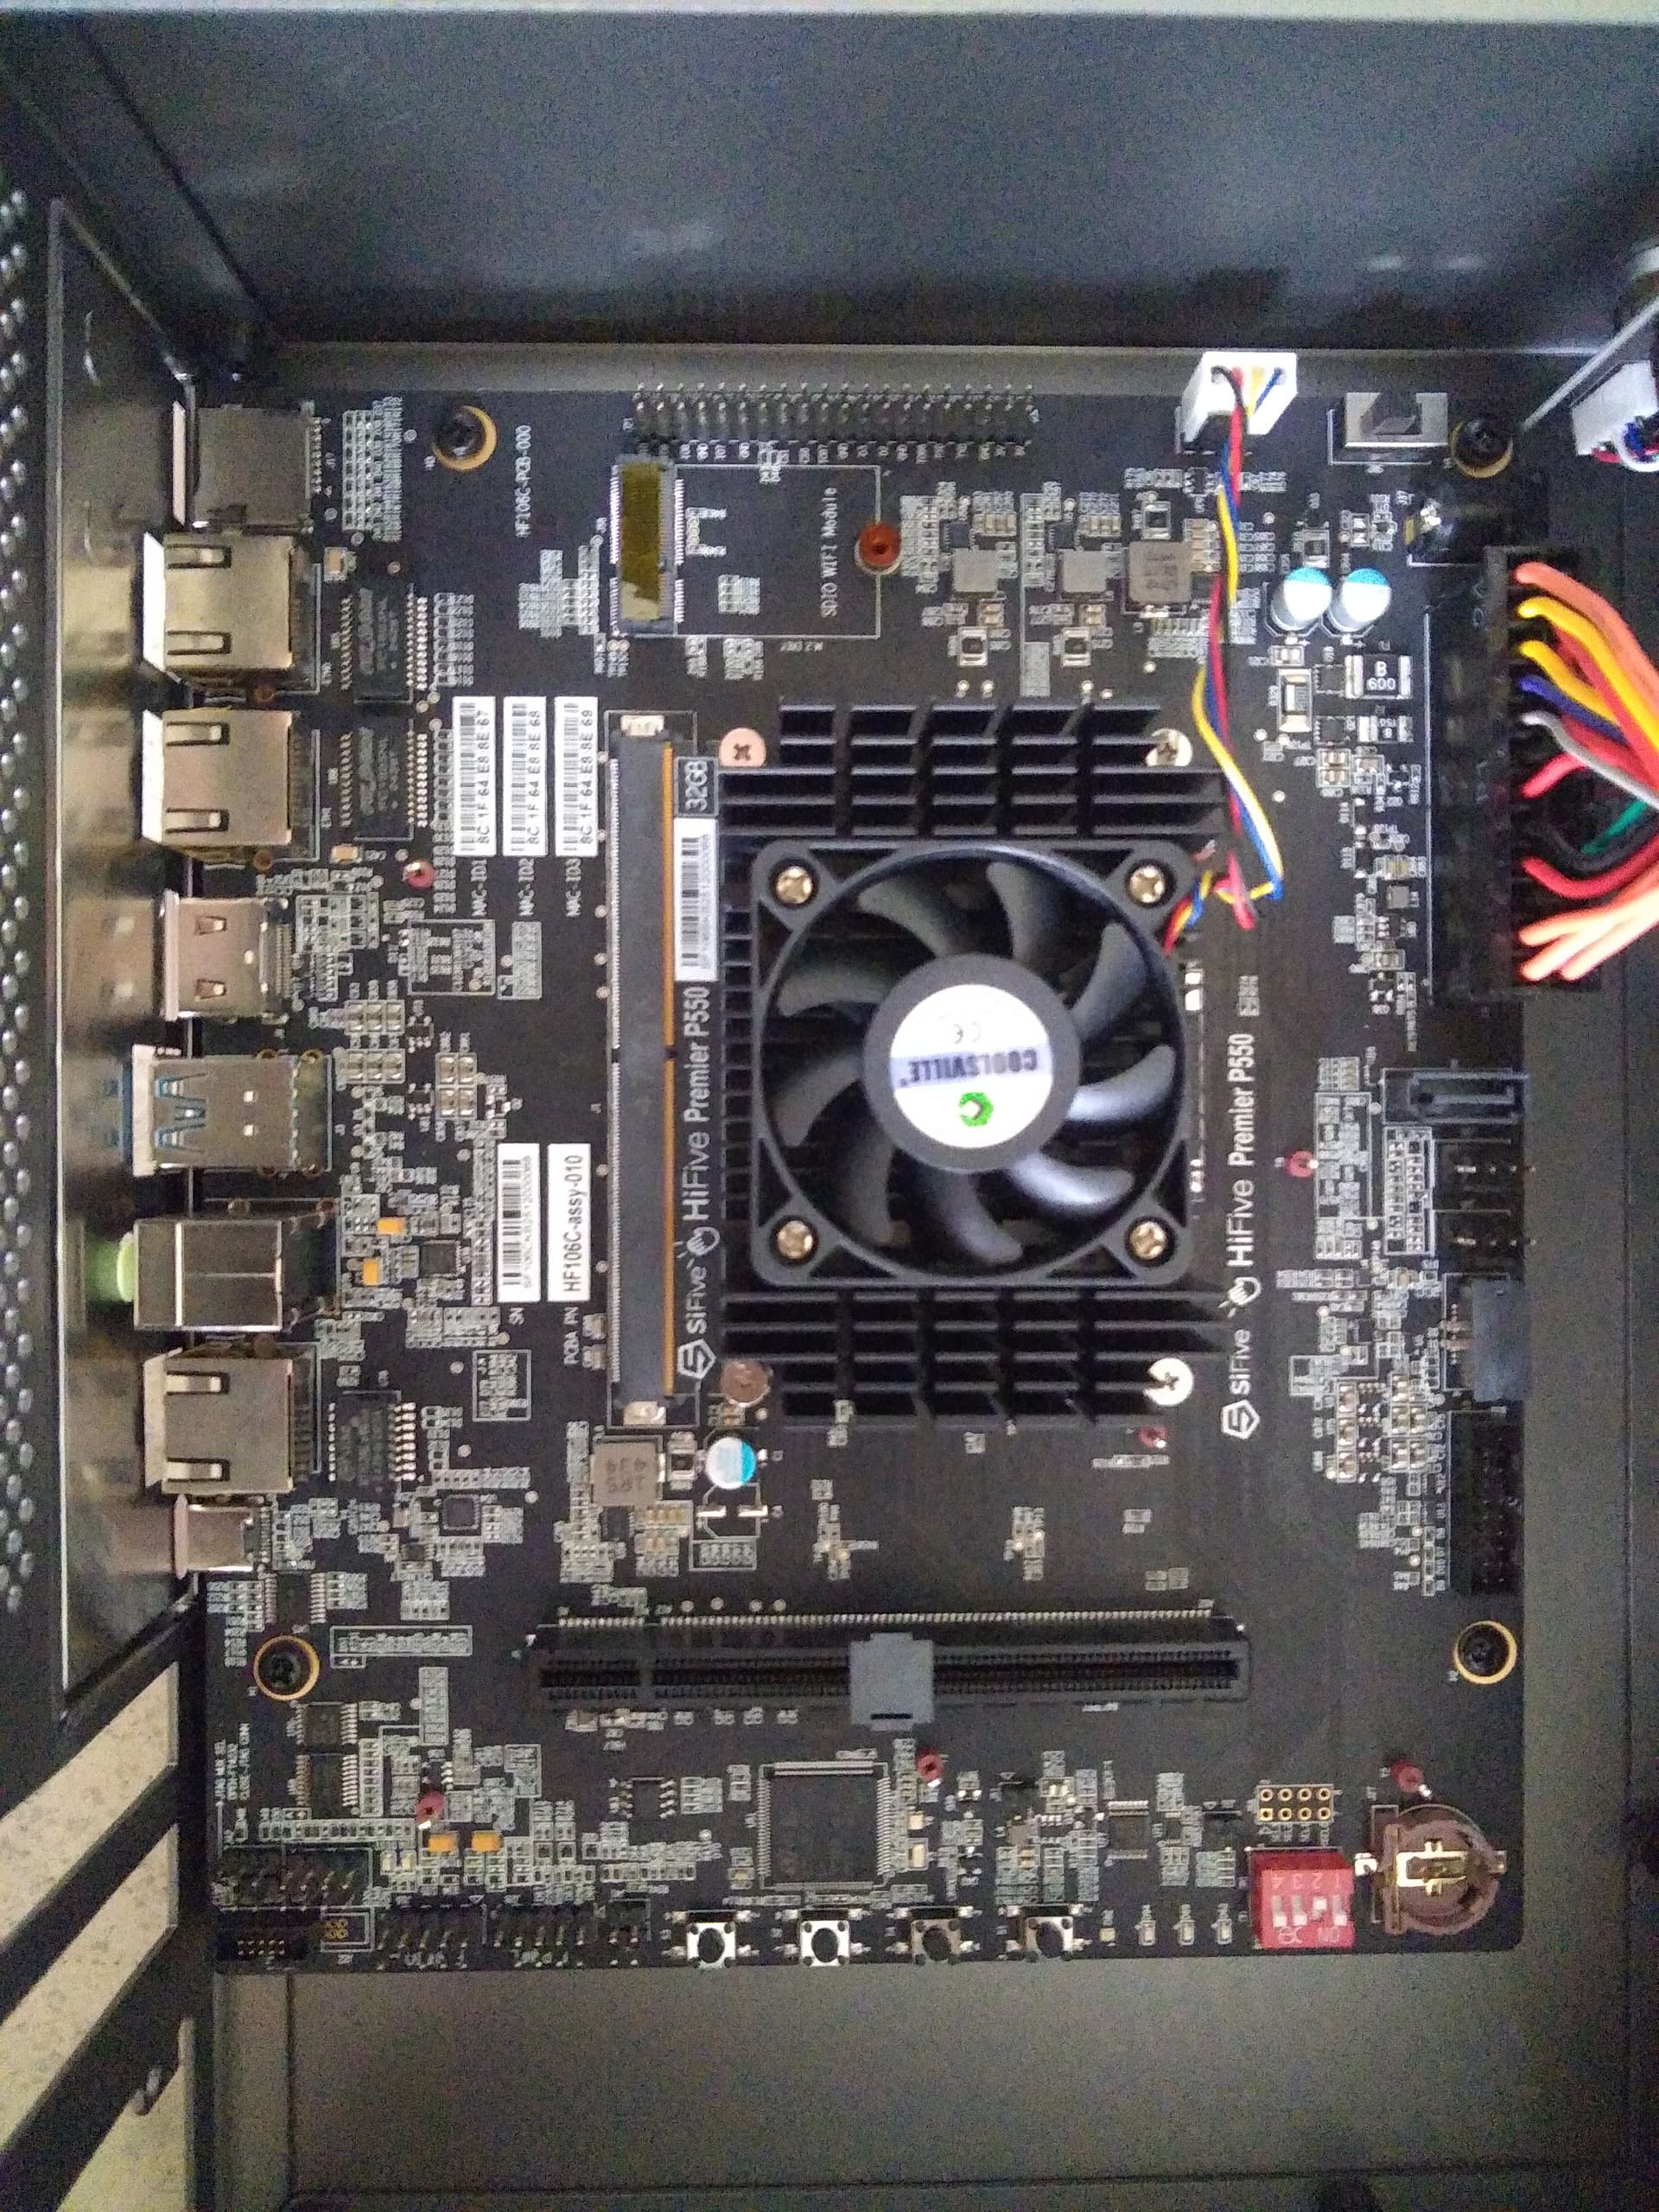
Install the motherboard with 4 screws.
 ![IMG_20260511_162459](https://collective.flashbots.net/uploads/default/original/2X/9/9189f4c7d1b1e103d5a860f4d54caeb4840fc349.jpeg)

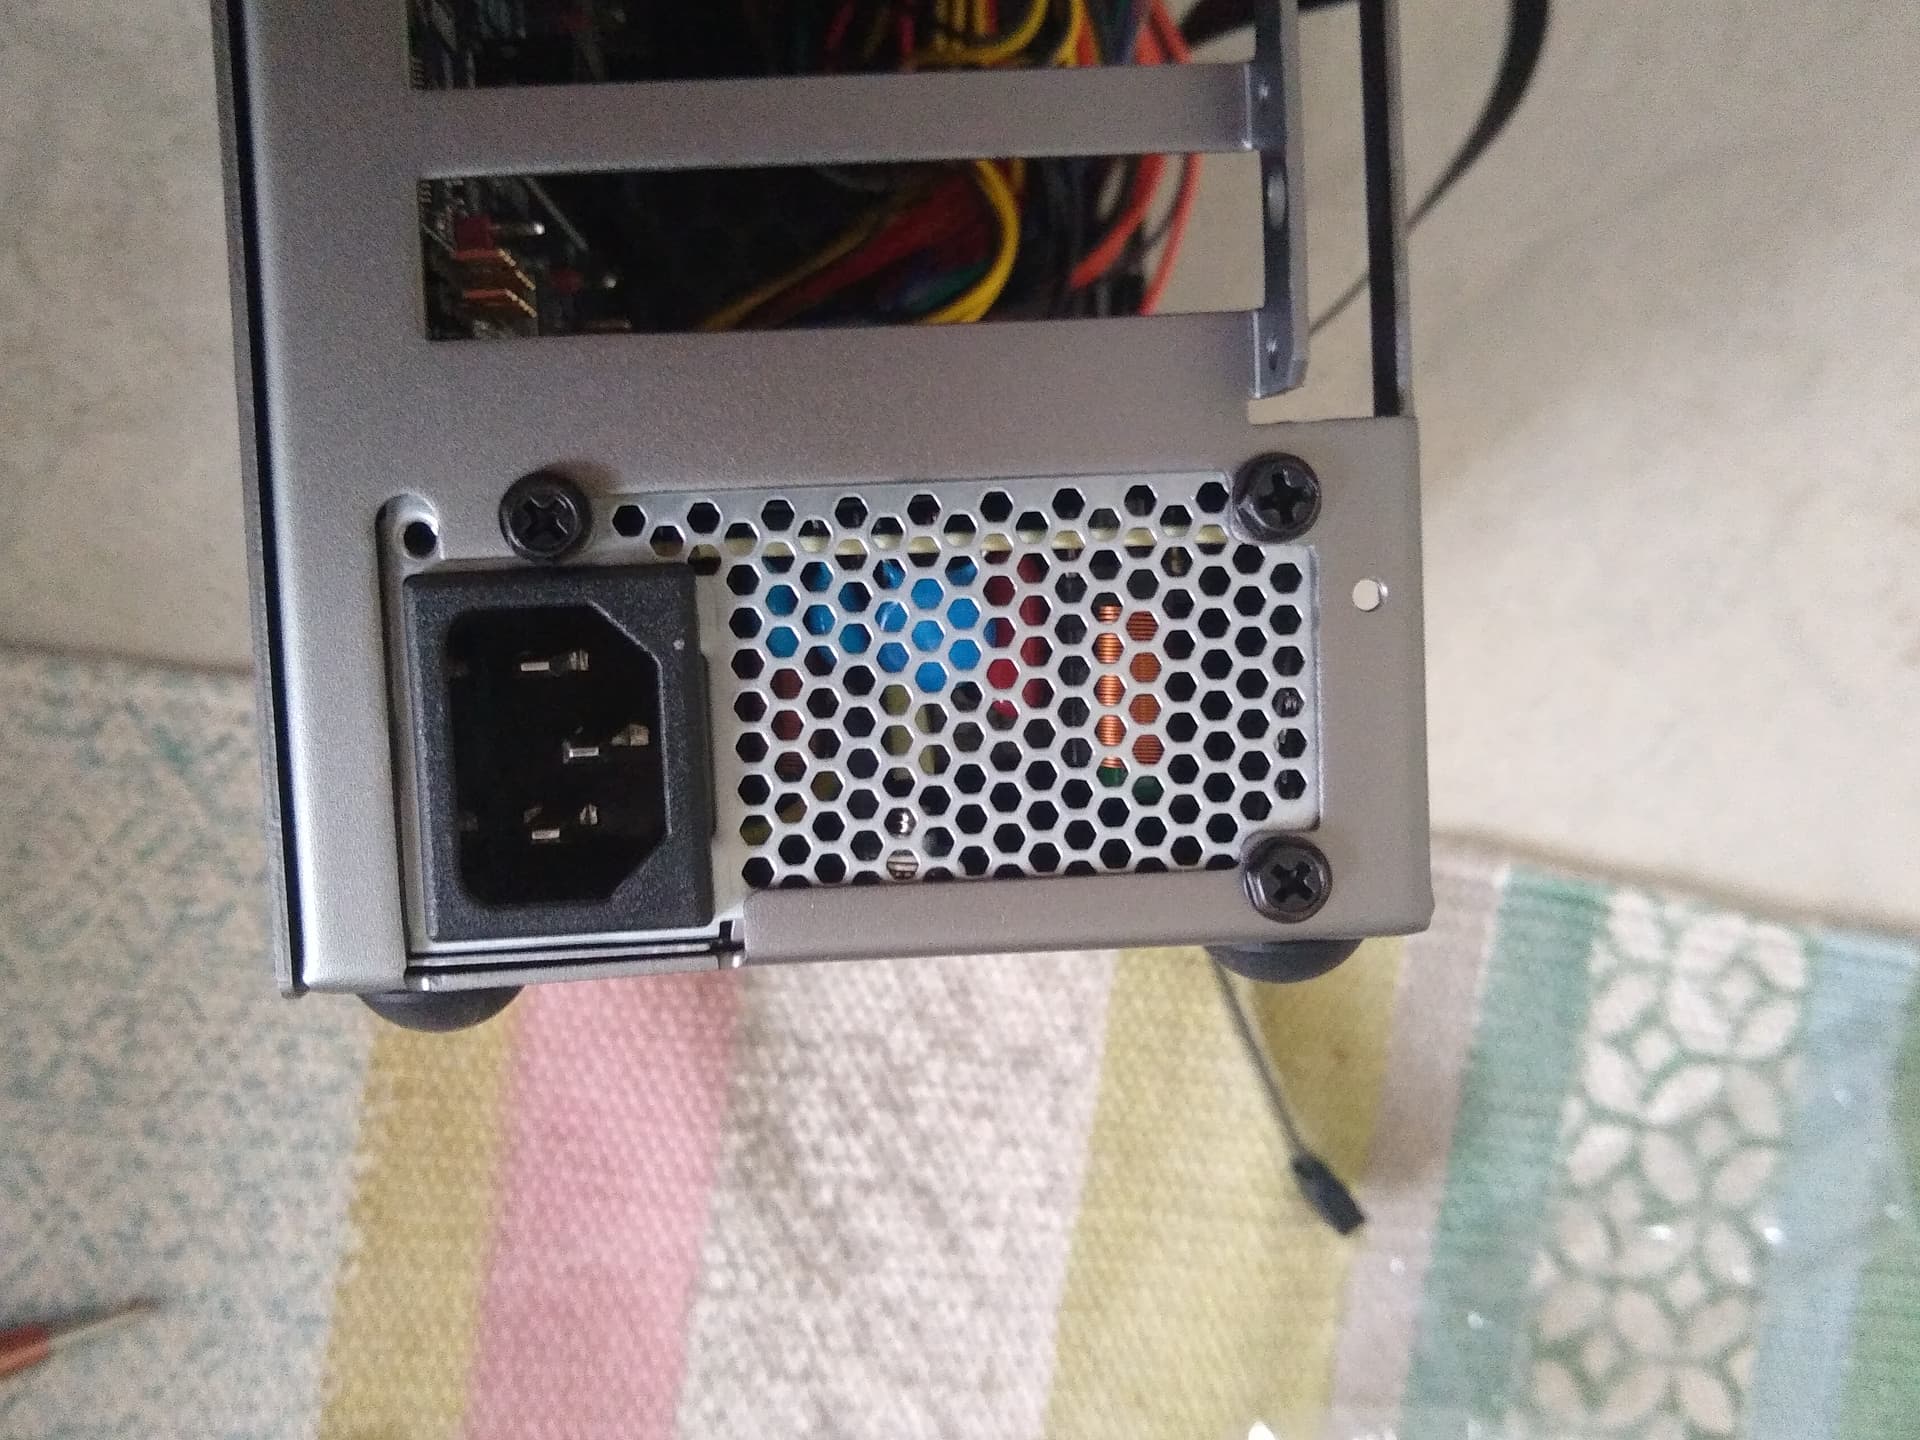
Install the power supply with 3 screws.
 ![IMG_20260511_162833](https://collective.flashbots.net/uploads/default/original/2X/f/fa10a12975d929e721a17915a691900c07afb1cb.jpeg)

Connect the front panel USB cables.

 ![IMG_20260511_163239](https://collective.flashbots.net/uploads/default/original/2X/e/e66d22696f8e6ad47fb78985b0680685b2a01a9e.jpeg)

Connect the front panel audio cable.

 ![IMG_20260511_163304](https://collective.flashbots.net/uploads/default/original/2X/e/e9bbd7c3b9378c7a8ad743babea8a88836d3b6ae.jpeg)

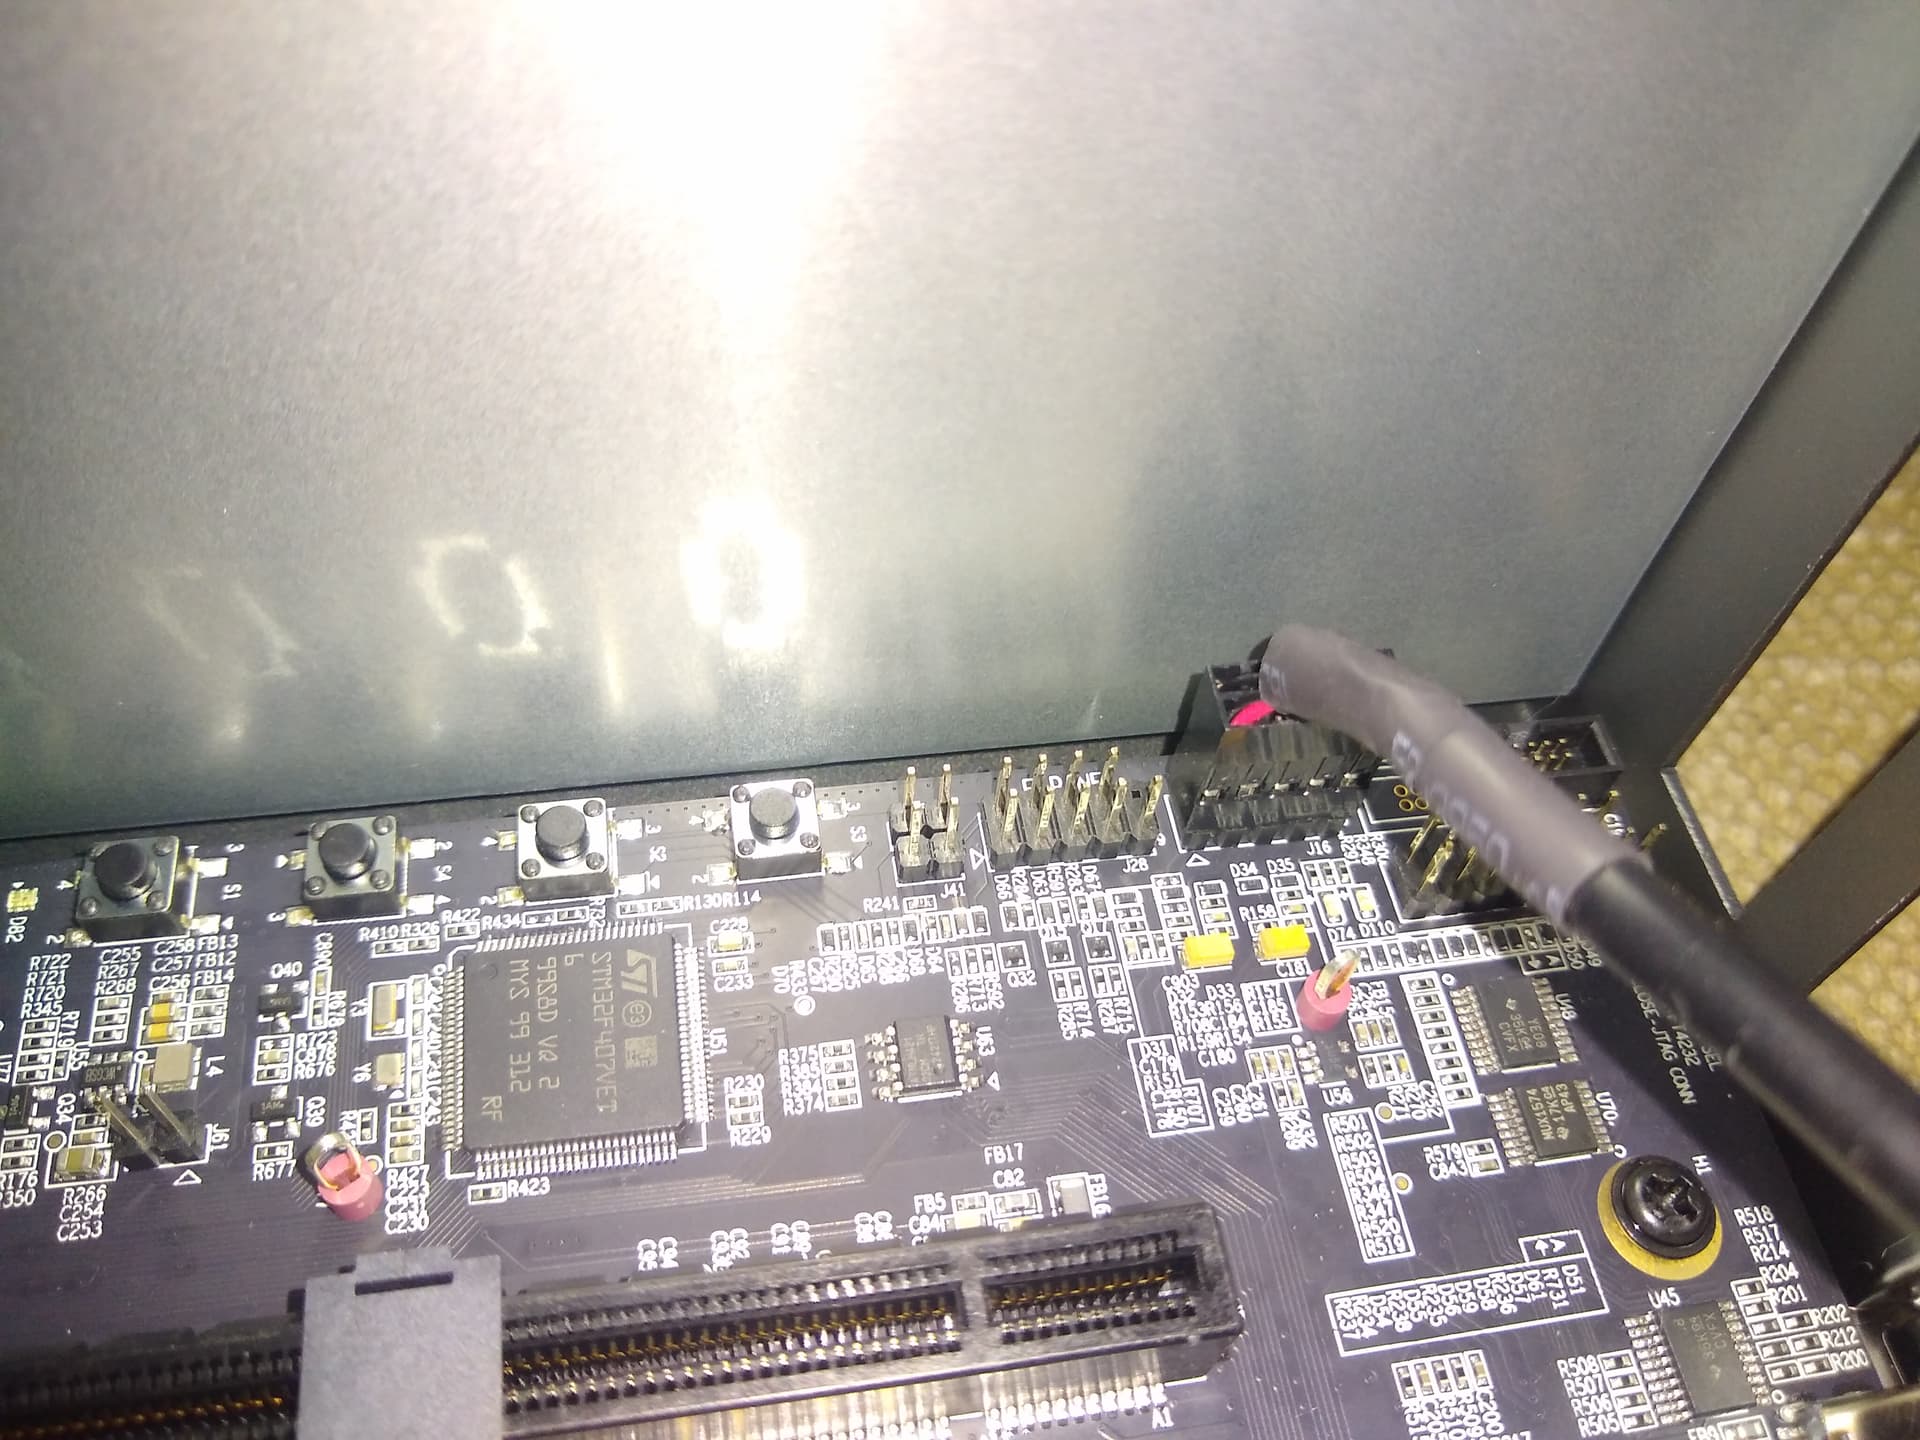
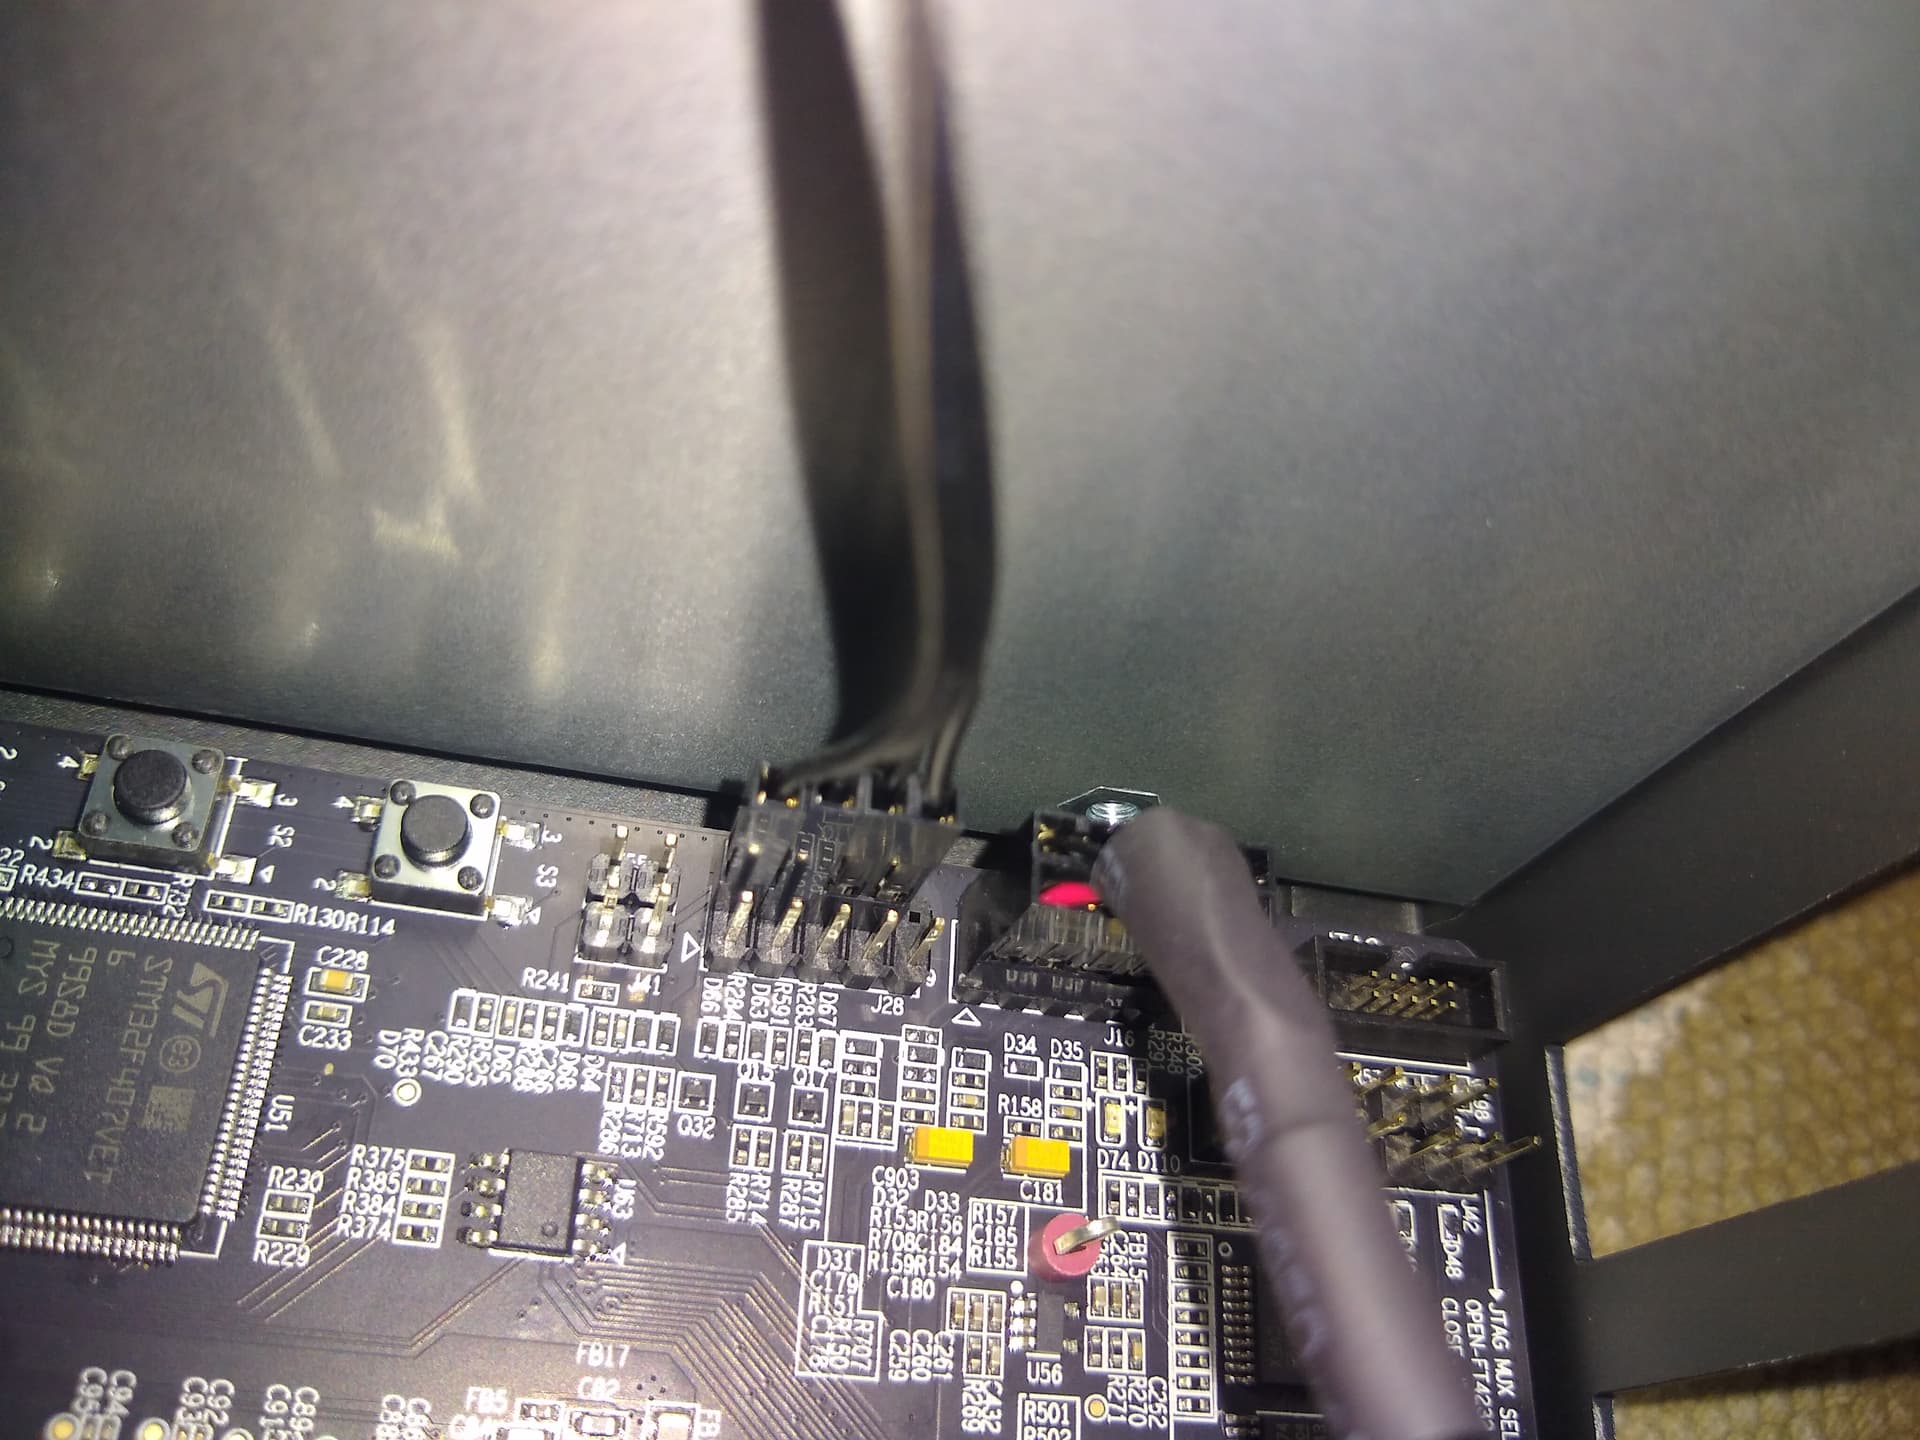
Connect the front panel pins:  
Power LED+ in pin 2, Power LED- in pin 4, Power SW in pins 6 and 8.
 ![IMG_20260511_164121](https://collective.flashbots.net/uploads/default/original/2X/a/a5dc8d8969ac512b9ff7fa933afcf6a3b1815166.jpeg)

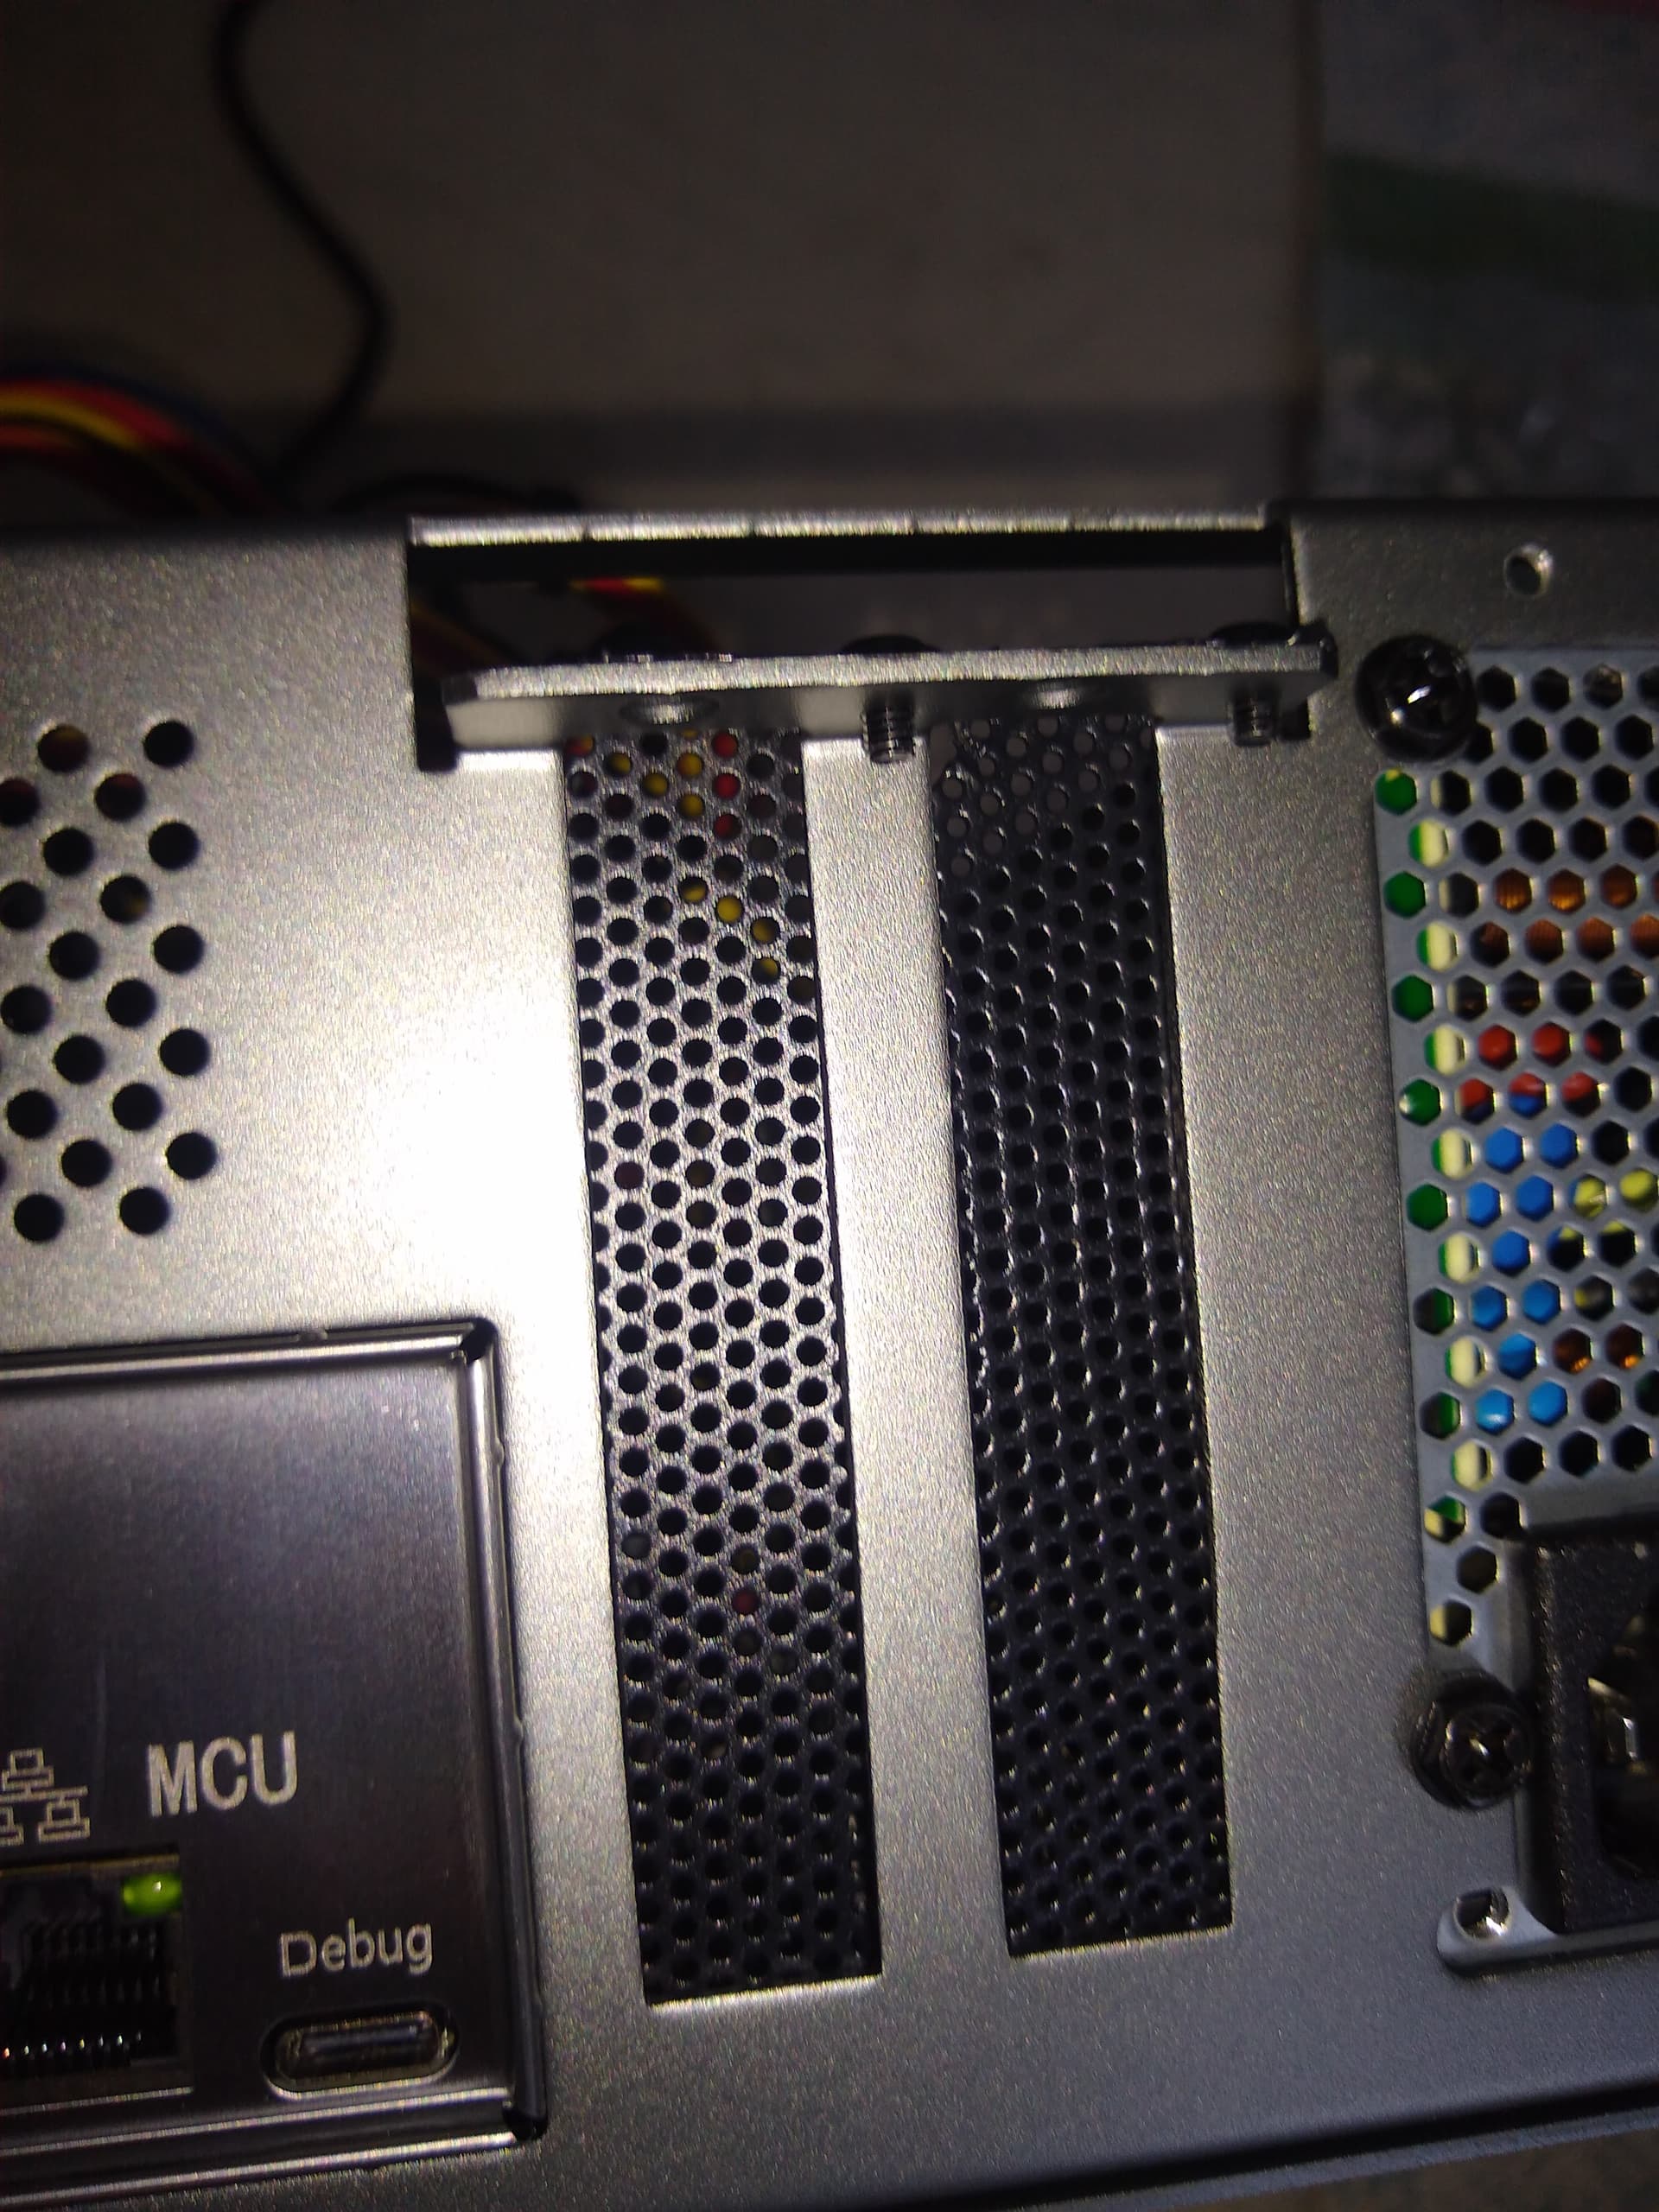
Install the black covers for the unused space.
 ![IMG_20260511_164448](https://collective.flashbots.net/uploads/default/original/2X/d/d0dcf0c17a281437edd47a6e9c14b3f4f98dce0a.jpeg)

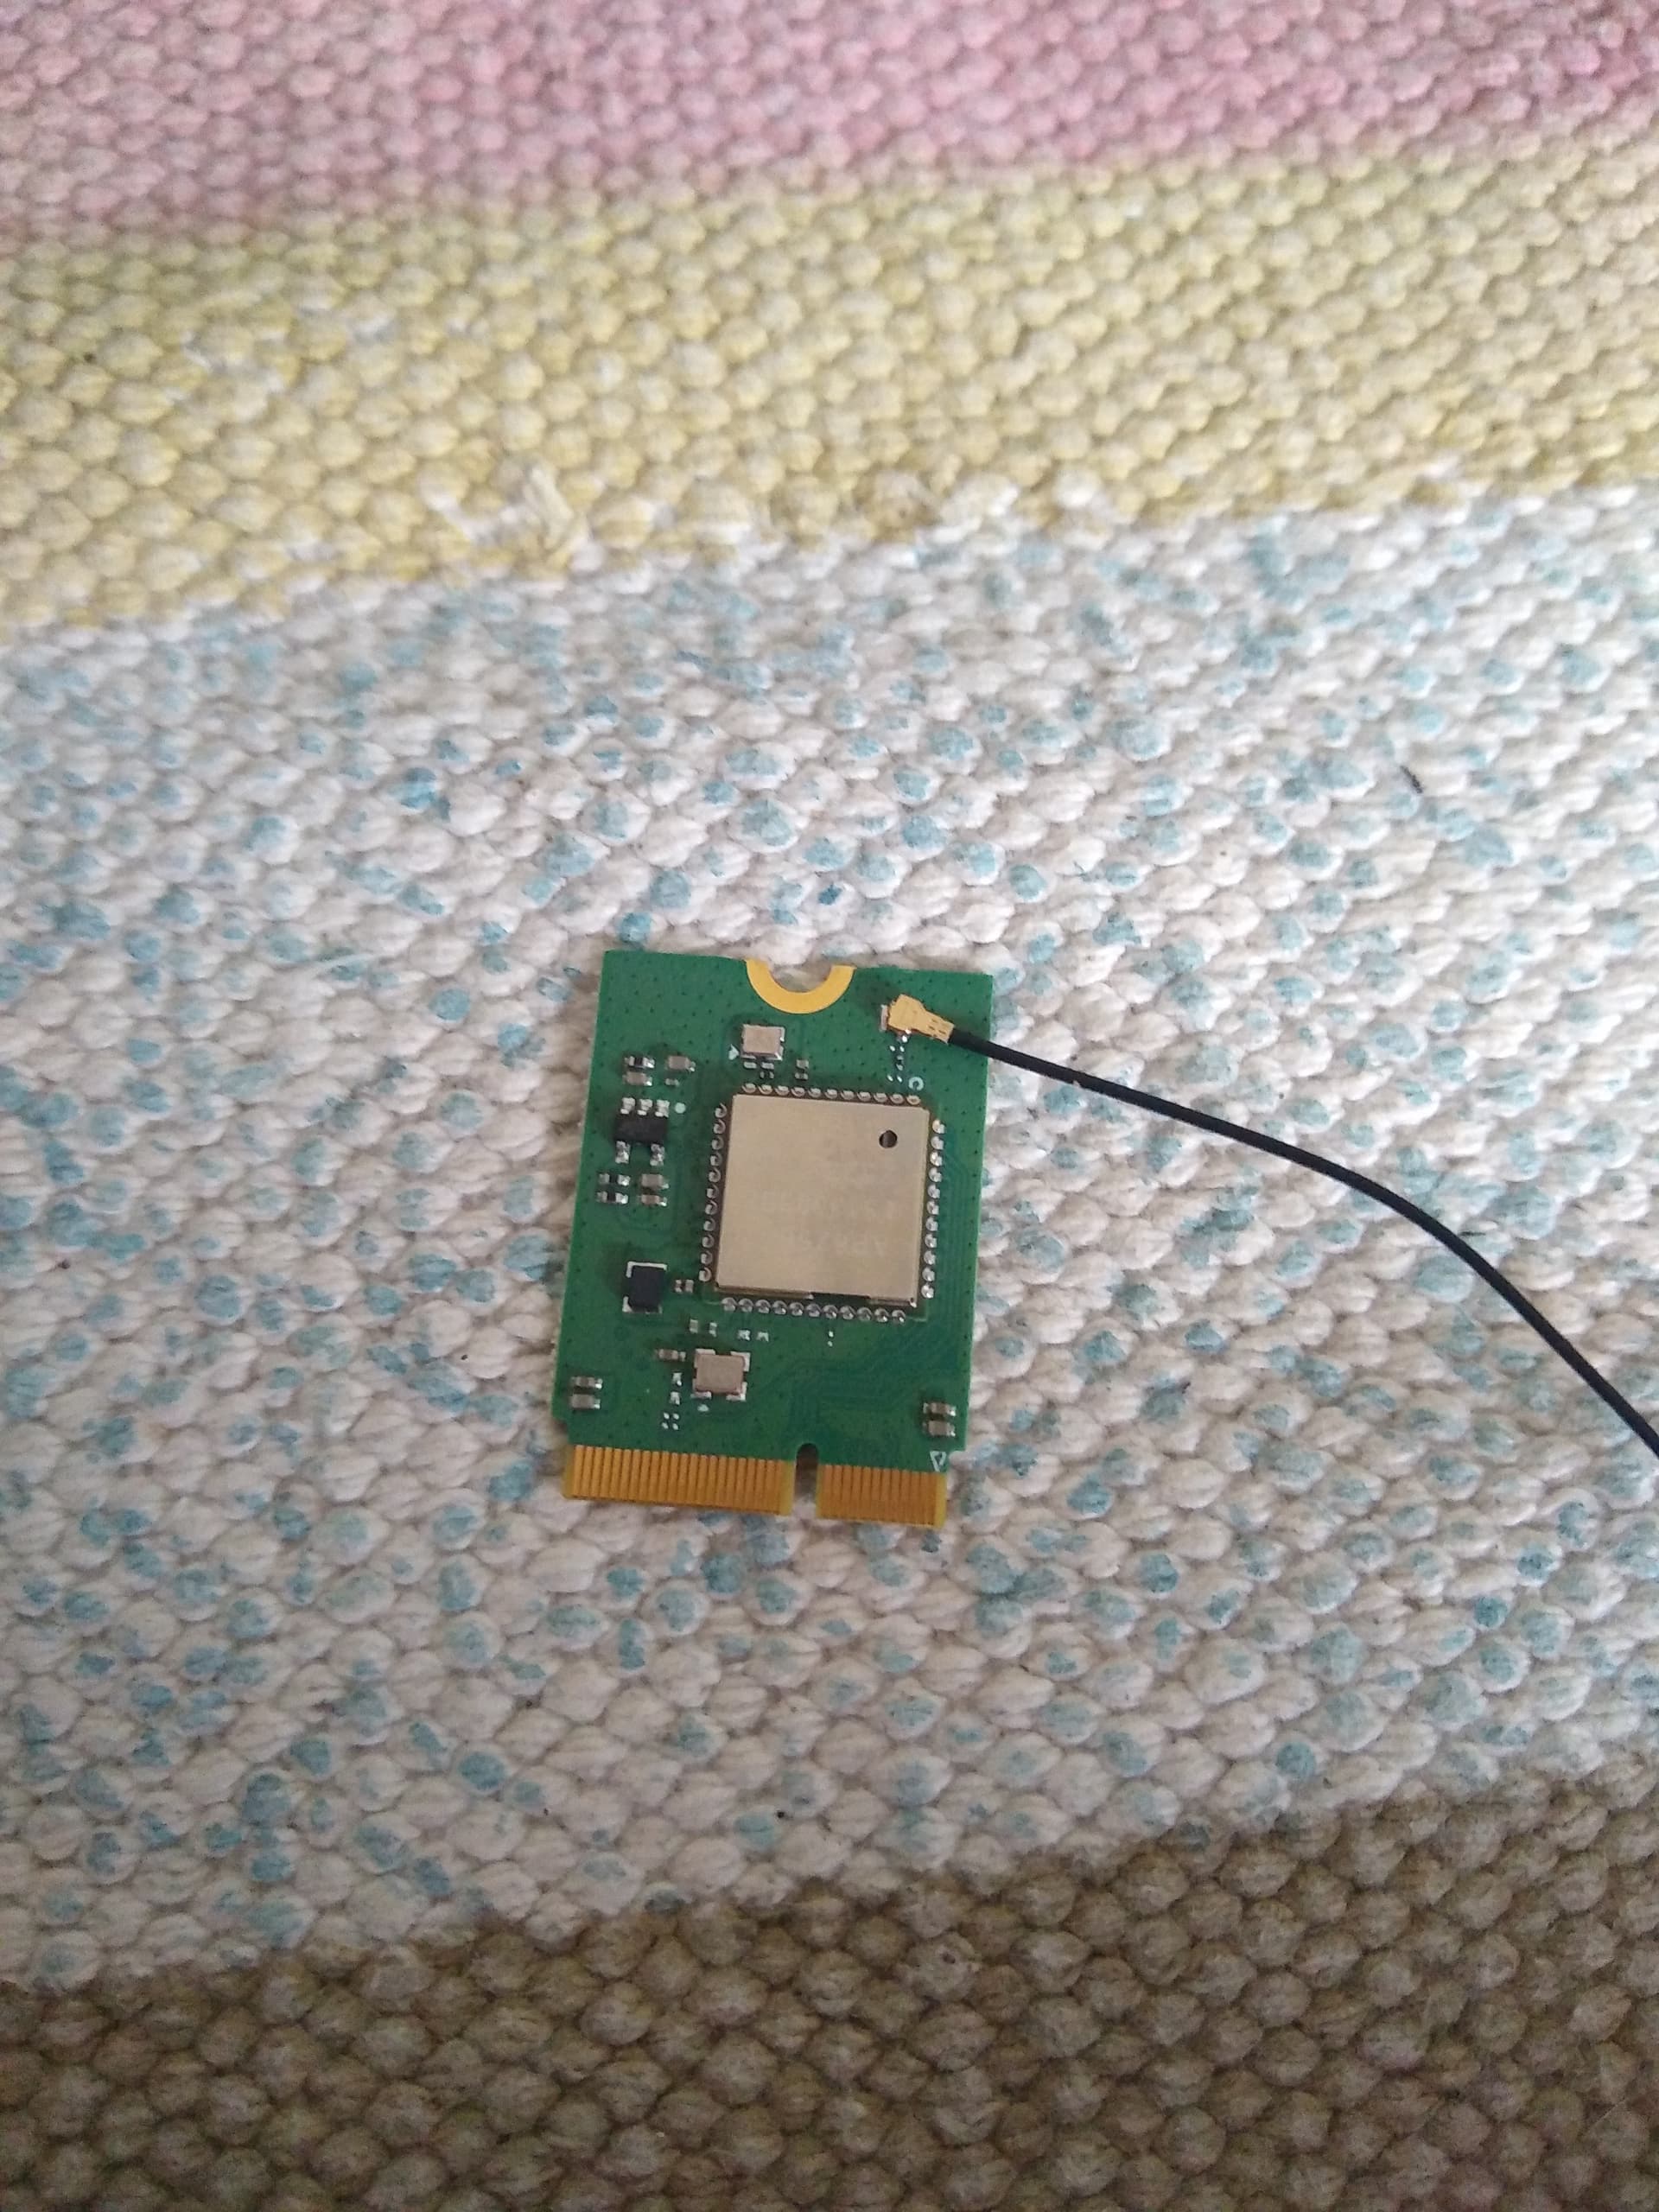
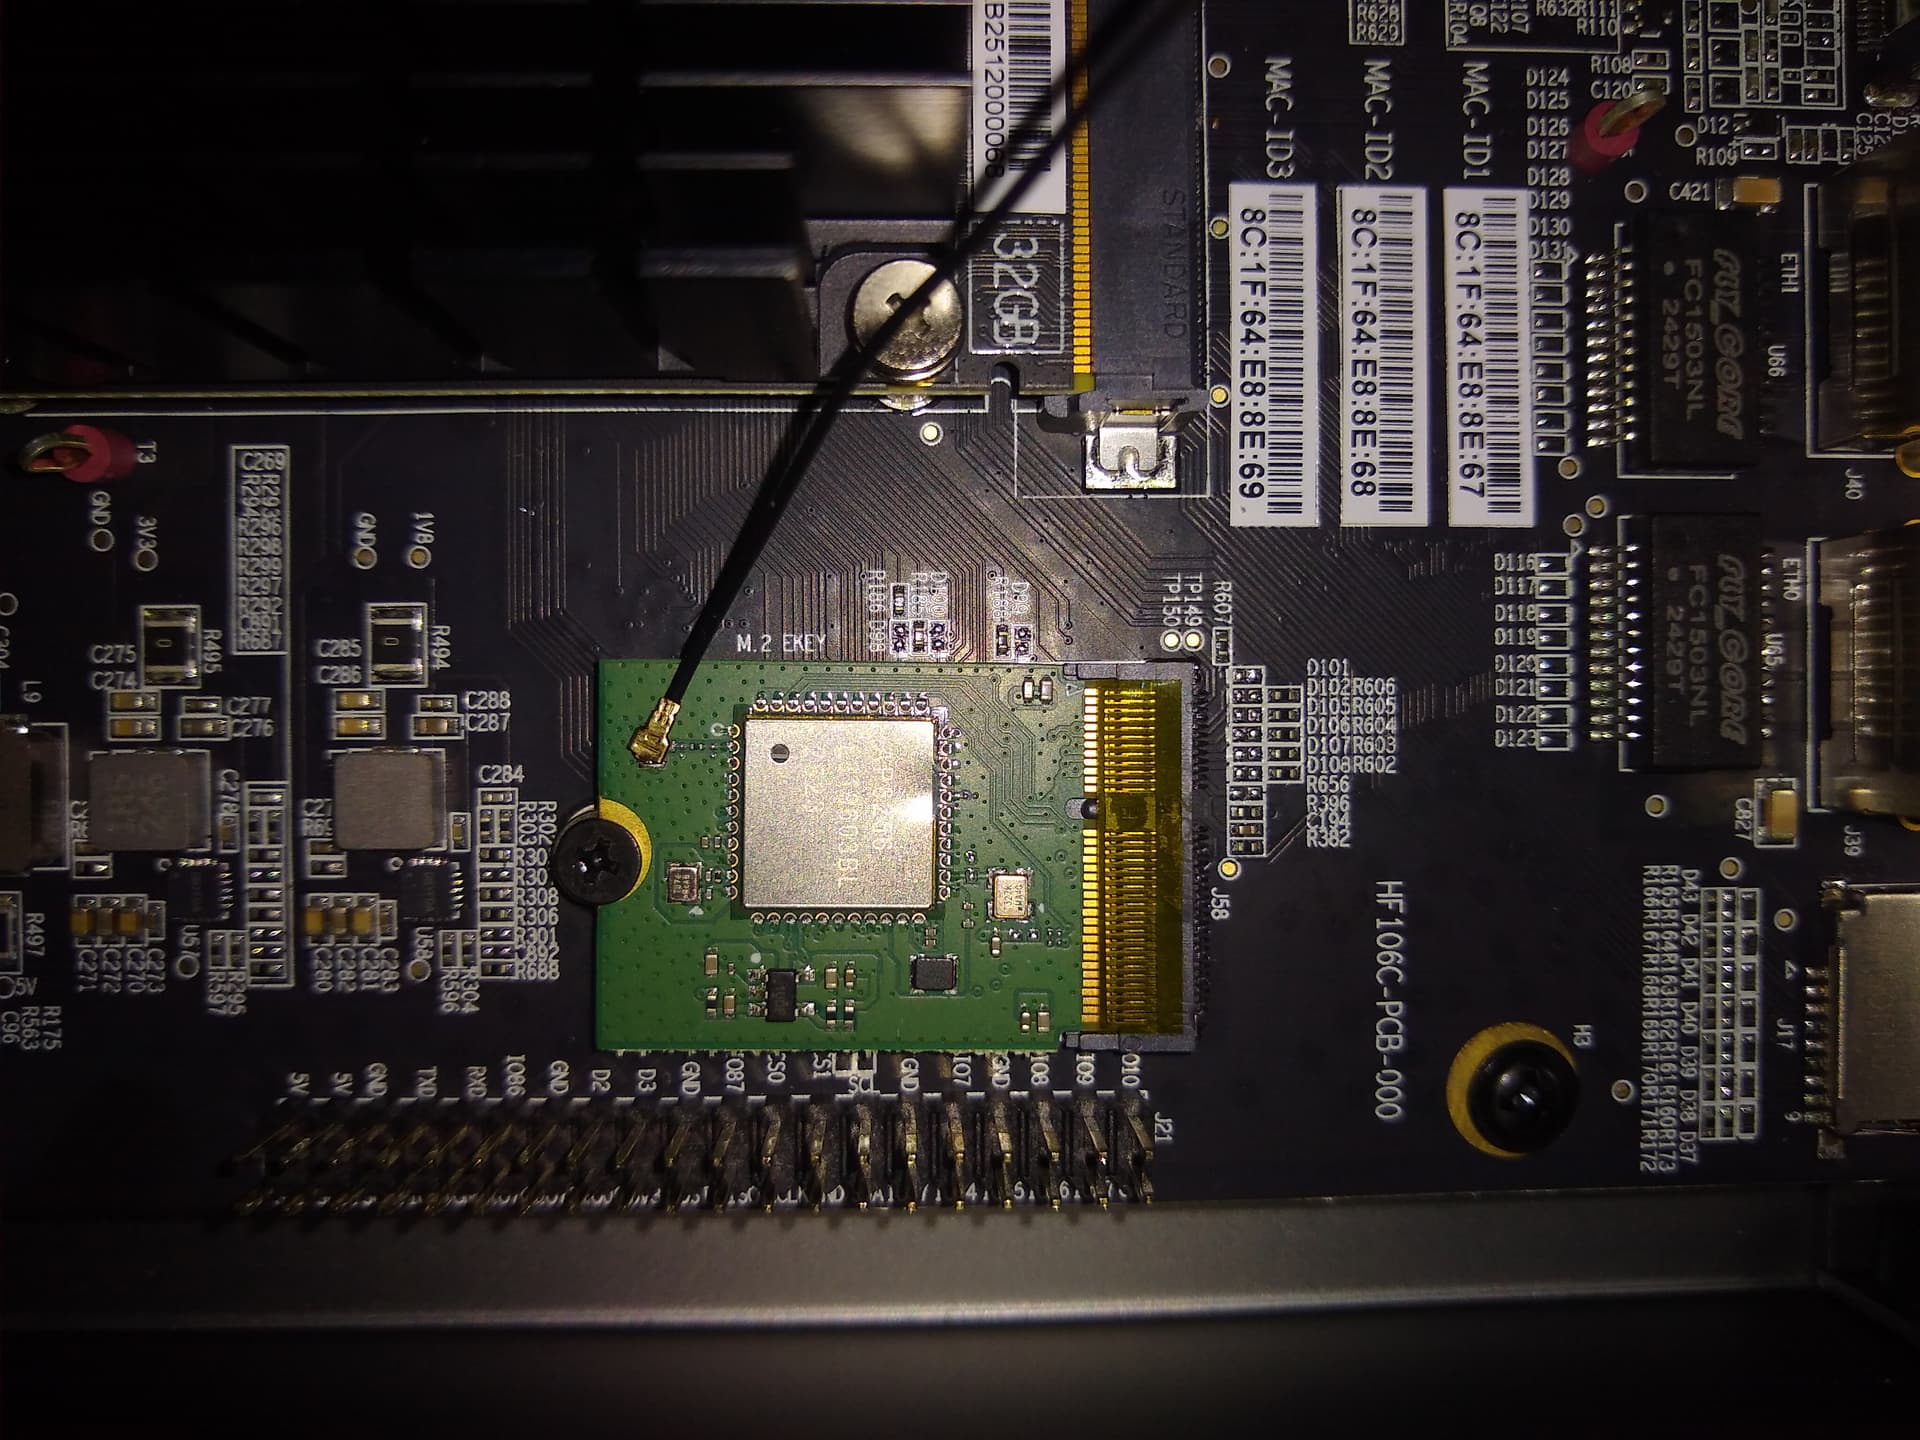
Connect the antenna cable to the wifi module.
 ![IMG_20260511_165224](https://collective.flashbots.net/uploads/default/original/2X/5/5a630c490f60d39c3751f773852ed2be821c32c5.jpeg)

Install the wifi module with one screw.
 ![IMG_20260511_165358](https://collective.flashbots.net/uploads/default/original/2X/e/e56578fc1a393b407e702e758112222f3434fa9d.jpeg)

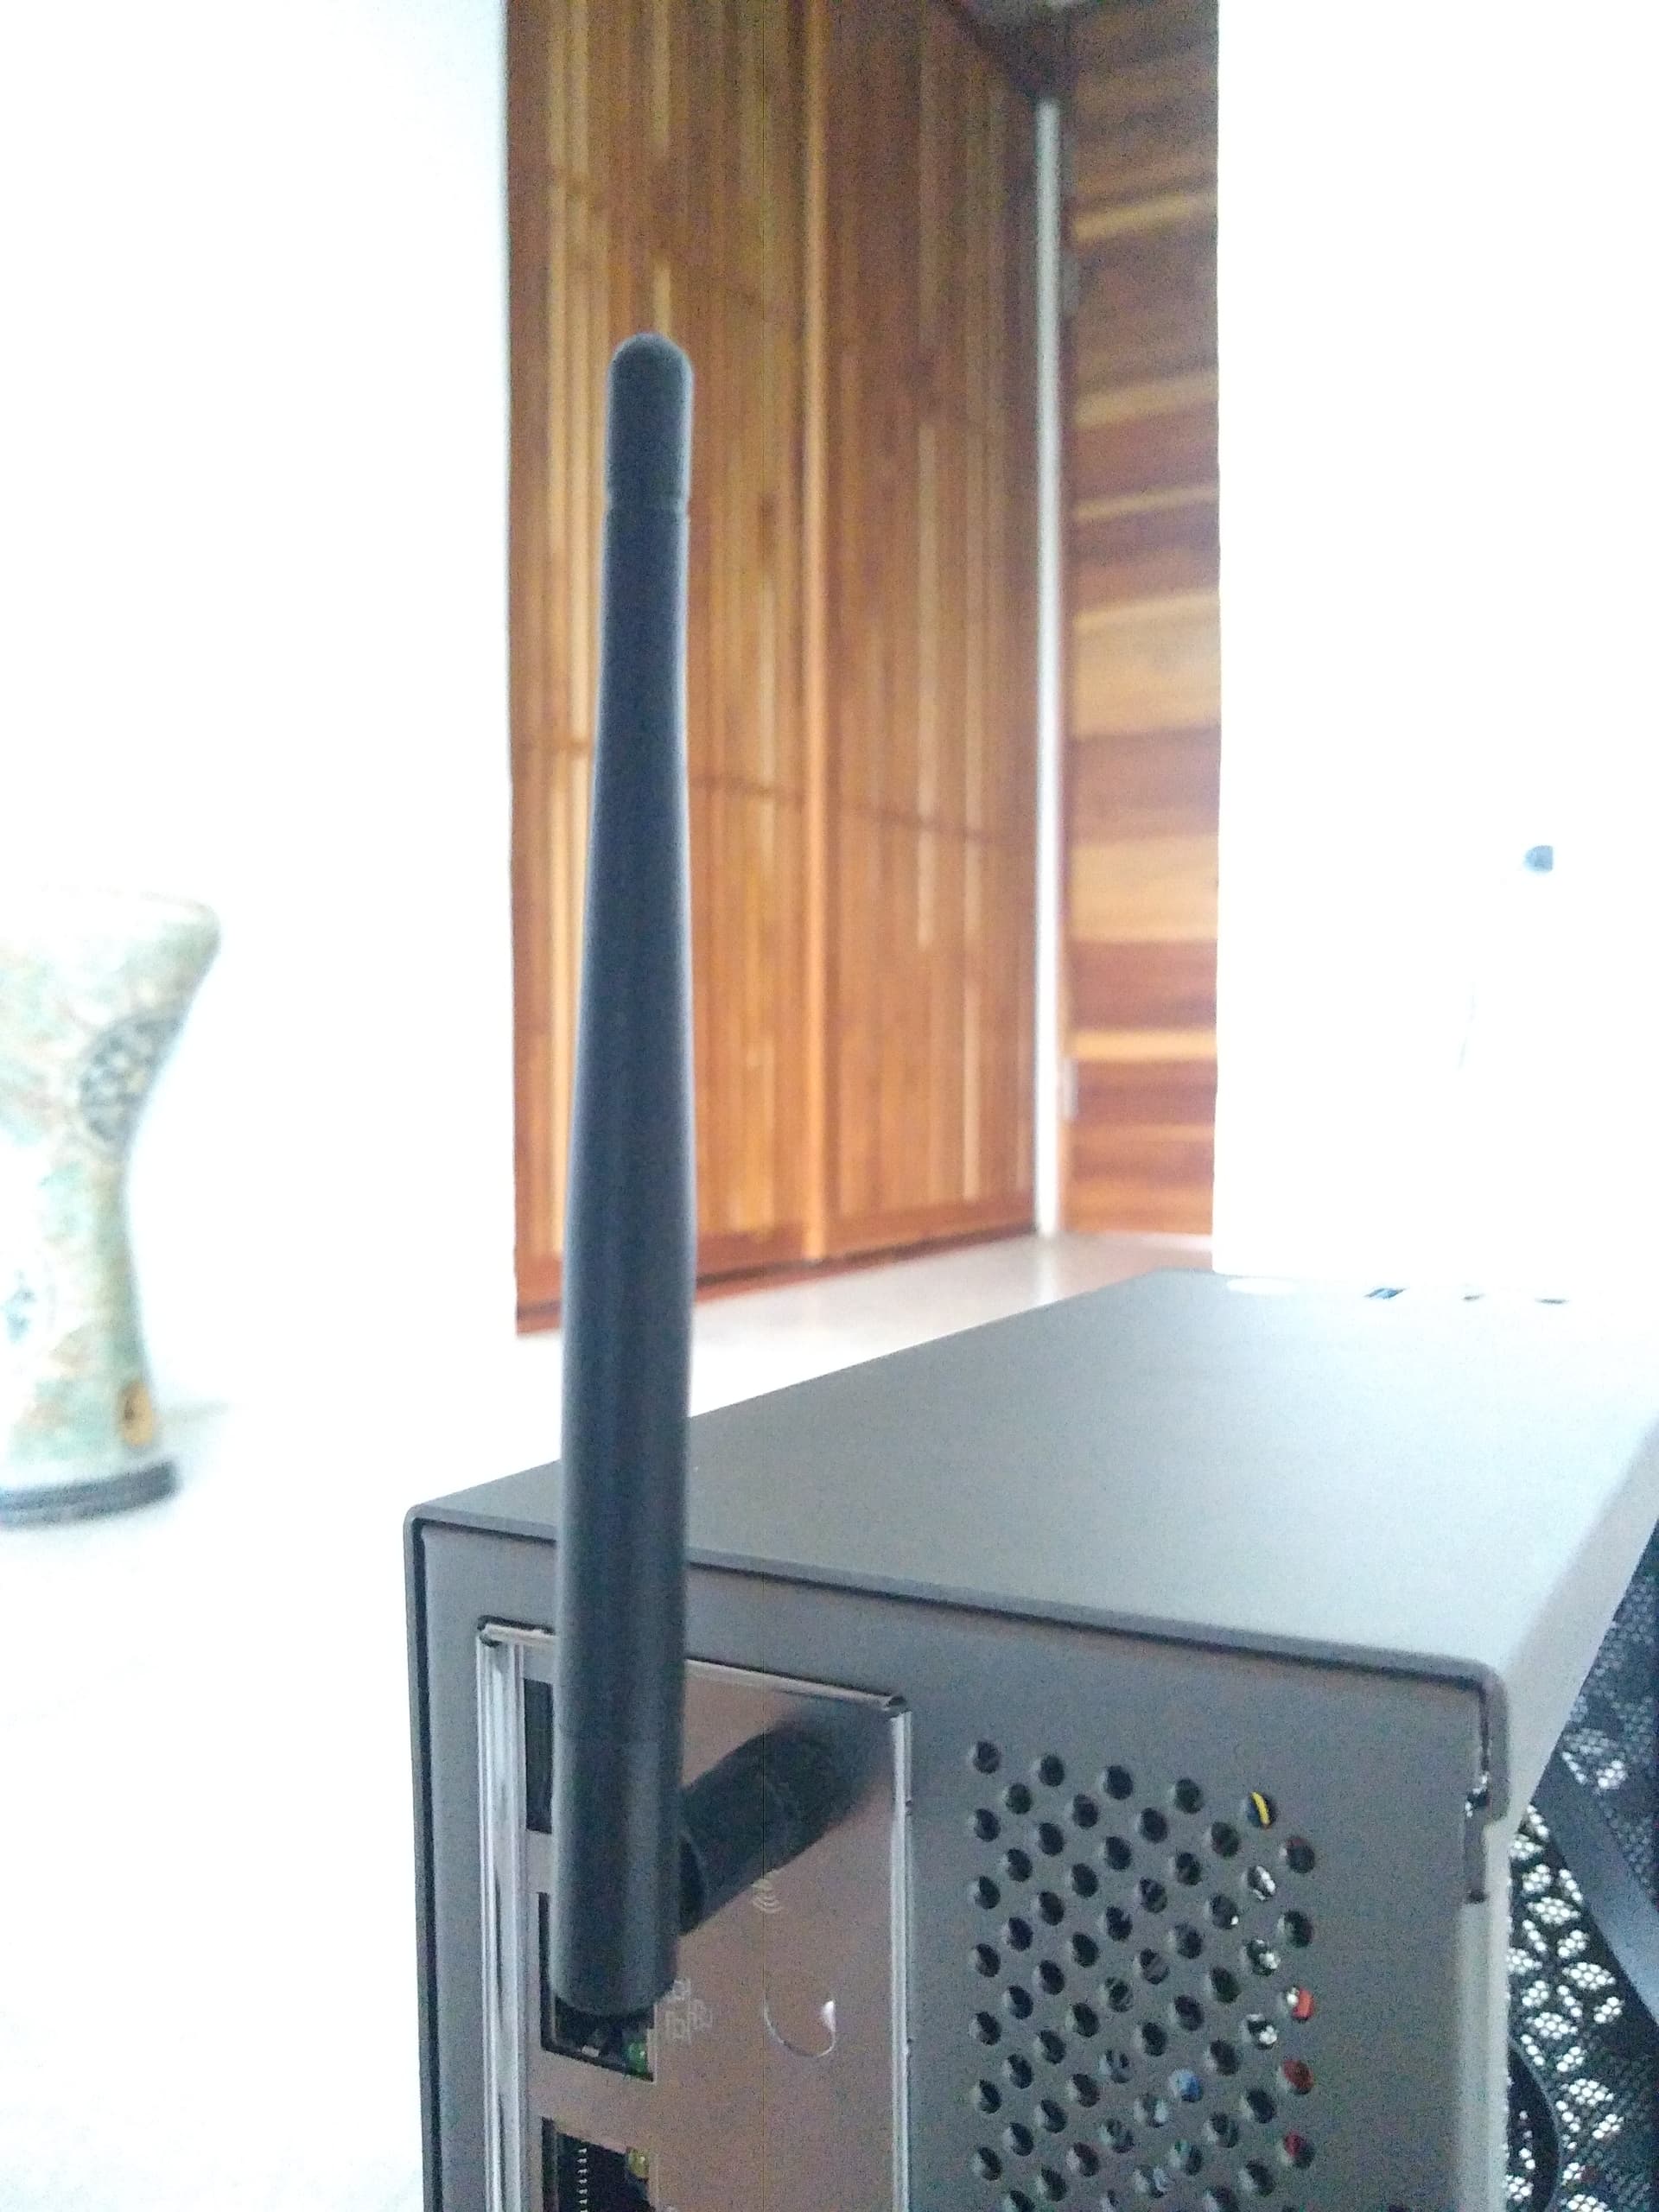
Install the antenna on the outside of the case.
 ![IMG_20260511_165945](https://collective.flashbots.net/uploads/default/original/2X/c/c1fc1280f0fd02645b5394fce3fe9dc96579d40b.jpeg)

# Connect to the serial console

Connect the USB C debug port in the back to another computer.

Open the console:

```auto
$ sudo screen -L /dev/ttyUSB2 115200

```

Login with user `root` and password `sifive`.